
 Pin it
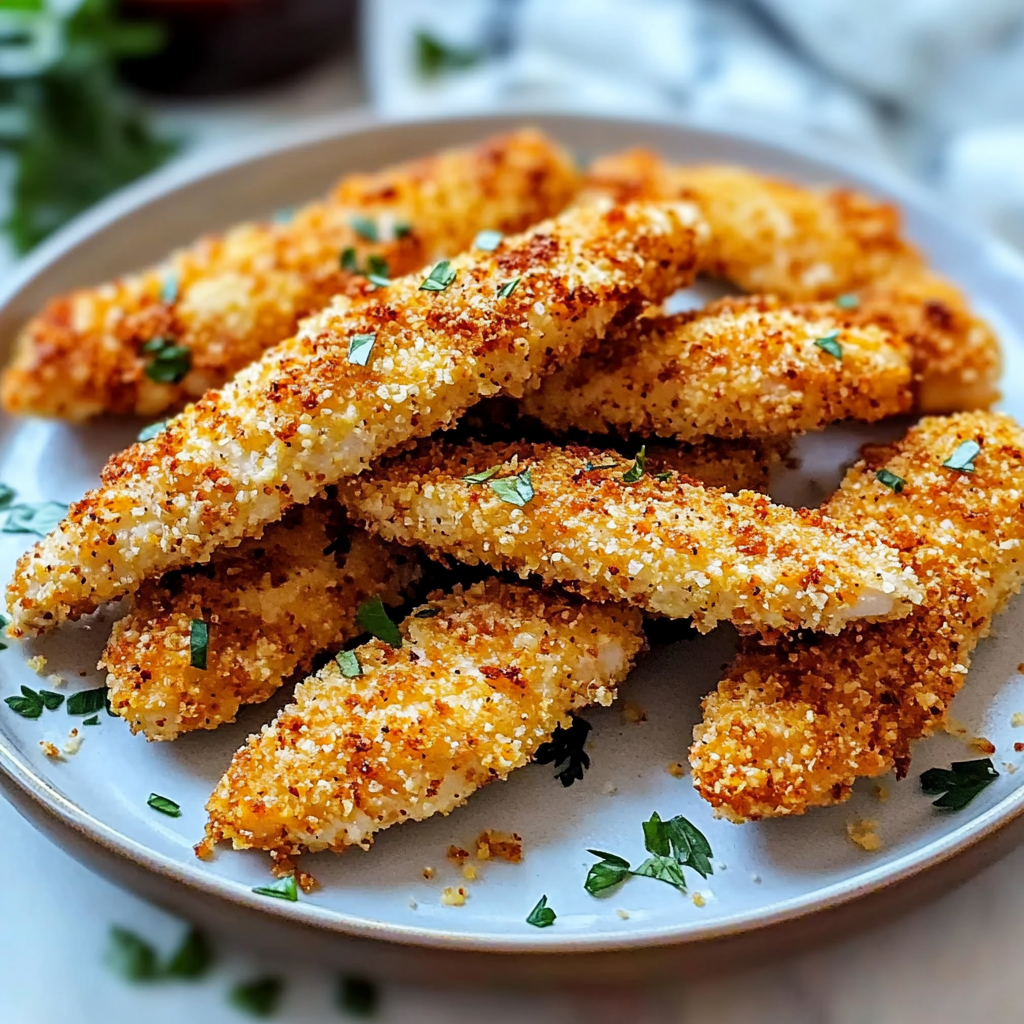
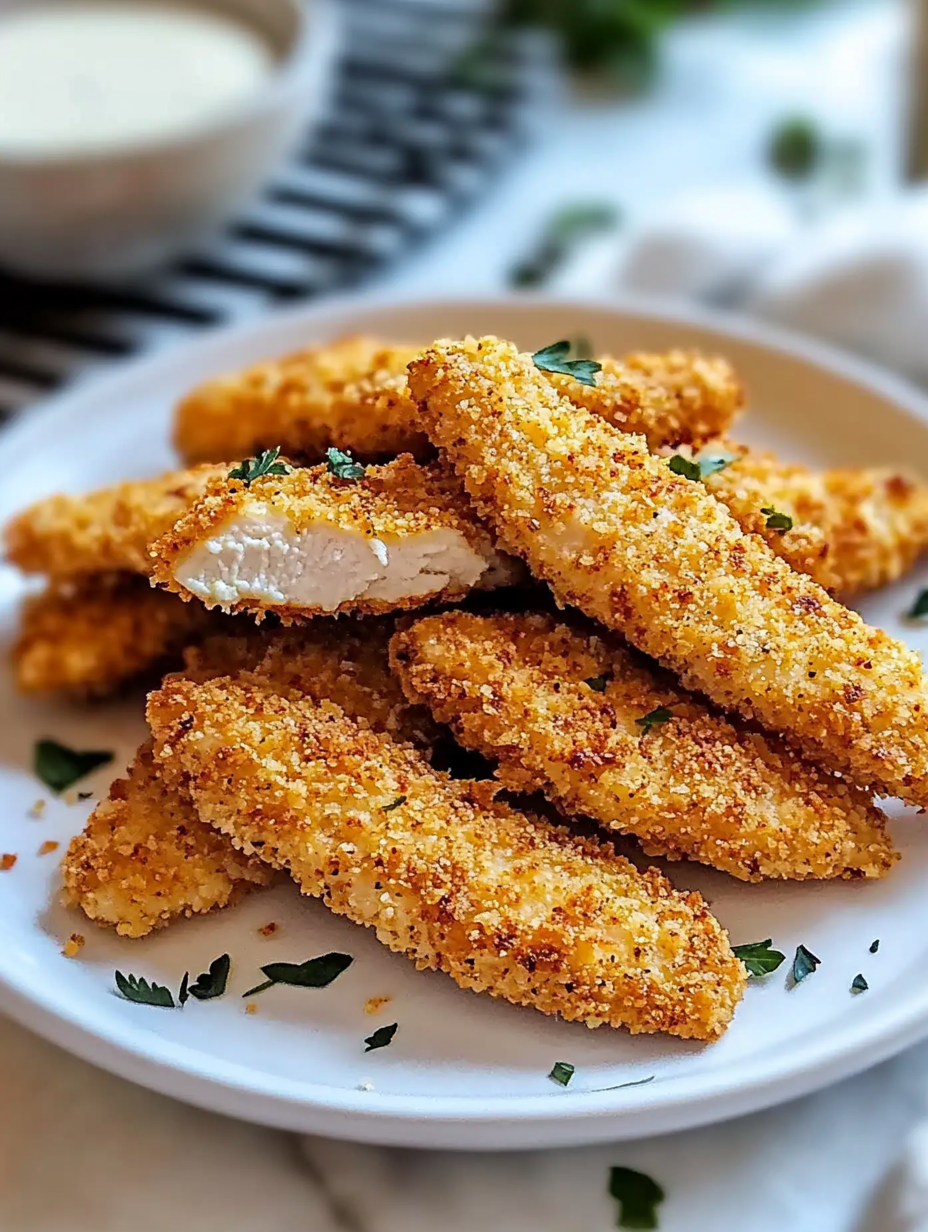
Experience the perfect crunch of golden-brown chicken tenders, baked to crispy perfection without a drop of oil for frying. Each tender delivers that satisfying crackle as you bite through the seasoned coating to reveal juicy, perfectly cooked chicken inside. This healthier approach to a classic favorite proves that you don't need a deep fryer to achieve that irresistible crunch.
After countless experiments to achieve the perfect crunch, I discovered that a wire rack and double coating were the secrets to bakery-worthy chicken tenders that my children actually prefer to fast food versions.
Essential Tender Elements
- Chicken breasts: Choose fresh, uniform-sized pieces for even cooking
- Panko breadcrumbs: Their texture creates the crispiest coating
- Farm-fresh eggs: Help the coating adhere perfectly
- Garlic powder: Adds savory depth to the breading
- Paprika: Creates beautiful color and subtle warmth
- Parmesan cheese: Optional but adds incredible flavor
- Kosher salt: Proper seasoning is crucial
 Pin it
Creating Crispy Magic
- Chicken Preparation
- Cut breasts into even strips, ensuring uniform cooking time.
- Breading Station
- Organize ingredients assembly-line style for efficient coating.
- Egg Wash
- Dip chicken in beaten eggs, allowing excess to drip away.
- Coating Application
- Press tenders firmly into seasoned breadcrumbs for full coverage.
- Double Dipping
- Repeat coating process for extra crunch factor.
- Rack Placement
- Arrange on wire rack for maximum air circulation.
- Golden Finish
- Bake until perfectly golden and crisp throughout.
Perfect Pairing Ideas
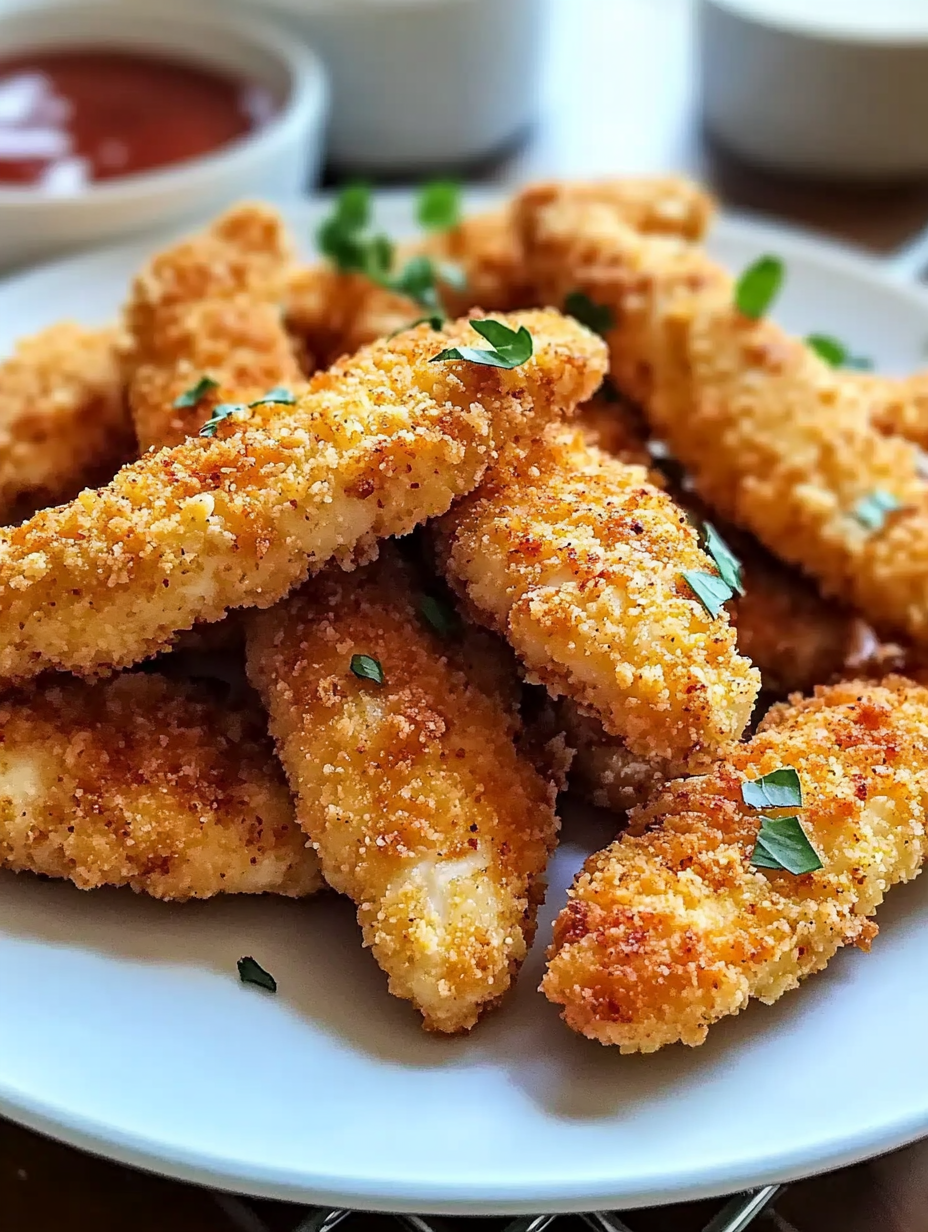
Serve these crispy tenders with a variety of homemade dipping sauces for a crowd-pleasing meal. Create a colorful spread with honey mustard, ranch, and barbecue sauce options. For a complete dinner, pair with sweet potato fries and a crisp coleslaw. In our home, we love serving them alongside a fresh Greek salad, letting the cool, crisp vegetables balance the warm, crunchy tenders.
Creative Tender Twists
Transform these tenders with different coatings and seasonings. Try crushed cornflakes for extra crunch, or add Italian seasonings to the breadcrumbs. Create a spicy version with cayenne and chili powder in the coating. My family's favorite variation includes ranch seasoning in the breading and a buffalo sauce drizzle for serving.
Storage Success
Maintain the perfect crunch with proper storage techniques. Store cooled tenders in an airtight container with paper towels between layers to prevent softening. Reheat in a 350°F oven until crispy and warmed through, about 10-15 minutes. For meal prep, freeze uncooked breaded tenders on a baking sheet, then transfer to freezer bags for up to three months.
Family Meal Planning
Make these tenders a regular part of your dinner rotation. Prep a double batch on Sunday for quick weeknight meals. Create a breading station assembly line to get kids involved in the cooking process. Pack cooled tenders in lunch boxes with small containers of dipping sauce for school lunches.
 Pin it
Party Perfect Planning
Turn these tenders into the star of your next gathering. Create a dipping sauce bar with various options for guests to explore. Cut tenders into smaller pieces for party appetizers. Set up a build-your-own tender sandwich station with different breads, sauces, and toppings.
Chef's Helpful Tips
Let breaded tenders rest for 10 minutes before baking for better coating adhesion. Spray the wire rack with cooking spray to prevent sticking. Check internal temperature reaches 165°F for food safety.
After perfecting these tenders through countless family dinners, I've discovered they're more than just a meal - they're a way to bring smiles to the table. Whether served at a casual weeknight dinner or packed for school lunches, these crispy baked tenders never fail to satisfy cravings for comfort food. The combination of crunchy coating and juicy chicken creates something truly special that makes any meal memorable.
Frequently Asked Questions
- → Can I make these ahead of time?
- Yes, you can bread the chicken up to a day ahead and store in the refrigerator before baking. They're best served fresh from the oven.
- → How do I keep them crispy?
- Use a wire rack while baking, spray with olive oil, and avoid overcrowding the pan. Serve immediately for maximum crispiness.
- → Can I freeze these chicken tenders?
- Yes, freeze them after breading but before baking. When ready to cook, bake directly from frozen, adding 5-7 minutes to the cooking time.
- → Can I use gluten-free breadcrumbs?
- Yes, gluten-free panko or regular breadcrumbs work well as a substitute for traditional breadcrumbs.
- → What's the best way to reheat leftovers?
- Reheat in a 350°F oven for 10-15 minutes to maintain crispiness. Avoid microwave as it can make them soggy.