
 Pin it
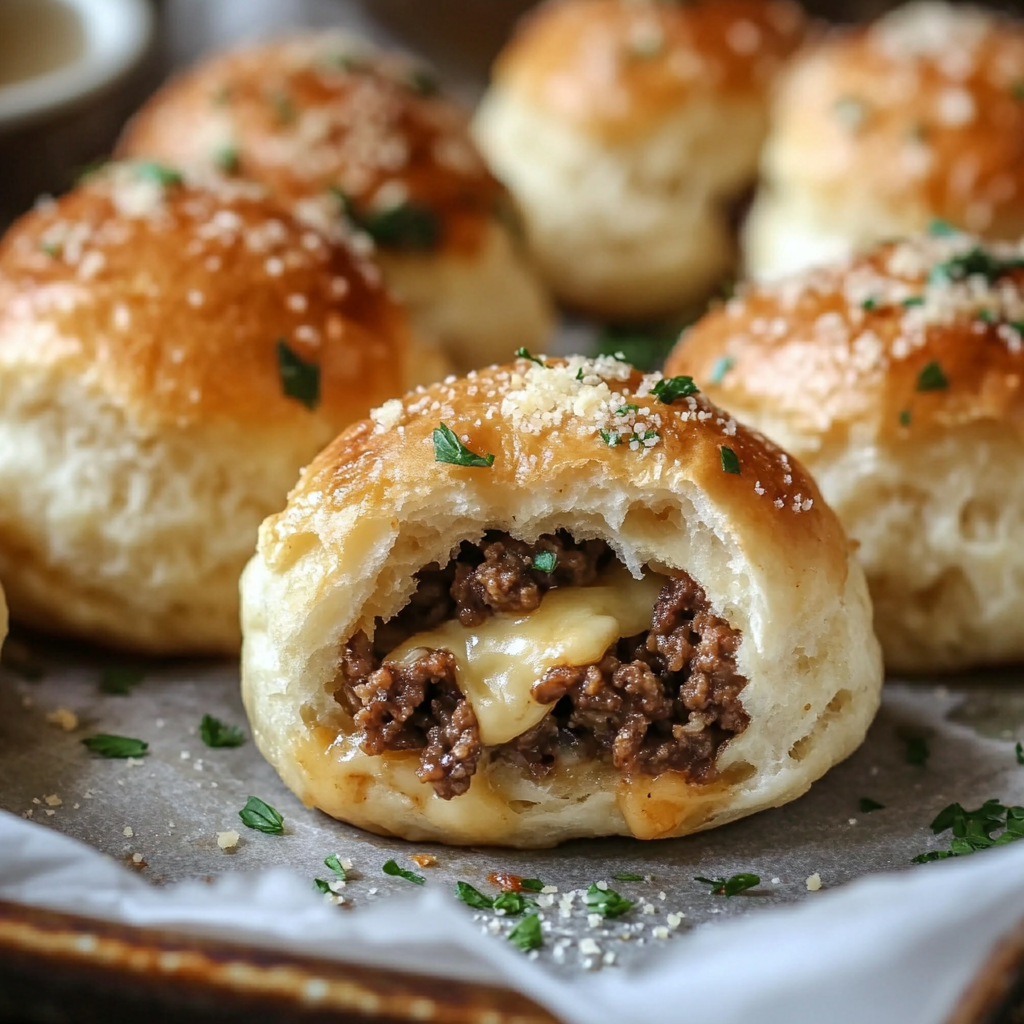
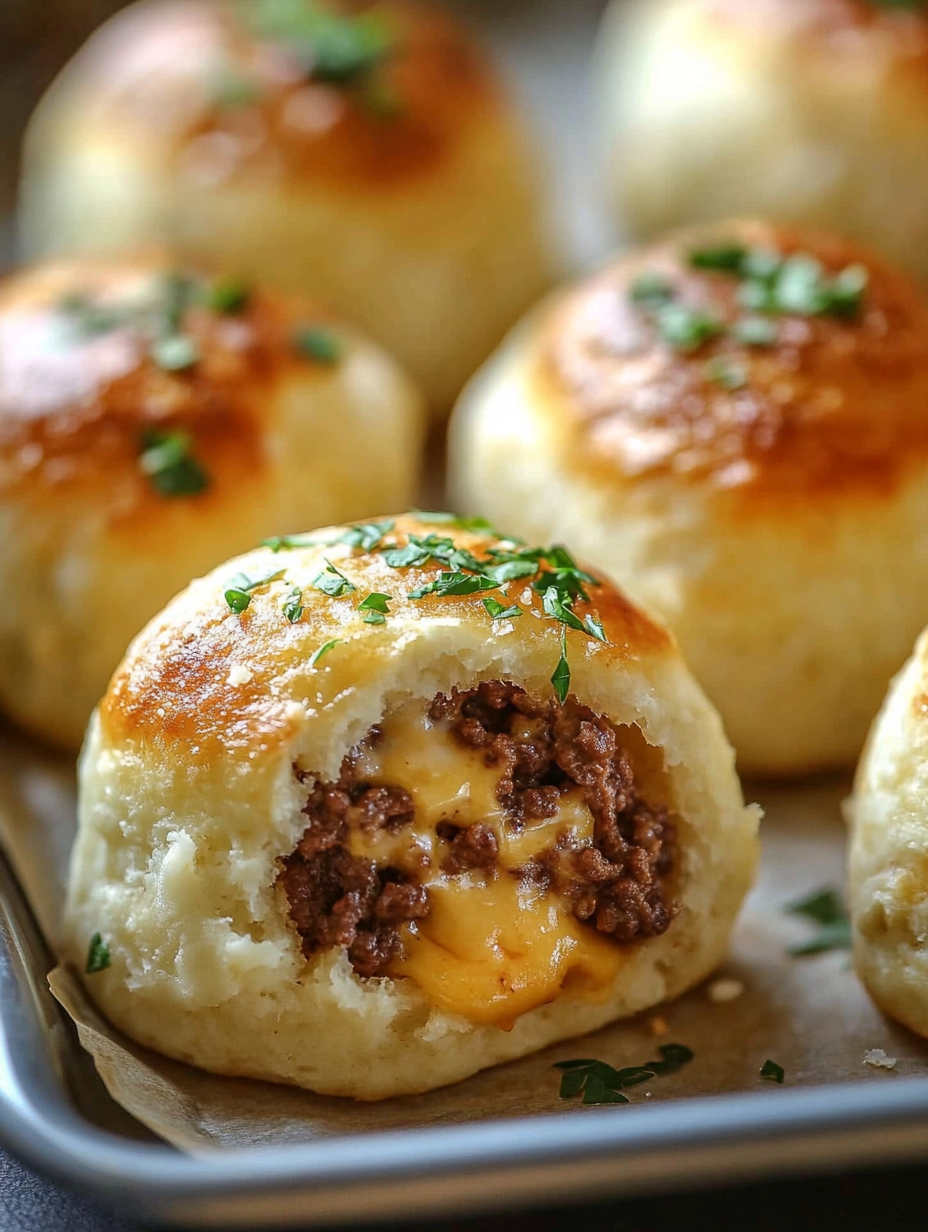
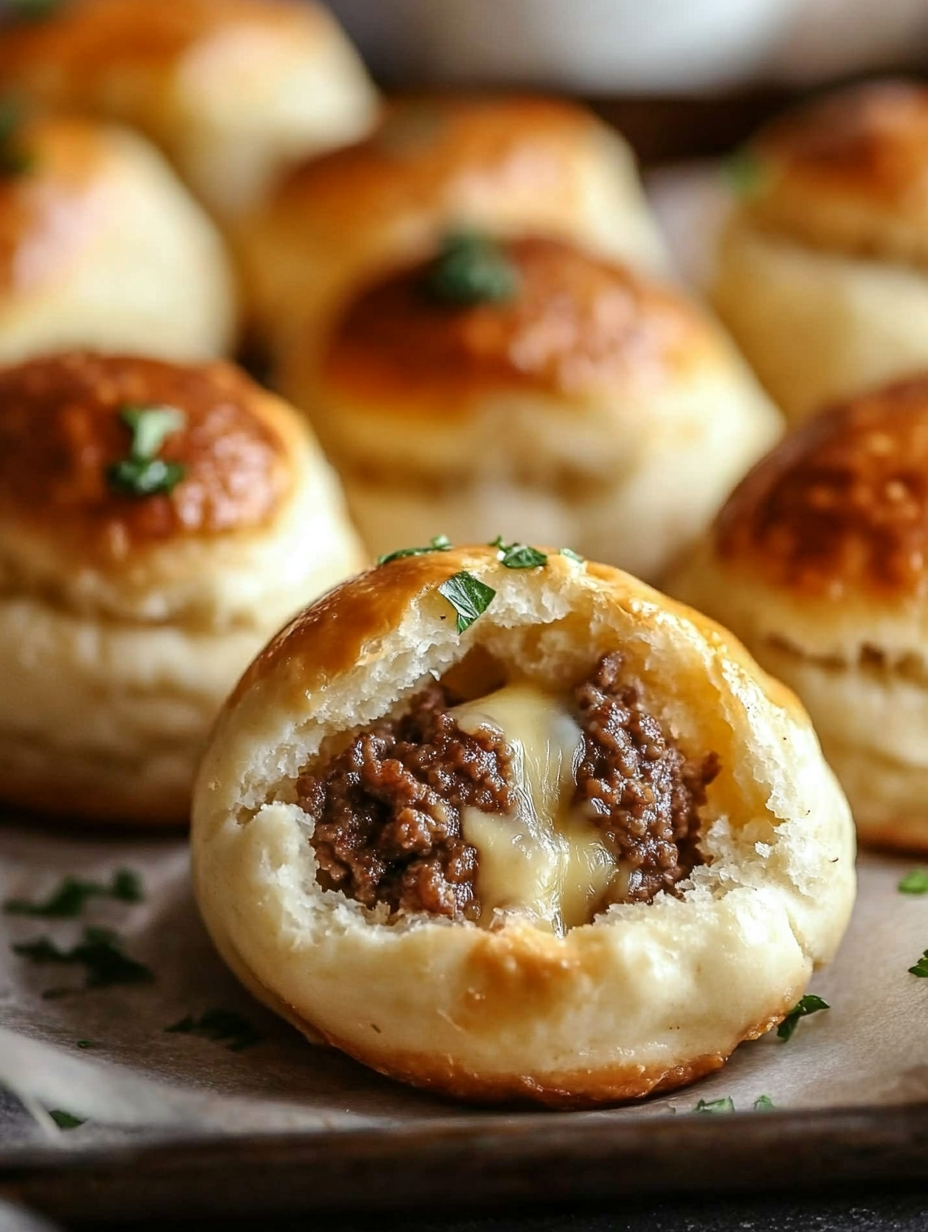
Transform your favorite cheeseburger into an irresistible handheld treat with these golden-brown garlic Parmesan cheeseburger bombs. Each tender dough sphere reveals a perfectly seasoned beef and melted cheese center, all enrobed in a buttery garlic Parmesan coating. The explosion of flavors in every bite makes these bombs the ultimate party food that combines comfort and convenience.
The first time I served these at our family game night, they disappeared within minutes. Now they've become our most requested appetizer, with everyone hovering around the oven as the amazing aroma fills the kitchen.
Essential Flavor Elements
- Ground beef: Choose 80/20 for optimal flavor and juiciness
- Cheddar cheese: Sharp cheddar provides the best melting and taste
- Fresh dough: Refrigerated biscuit dough creates perfect texture
- Parmesan cheese: Freshly grated offers superior flavor and melt
- Garlic powder: Premium quality ensures robust flavor
- Butter: Unsalted allows perfect seasoning control
- Black pepper: Freshly ground adds perfect spice level
 Pin it
Creating Perfect Bombs
- Meat Preparation:
- Brown beef until perfectly cooked, developing rich flavor throughout.
- Seasoning Balance:
- Add salt and pepper gradually, tasting for perfect seasoning.
- Dough Handling:
- Roll each piece gently, maintaining consistent thickness.
- Filling Assembly:
- Place beef and cheese in center, avoiding overfilling.
- Careful Sealing:
- Pinch edges firmly, preventing any filling escape.
- Garlic Coating:
- Brush with garlic butter mixture thoroughly.
- Golden Finish:
- Bake until perfectly golden and cheese melts completely.
Perfect Pairing Ideas
Serve these savory bombs with an array of classic burger condiments for dipping. Create a sauce bar with ranch, honey mustard, and spicy ketchup for variety. For entertaining, arrange them on a platter with crispy potato wedges and tangy pickles. In our home, we love serving them alongside a fresh Caesar salad, creating the perfect balance of indulgent and light.
Creative Bomb Twists
Transform these bombs with creative variations to suit different tastes. Create a breakfast version with scrambled eggs and bacon inside. Try pizza-style bombs with pepperoni and mozzarella, or go southwestern with pepper jack cheese and diced jalapeños. My family's favorite variation includes crispy bacon bits and caramelized onions mixed into the beef filling.
Storage Success
Maintain these bombs' perfect texture with proper storage. Store completely cooled bombs in an airtight container in the refrigerator for up to three days. For longer storage, freeze uncooked bombs on a baking sheet, then transfer to freezer bags for up to two months. When ready to serve, bake straight from frozen, adding a few extra minutes to the cooking time.
Party Perfect Planning
Make these bombs the star of your next gathering. Create a build-your-own bomb bar where guests can customize their fillings before baking. Package them in foil-lined containers for game day potlucks. Set up a slider station with mini bombs alongside traditional burgers for a fun twist on casual entertaining.
 Pin it
Game Day Glory
Adapt these bombs for different sporting events and celebrations. Create team-colored dipping sauces, arrange them in team formations on platters, or serve them in paper boats with team logos. The versatile nature of these bombs makes them perfect for any casual gathering.
After countless game days and family gatherings making these bombs, I've discovered they're more than just an appetizer - they're conversation starters that bring people together. Whether shared during the big game or enjoyed as a fun family dinner, these garlic Parmesan cheeseburger bombs never fail to create moments of joy and satisfaction. The combination of seasoned beef, melted cheese, and garlic-Parmesan coating creates an irresistible treat that makes any gathering more memorable.
Frequently Asked Questions
- → Can I make these ahead of time?
- You can prepare the beef filling ahead of time and assemble just before baking for best results.
- → Why is my filling leaking?
- Make sure to pinch and seal the dough edges completely, and don't overfill the bombs.
- → Can I freeze these bombs?
- Yes, freeze them unbaked and add 5-7 minutes to baking time when cooking from frozen.
- → What's the best cheese to use?
- Cheddar works great, but you can try mozzarella, pepper jack, or gouda for variety.
- → How do I store leftovers?
- Store in an airtight container in the fridge for up to 3 days, reheat in the oven for best results.