
 Pin it
This easy oat pie crust turns regular rolled oats into a tasty swap for traditional graham cracker crusts. Using just a few basic items from your pantry, you'll make a flexible base for all your no-bake treats that's also gluten-free, vegan, and works for folks with nut allergies.
I came across this idea while looking for graham cracker substitutes for my celiac-affected neighbor. After I brought it to our block party, even friends who can eat gluten kept asking me for the recipe to use at their family get-togethers.
What You'll Need
- Old fashioned rolled oats: Get the gluten-free kind if needed. They give you that perfect hearty bite with a naturally sweet taste.
- Sugar: Provides just the right sweetness without being too much. Try brown sugar if you want a richer flavor.
- Cinnamon: Adds a cozy flavor that goes great with oats. You can add more or less to suit your taste.
- Fine sea salt: You can skip this if you want, but it really helps balance the sweet stuff. Don't bother if you're using salted butter.
- Vegan butter: You'll need to melt it to hold everything together. Don't swap in regular butter as it contains different water amounts.
- Maple syrup or agave: Gives natural sweetness and helps stick things together. Its subtle taste works really well with the oats.
- Vanilla extract: Makes all other flavors better. Even this tiny bit makes a big difference.
How To Make It
- Get Your Oven Hot:
- Turn your oven to 350°F and get all your stuff ready. This part matters because having everything at hand makes the job easier and you won't forget anything.
- Mix Dry Stuff:
- Put oats, sugar, cinnamon, and salt in your food processor. Give it about 10 quick pulses until the oats break down but still have some chunks. You don't want super fine powder – a mix of textures tastes better.
- Add Wet Stuff:
- Pour in your melted vegan butter, maple syrup, and vanilla. Blend again until it's all mixed up. When you squeeze some, it should stick together. If it's too dry, add a little more melted butter.
- Shape Your Crust:
- Dump the mix into a 9-inch pie plate, spreading it out evenly. Start pressing from the middle and work toward the sides. A flat-bottomed cup works great for pressing it down smooth. Make sure the edges are packed tight.
- Bake It Up:
- Stick it in your hot oven for 16 to 18 minutes until it looks set and slightly golden. Don't worry if it puffs up a bit near the end. That's totally normal and we'll fix it next.
- Let It Rest:
- After taking it out, gently push down any puffy spots. Let it cool all the way before adding your filling. This cooling step really matters for a solid crust.
 Pin it
The oats really shine in this recipe. My grandma always baked oatmeal cookies during holidays, and this crust brings back those warm kitchen memories. The smell while it's baking is so comforting and tells everyone that you're making something special for people you care about.
Keeping It Fresh
This crust keeps its crunch nicely in the fridge. After it's fully cooled, wrap it tight with plastic wrap and keep it in the fridge up to three days before filling it. Once you've added filling, most desserts will stay good for 2-3 days depending on how wet your filling is. If you want to save it longer, wrap the unfilled crust in plastic wrap then foil and freeze it for up to a month to keep it from getting freezer burn.
No-Fat Version
If you don't eat fats or oils, you can use applesauce instead of vegan butter. Just use half a cup of plain unsweetened applesauce, skip the maple syrup since applesauce is already sweet, and bake it about 20 minutes instead. You'll get a softer, chewier crust that still holds together pretty well. This works really nicely with fruit fillings where the softer texture fits with the whole dessert.
 Pin it
Tasty Fillings
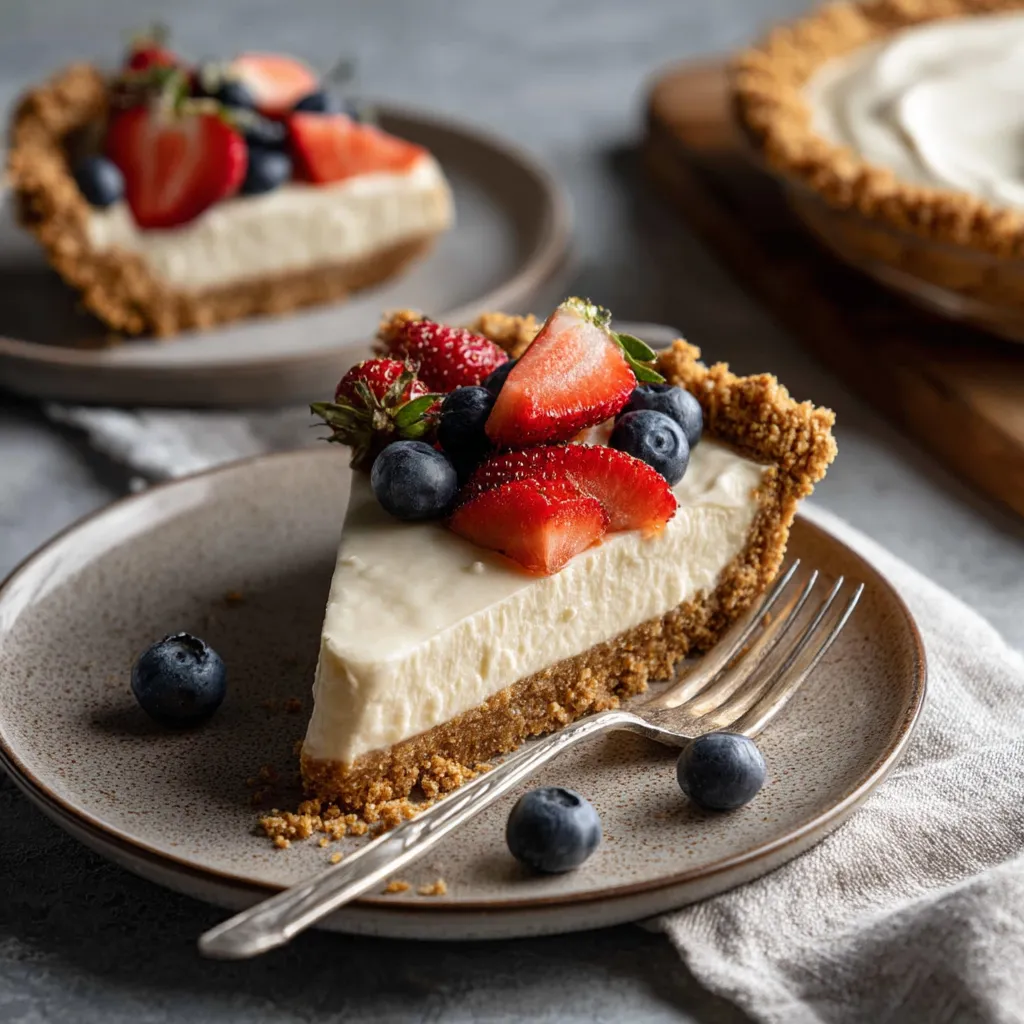
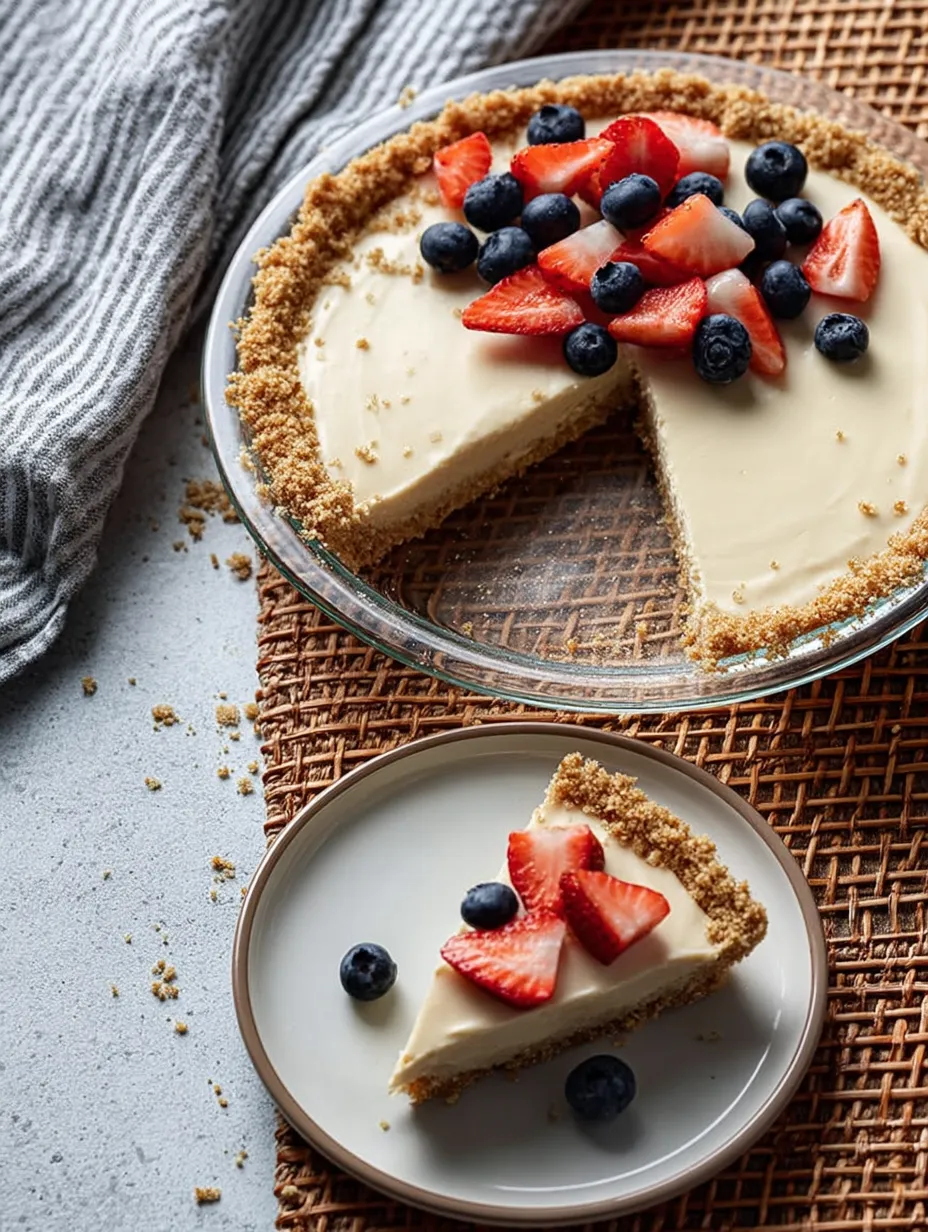
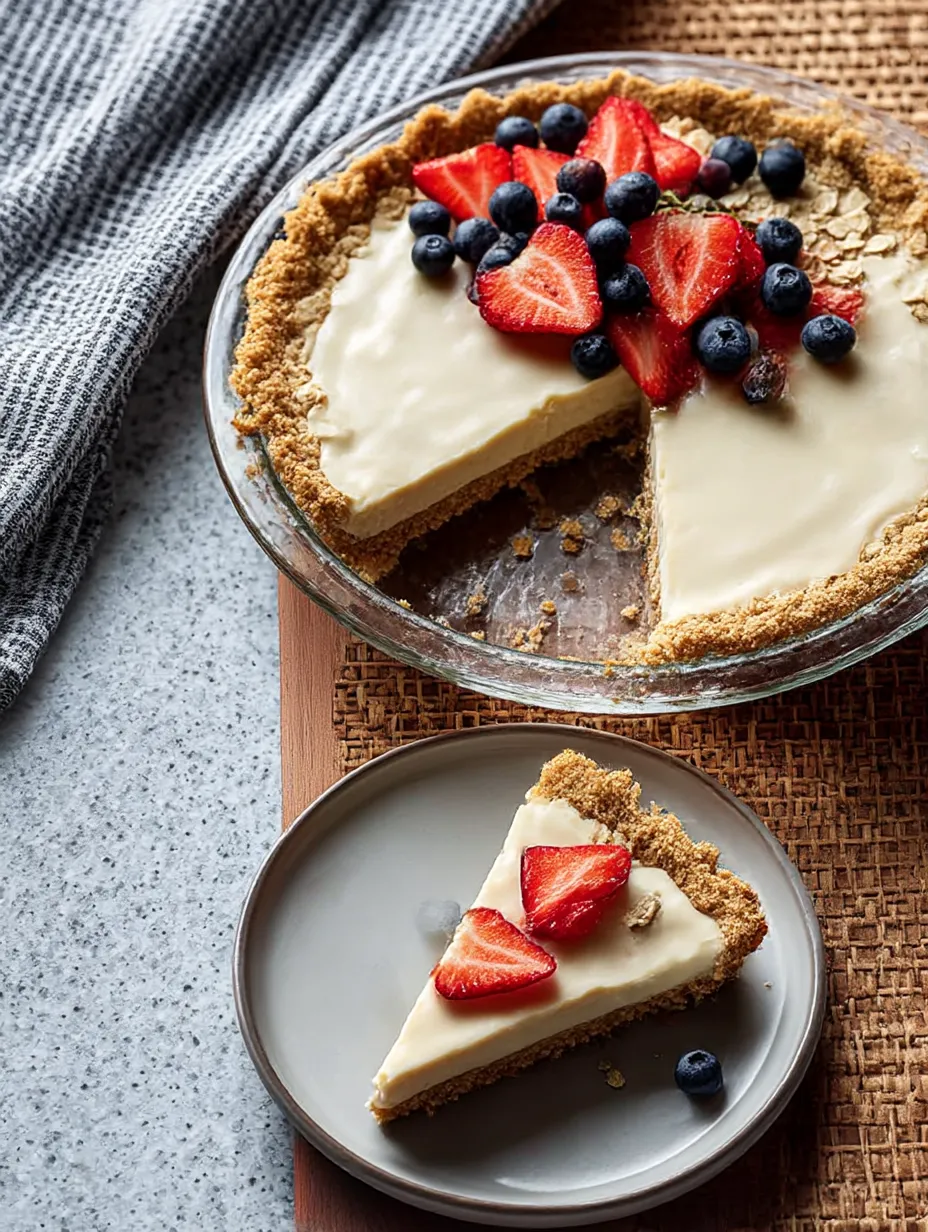
This handy crust goes well with tons of no-bake fillings. Chocolate pudding or mousse makes an easy crowd-pleaser that feels fancy but comes together fast. Vegan cheesecake mixtures set up great on this base, especially topped with fresh berries. Key lime and lemon fillings give a zingy contrast to the hearty oat bottom. For a quick dessert, try filling it with coconut cream pudding and adding fresh tropical fruits on top for a wow-worthy treat that takes almost no effort.
Making It Without A Food Processor
Don't have a food processor? No problem! First, give your oats a few pulses in a blender just until they're roughly chopped. Be careful not to turn them into fine flour. Dump them into a big bowl and mix thoroughly with your dry ingredients. Melt your vegan butter, add the maple syrup and vanilla, then pour it all over your oat mix. Stir until everything's combined and all the dry bits are wet. The texture might be a bit different but it'll still make a tasty crust. You might need to work a little harder pressing it into the pan, but it'll taste just as good.
Frequently Asked Questions
- → Can I make this crust without a food processor?
Of course! You can blend the oats using any blender, then stir the rest by hand in a mixing bowl. Keep the oats slightly coarse for a better result.
- → Is this crust good for baked pies?
It's ideal for pies that don't get baked. If you bake it too long, it might not hold as well for heavy or wetter fillings like pumpkin pie.
- → How do I make this crust without added fat?
Swap out vegan butter for ½ cup of applesauce, skip the syrup, and bake for around 20 minutes. This makes a softer crust, perfect for lighter fillings.
- → How can I store the crust?
Once cool, wrap it tightly in plastic and keep it in the fridge for up to 3 days. After adding a filling, enjoy it within 2 days for best results.
- → What fillings pair well with this crust?
This crust shines with no-bake treats like vegan cheesecake, chocolate mousse, banana cream, or key lime. Avoid wet fillings to keep it intact.