
 Pin it
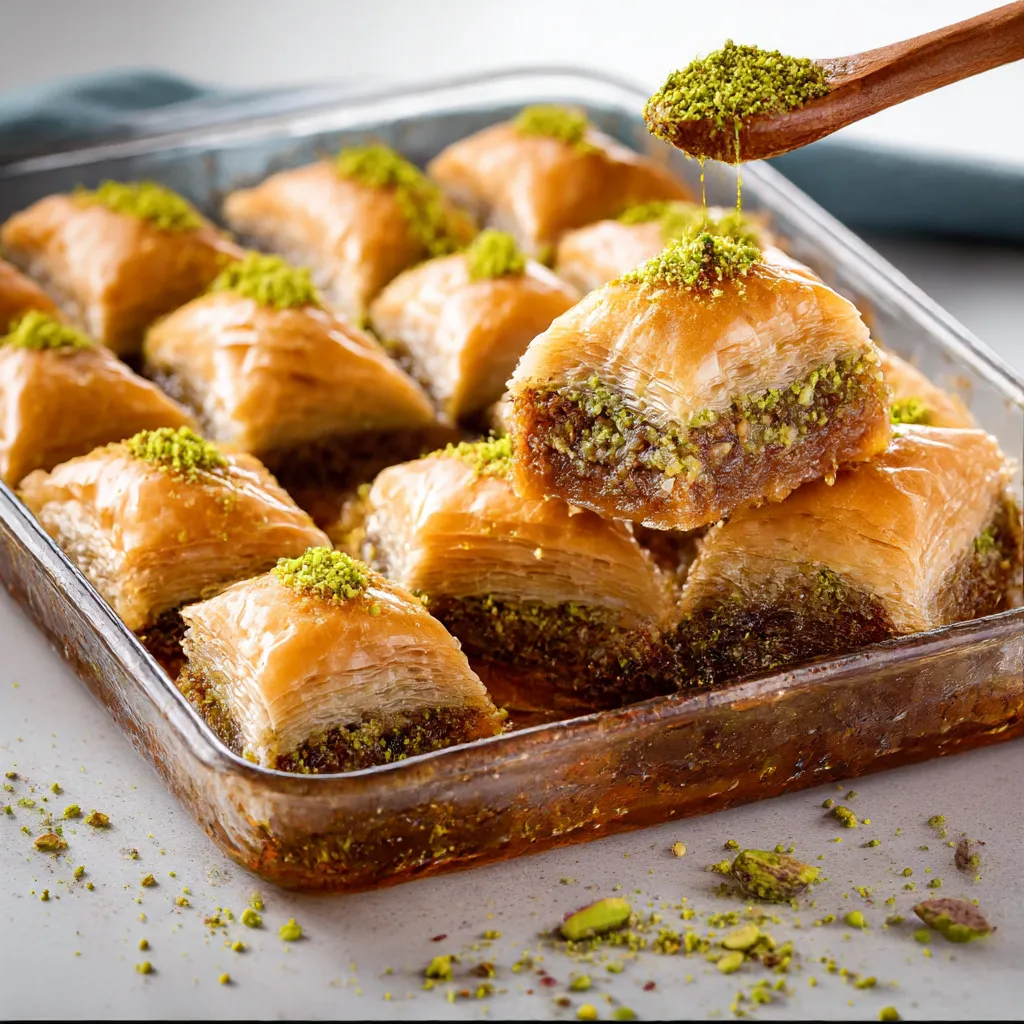
This made-from-scratch gluten-free baklava delivers all the flaky layers and sweet nutty goodness of traditional versions without the gluten. By making your own gluten-free phyllo, you'll turn this beloved Mediterranean sweet into something everyone at the table can dig into.
I tried making gluten-free baklava the first time for my friend with celiac disease on her birthday. Seeing her get emotional about tasting something she thought was gone forever made all the work so worth it. It's now my go-to treat for holidays.
What You'll Need
- Homemade gluten free phyllo sheets: gives you those essential thin, crispy layers for the real deal experience
- Unsalted butter: adds that luxurious taste between layers and helps everything turn golden brown
- Pistachios, walnuts, or almonds: bring the classic nutty filling—pick one type or mix them for more interesting flavor
- Ground cinnamon and cloves: add those cozy spice notes that cut through the sweetness
- Honey: creates that trademark sticky-sweet topping that plain sugar just can't match
- Lemon juice: cuts the sweetness and keeps your syrup from getting grainy
- Whole cloves and cinnamon stick: pump up the syrup with deep flavors without making it gritty
Easy Preparation Steps
- Make Your Phyllo Sheets:
- Use the linked recipe for your gluten free phyllo, making them super thin for the right texture. They'll need to soak up butter and syrup properly. Keep unused sheets under a damp towel so they won't dry out while you work.
- Create Your Foundation:
- Put five phyllo sheets in your greased pan one after another, brushing lots of melted butter on each before adding the next one. Get butter all the way to the corners—this makes them flaky and stops sticking. Your base needs to be strong to hold everything.
- Spread Out Your Nuts:
- Scatter a thin layer of your spiced nut mix over the base and press it down gently. Chop your nuts fine but not too powdery—you want some texture between soft and crunchy.
- Stack Your Middle:
- Keep going with two buttered phyllo sheets then a layer of nuts, over and over until you run out of nuts. These layers make that amazing stacked look baklava is known for. Don't skimp on the butter for any sheet.
- Top It Off:
- Finish with your last five phyllo sheets, buttering each one carefully, including the very top. This final section will turn golden and crispy when baked and holds everything together.
- Slice It Up First:
- Take a really sharp knife and cut all the way down to the bottom of the pan to make your pieces. Diamonds look fancy but squares are simpler. Wipe your knife between cuts for cleaner lines.
- Bake Until Golden:
- Pop it in your hot oven and keep an eye on it toward the end—gluten-free stuff can brown fast. You want a nice medium gold color with edges just starting to crisp up.
- Cook Your Sweet Syrup:
- While it's baking, mix up all your syrup stuff and let it simmer so the spices can work their magic. It should be thick enough to stick to a spoon but still pour easily.
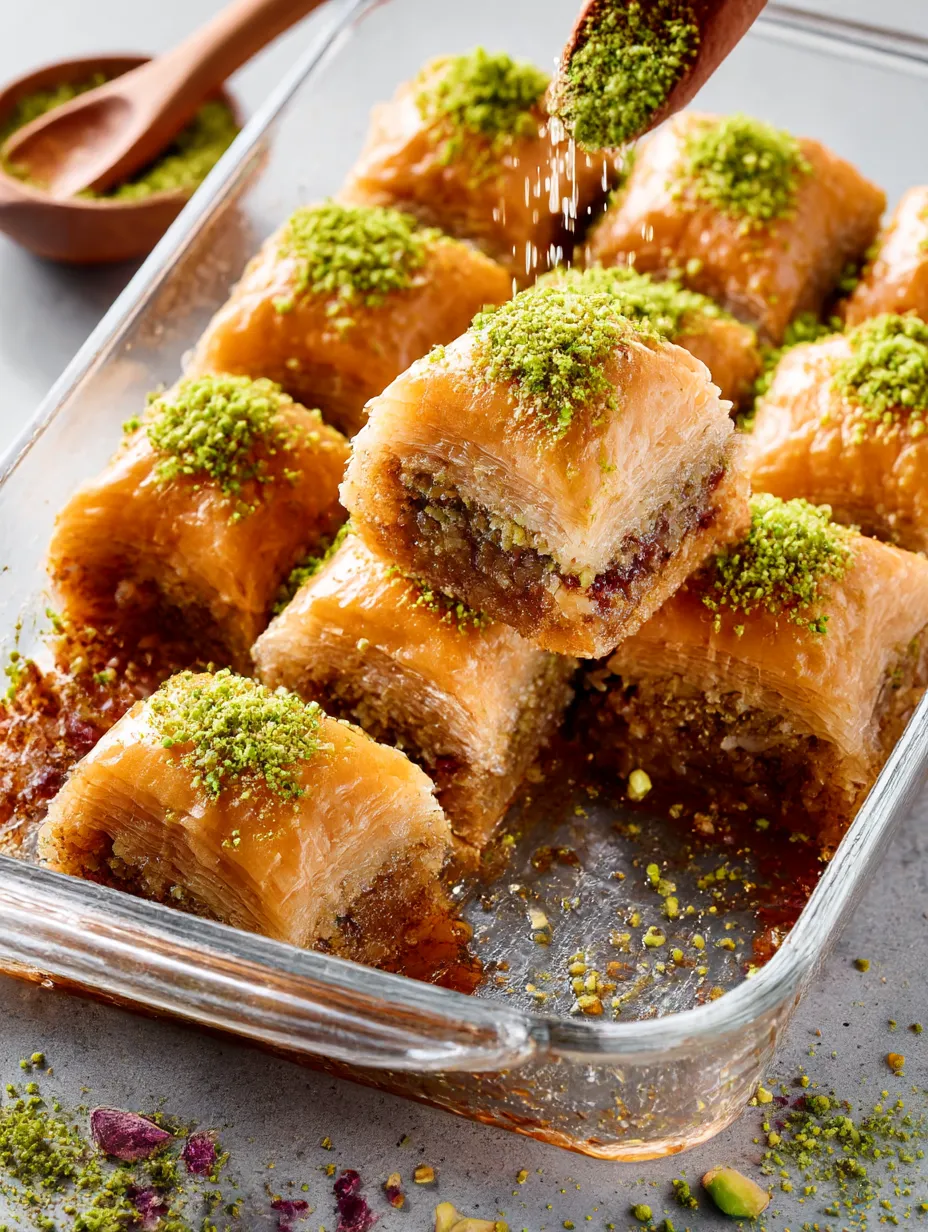
- Pour Syrup Over Hot Baklava:
- As soon as you take the baklava out, pour your cooled syrup all over the hot pastry. This temperature difference is key—it makes the right soaking pattern. You'll hear it sizzle when you pour it right.
- Let It Sit:
- Leave your baklava alone for a few hours so the syrup can work its way through every layer and the flavors can mix together. This waiting time turns good baklava into amazing baklava.
 Pin it
I really think pistachios make this version special. I found their bright green color and unique taste creates a real knockout dessert that reminds me of what my Greek grandma would make for Christmas. Their gentle sweetness works so well with the honey syrup.
Keeping It Fresh
Baklava actually gets better after a day or two as all the flavors mingle together. Keep your finished treat at room temp with a loose paper towel over it for up to seven days for the best taste and texture. The paper towel stops moisture from making the top soggy but keeps the syrup from drying out. If you need it to last longer, stick it in the fridge for up to three weeks, though it might get a bit firmer. Just let chilled baklava warm up before serving to get that soft texture back.
Fixing Common Problems
Gluten-free phyllo needs some different handling than regular wheat dough. It might tear more easily but don't stress about small rips since they'll disappear once everything's layered together. If your dough gets sticky, use just a tiny bit of gluten-free flour on your work surface. Too much will make your dough tough. If your sheets start drying out, spray them very lightly with water. Watch your butter temperature too—it should be warm but not hot since gluten-free dough soaks up butter differently than wheat dough does.
 Pin it
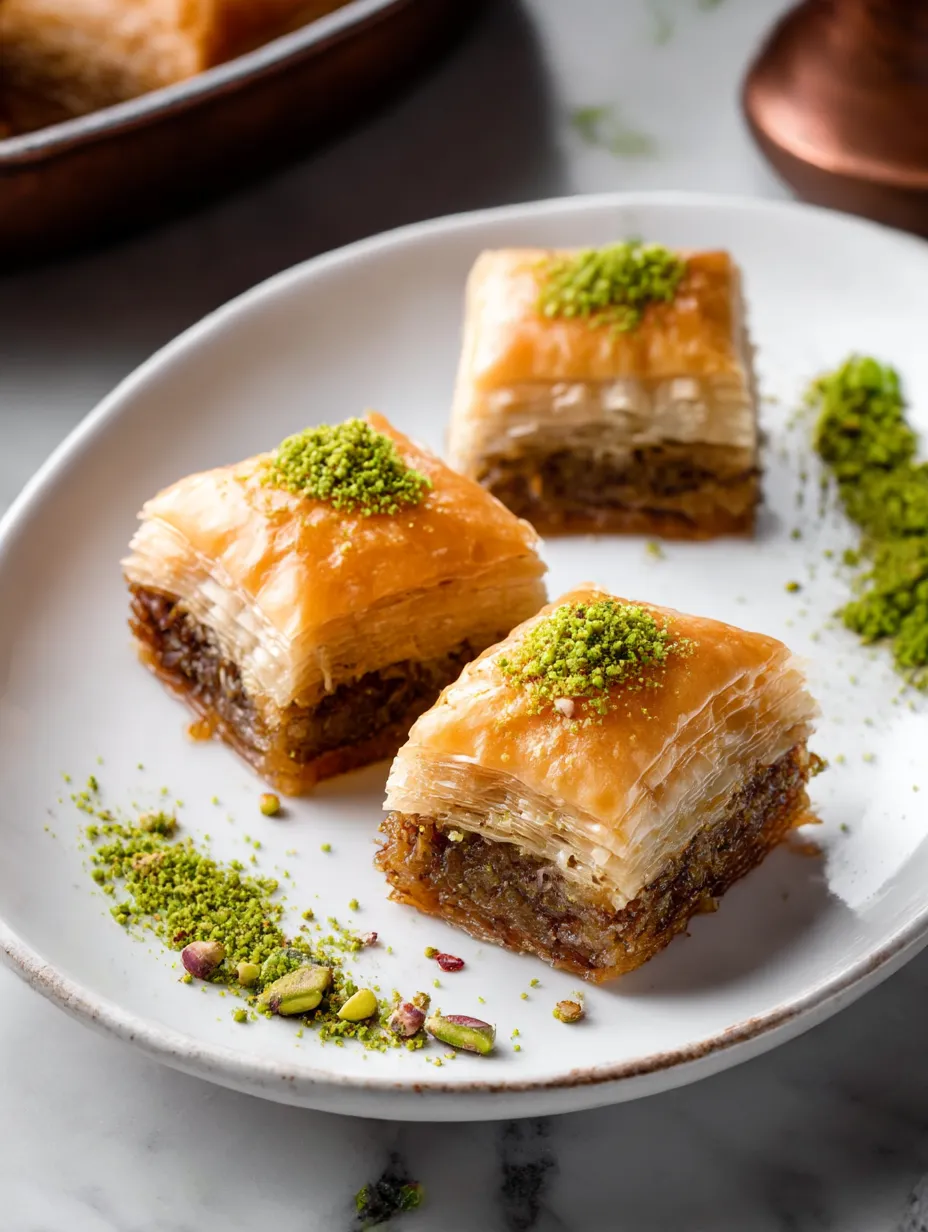
Perfect Pairing Ideas
Gluten-free baklava deserves to look fancy when served. Put individual pieces on small dessert plates with a sprinkle of crushed pistachios for a pop of color. A small scoop of vanilla ice cream or some cardamom-flavored whipped cream goes really well with it. For a more old-school experience, serve it with strong Greek or Turkish coffee to balance out the sweetness. When it's part of a bigger dessert spread, put some fresh berries and orange or lemon slices nearby to give a refreshing contrast to all that rich sweetness.
Frequently Asked Questions
- → What types of nuts are best for this dish?
Use a variety like almonds, walnuts, or pistachios. Mix them or stick to one kind, depending on what you prefer or what's available.
- → How can I successfully make gluten-free phyllo?
Stick to a reliable gluten-free recipe and roll the dough thin. Cover it to prevent it from drying out while you're crafting the layers.
- → Could I prepare the syrup early?
Sure, make the syrup ahead of time! Let it cool and store it in a sealed container until you're ready to use it on your dessert.
- → How long do I let the baklava soak in the syrup?
Leave it at room temperature for 3 to 4 hours so the layers can fully absorb the sweet syrup.
- → What's the best way to store baklava?
Keep it in a sealed container at room temperature for three days, or refrigerate it for a longer shelf life—though the texture might change a bit.
- → Can I warm up baklava later?
Yes, gently reheat it in the oven using a low setting. It'll bring back the crispiness and enhance the flavors.