 Pin it
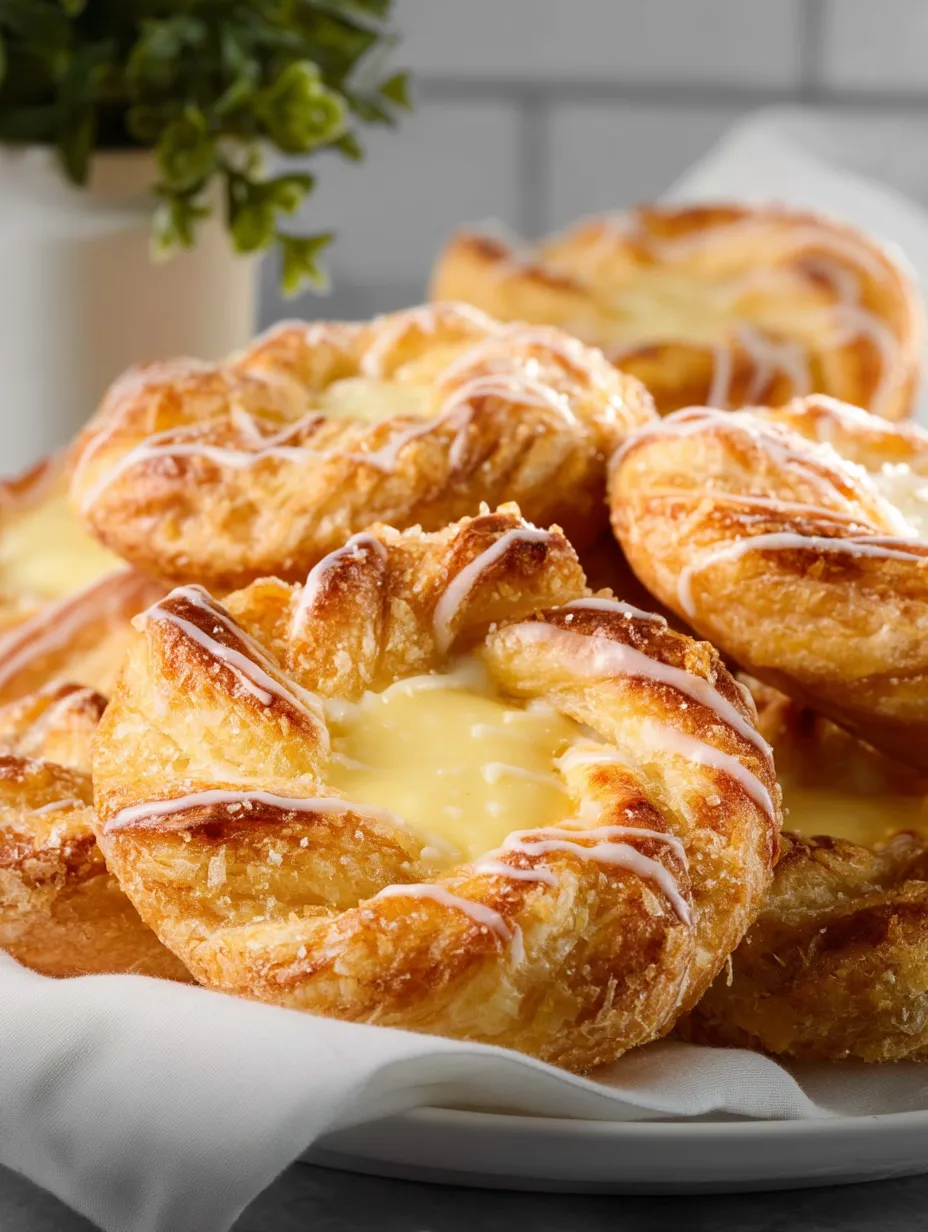
Turn frozen puff pastry into fancy bakery-style treats with this easy homemade cream cheese Danish. You'll get flaky, buttery layers with a smooth, tangy filling that'll make anyone think you spent hours in the kitchen—when it actually takes barely any work!
I whipped these up for the first time during a holiday morning and couldn't believe how simple yet fancy they looked. Now we make them whenever friends stay over or when we want to make our weekends feel extra special without tons of work.
What You'll Need
- Frozen puff pastry: let it thaw as the box says for that perfect flaky texture
- Cream cheese: make sure it's soft and at room temp so your filling turns out nice and smooth
- Egg yolk: gives the filling that rich taste and helps it set up while baking
- Powdered sugar: adds just enough sweetness without going overboard
- Fresh lemon juice: adds that little zip that makes the filling taste amazing
- Pure vanilla extract: brings warm flavor to both the filling and the topping
- Whole egg: mixed with water to brush on the edges for that golden look
- Milk: helps thin the topping so it drizzles just right
How To Make Them
- Get Your Oven Ready:
- Heat your oven to 350°F and put parchment on a baking sheet. This temp lets the pastry puff up nicely while the filling cooks through without getting too brown too fast.
- Whip Up The Filling:
- Mix your soft cream cheese with the egg yolk, powdered sugar, lemon juice, vanilla, and salt until it's totally smooth. Don't mix too hard or too long—that puts too much air in and can make your filling puff up then sink later.
- Work With The Pastry:
- On a lightly floured counter, roll your thawed pastry into a 12x12 inch square. Cut it into 9 even squares using a pizza cutter or knife. Making them all the same size helps them bake evenly.
- Shape Your Danish:
- Take each square and fold the corners toward the middle, but just about an inch in. Press gently so they stick. This makes that classic Danish shape with a little spot for the filling.
- Put In The Filling:
- Drop a tablespoon of your cream cheese mix right in the center of each pastry. A small cookie scoop works great to make sure they're all the same size.
- Brush With Egg:
- Mix a whole egg with a bit of water and brush it on all the pastry edges. This gives them that shiny golden look and helps those folded corners stay put.
- Bake Them Up:
- Pop them in the oven for 16–18 minutes, turning the pan halfway. They're done when the edges puff up gold and the filling mostly sets but still jiggles just a tiny bit in the center.
- Add The Drizzle:
- Let them cool completely before you add the powdered sugar glaze. If they're still warm, the glaze will just melt right off before it can set up properly.
 Pin it
Adding that bit of fresh lemon juice is my little trick that really makes these shine. My grandma always put a touch of citrus in her cheese Danish. She said it cuts through the richness and brightens everything up. That tiny splash of tangy lemon really does take these from good to can't-stop-eating-them.
Prep Them Early
These are great for getting ready ahead of time when you have company. Just put them together the night before, cover them with plastic wrap and stick them in the fridge. Next morning, all you need to do is brush with egg wash and bake. The pastry actually gets even flakier when it sits in the fridge overnight.
Keeping Them Fresh
Your Danish will stay good in an airtight container in the fridge for up to 4 days. To warm them up, put them in a 300°F oven for about 5 minutes—just enough to warm them through but not so hot that the glaze melts off. You can also freeze them for up to 3 months if you wrap each one in plastic and then put them all in a freezer bag.
Switch It Up
The basic cream cheese filling works great on its own but you can easily add your own twist. Try mixing in some fresh berries, jam, chocolate chips, or a sprinkle of cinnamon. For an almond version, add a little almond extract to the filling and sprinkle sliced almonds on top before baking. In the fall, mix some pumpkin puree and pumpkin spice into the filling for a seasonal treat everyone will grab.
 Pin it
Frequently Asked Questions
- → Can I make this with pre-made puff pastry?
Definitely, pre-made puff pastry is a great time-saver. Just let it thaw completely before using.
- → Is there a substitute for cream cheese?
You can try mascarpone, ricotta, or even a plant-based cream cheese alternative for similar results.
- → How do I keep the pastry from getting soggy?
Make sure the filling isn’t overly wet, fully bake the pastry, and let it cool properly before glazing.
- → What extra toppings go well with these pastries?
You can experiment with extras like fresh fruit, nuts, or chocolate chips added before baking to elevate the flavors.
- → What’s the best way to store these pastries?
Pop them in an airtight container and refrigerate for up to 4 days, or freeze for up to 3 months. Warm them up before enjoying.
