
 Pin it
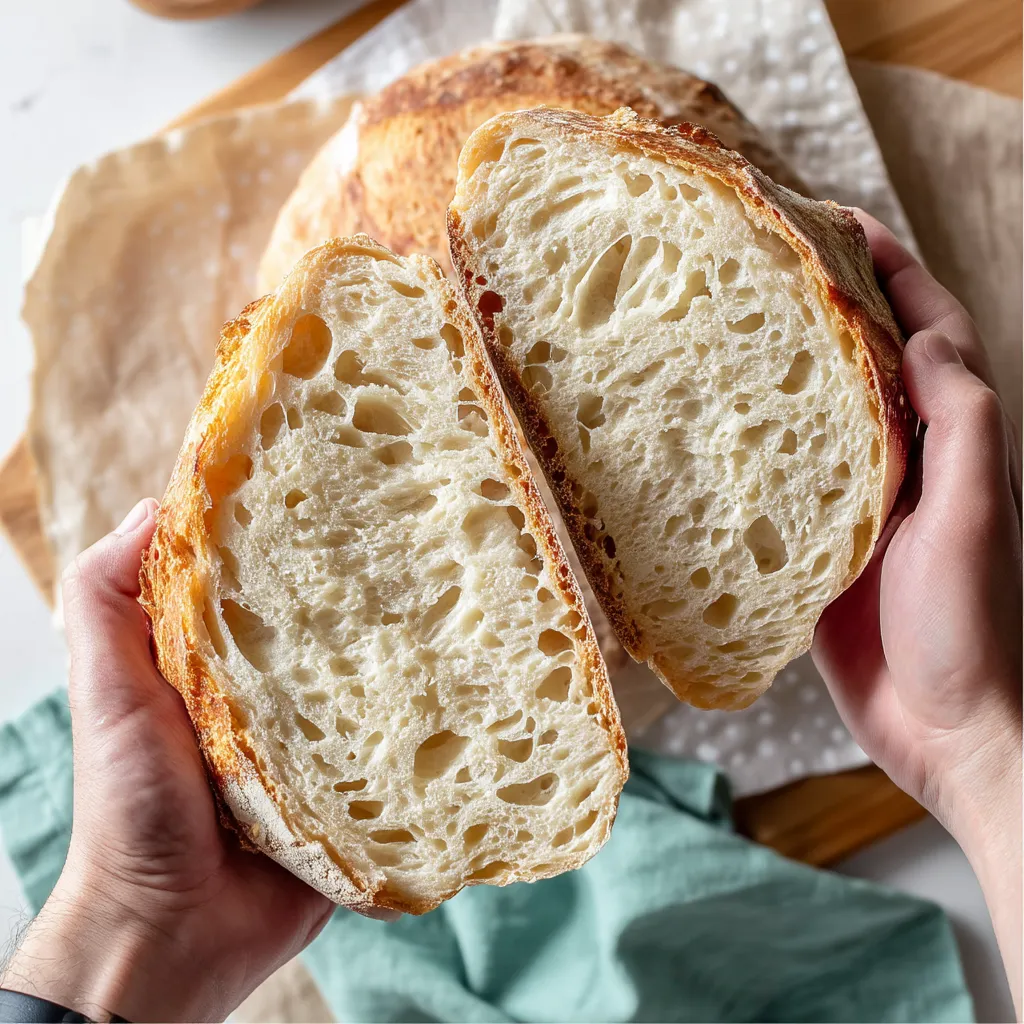
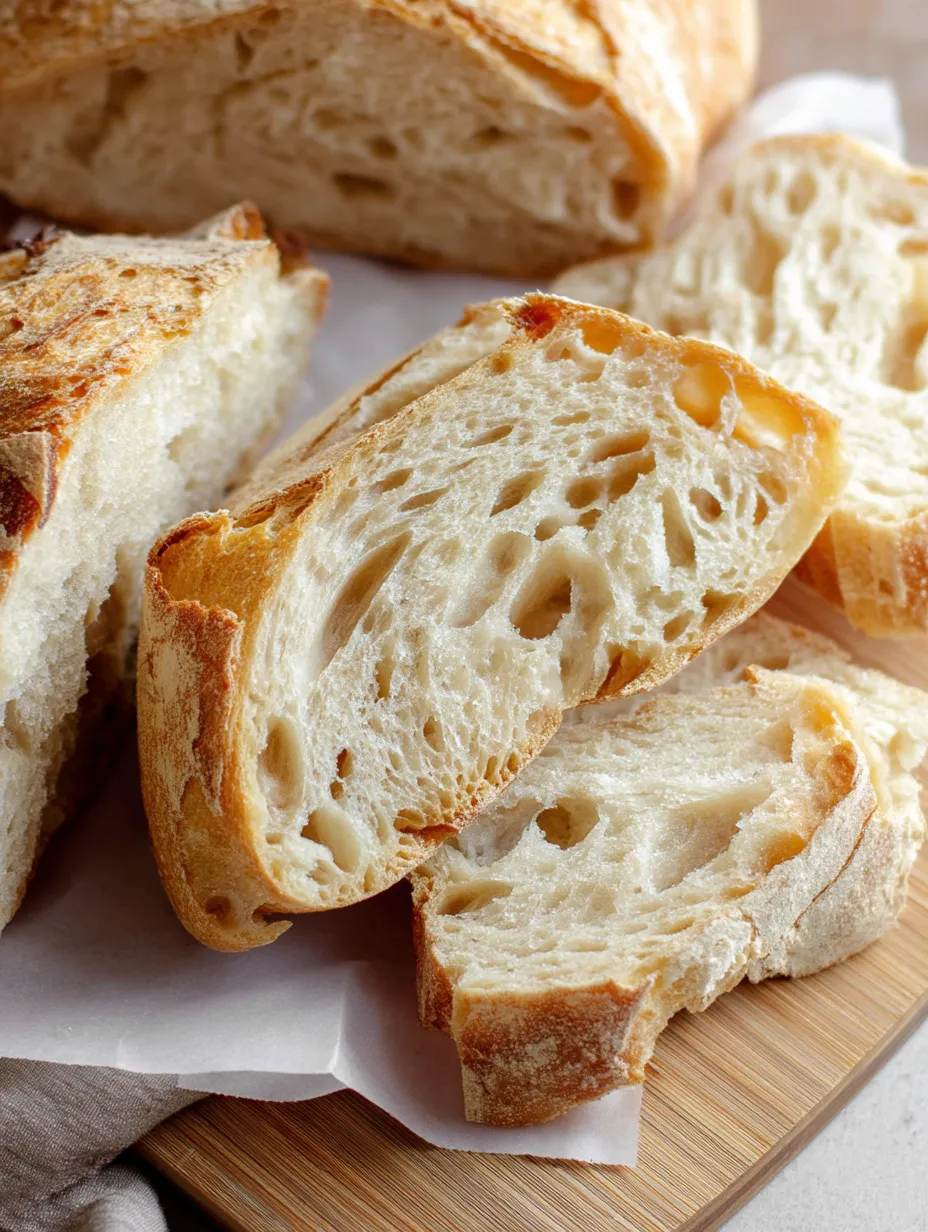
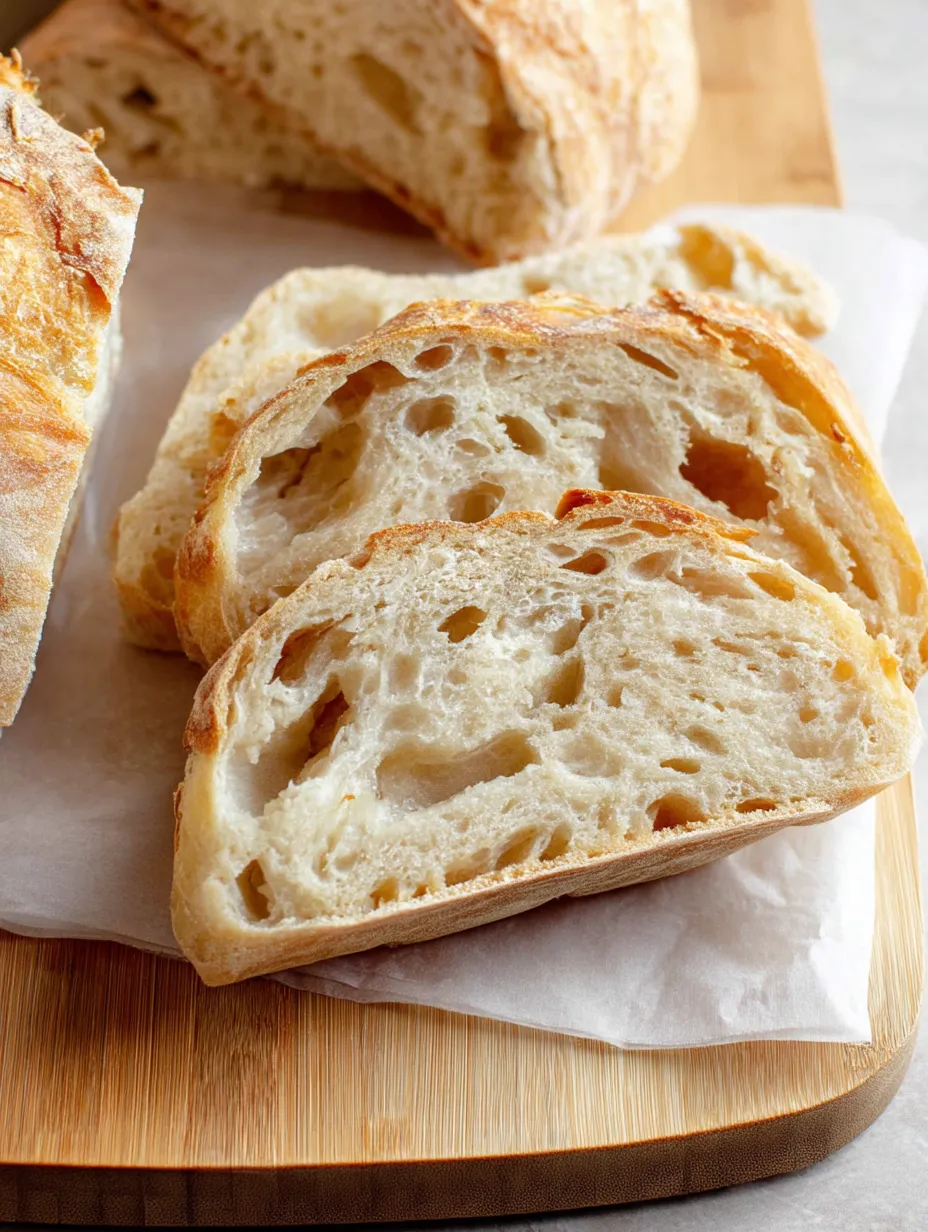
Crisp outer shell meets soft, pillowy inside in this amazing bread mashup. The layered effect brings croissant vibes while keeping that classic sourdough zip. When you bite in, you'll notice those thin butter sheets just disappear on your tongue, yet you still get that nice chewy pull true sourdough fans go crazy for. This clever bread takes your everyday loaf game up several notches - it works for everything from breakfast to fancy sandwich making.
I stumbled on this recipe during a happy kitchen accident. I was making sourdough scones and thought, what if I threw some grated butter into my regular bread mix? The first cut into that finished loaf blew my mind - those gorgeous layers and rich taste were incredible. Now my family bugs me to make this for our Saturday morning breakfasts, saying store-bought stuff just can't stack up.
Key Ingredients
- Active sourdough starter: does double duty by making the bread rise and giving it that sour kick that makes this loaf stand out
- Bread flour: packs more protein than regular flour, building stronger gluten networks that hold up all those delicate butter layers
- Cold unsalted butter: needs to stay in little chunks throughout mixing so it creates separate layers that puff up during baking
- Room temperature water: helps keep the butter from melting too early in the process, which would ruin those gorgeous layers
- Kosher salt: brings out flavors while slowing down the yeast action through water control
- Patience: turns out to be your most valuable ingredient, giving the dough proper cool-temp fermentation while keeping butter intact
Baking Methods
- Get Your Levain Going:
- Mix some active starter with fresh flour and water in a spotless container.
- Create Base Dough:
- In a big bowl, blend your bubbly levain with water and salt, making sure to break up the starter completely.
- Let It Soak:
- Throw a wet cloth over your bowl and let everything sit for half an hour.
- Start Building Structure:
- Do your first stretches by grabbing under the dough, pulling up gently without breaking it.
- Work In Butter Slowly:
- After waiting thirty minutes, shred half your cold butter right onto the dough before your second round of stretches.
- Keep Things Cool:
- Watch your dough temp closely, trying to stay around 70-72°F the whole time.
- Put In Leftover Butter:
- During your third stretch session, mix in what's left of your cold butter chunks using the same approach.
- Finish Main Rising:
- After getting all butter mixed in and completing all stretch cycles, let your dough continue rising.
- Form With Careful Pulling:
- Dump your dough onto a clean, dry counter and use a bench scraper to create some surface tightness.
- Take A Short Break:
- Let your roughly shaped dough chill uncovered for thirty minutes.
- Shape It For Real:
- Carefully fold the dough edges toward the middle, building nice tension across the top.
- Chill Overnight:
- Cover your shaped dough and stick it in the fridge for 12-18 hours.
- Get Ready To Bake:
- Heat your Dutch oven at 450°F for about twenty minutes.
- Bake With Trapped Moisture:
- Gently drop your dough into the hot Dutch oven, put the lid on, and turn heat down to 425°F.
- Finish With Lid Off:
- After twenty-five minutes, take the lid off and bake another twenty minutes.
This dough feels especially good to work with during cold months when my kitchen stays right around that perfect 70°F sweet spot. The first time I sliced into a really good loaf, I couldn't believe how the butter had made these gorgeous shiny layers throughout. My kid now always asks for this bread on her birthday morning, especially with some homemade strawberry jam that gets into all those tasty little pockets.
 Pin it
Tasty Combos
- Morning Toast:
- Cut fat slices, toast them lightly and top with fancy butter and a drizzle of honey.
- Midday Sandwiches:
- Make single-sided sandwiches using good cheese and super thin veggie slices.
- Starter Snack:
- Slice it thin, toast till golden and serve with a soft cheese spread.
Yummy Twists
- Chocolate Style:
- Turn this into a chocolate fan's favorite by mixing in chunks of fancy dark chocolate.
- Hearty Option:
- Mix shredded cheese and fresh herbs into the dough during your last stretch and fold.
- Nutty Version:
- Spread a thin layer of almond paste over the dough before your final shaping step.
Keeping It Fresh
- Day-to-Day Storage:
- Make sure this bread tastes its best by letting it cool all the way before cutting into it.
- Long-Term Keeping:
- Once totally cool, cut the whole loaf, then freeze individual pieces with baking paper between them.
 Pin it
Making this bread connects me to all the bakers who came before, always trying new stuff with basic ingredients. There's something kinda magical about watching butter bits turn into those delicate layers that snap when you take a bite. You need to be patient and pay attention, but pulling that golden brown loaf from the oven makes all that careful temp checking worth it. Whenever I share this bread with friends, I feel so proud of creating something this beautiful using just flour, water, salt and butter.
Frequently Asked Questions
- → Why does the temperature matter so much here?
- It’s all about balance—you need it warm enough (around 70-72°F) for the sourdough to rise but cool enough to keep the butter staying solid. If the dough gets too warm, the butter melts and you’ll lose those lovely flaky layers.
- → Can I knead this in a stand mixer instead of by hand?
- For mixing the basic dough, a stand mixer on a low setting is fine. Once you introduce the butter, though, hand folding is better. It keeps those important butter chunks intact for that layered texture.
- → What’s the alternative if I don’t own a Dutch oven?
- A pizza stone or baking steel works well too! Preheat it while your oven warms and add a shallow pan with water on a bottom rack. Slide your dough onto the stone and pour in hot water to make steam.
- → Can I make this without a sourdough starter?
- This calls specifically for a starter. If you don’t have one, you’ll need to start from scratch—it’s a week-long process. But the unique taste and rise sourdough provides can’t be mimicked easily with regular yeast.
- → How can I tell if it’s ready to bake?
- It’s close to perfect when it feels puffy, jiggles when you shake it gently, and has grown about 70%. A floured finger poke should mainly spring back but leave a little dent. Too fast a spring-back means underproofed, while collapsing means it went too far.