 Pin it
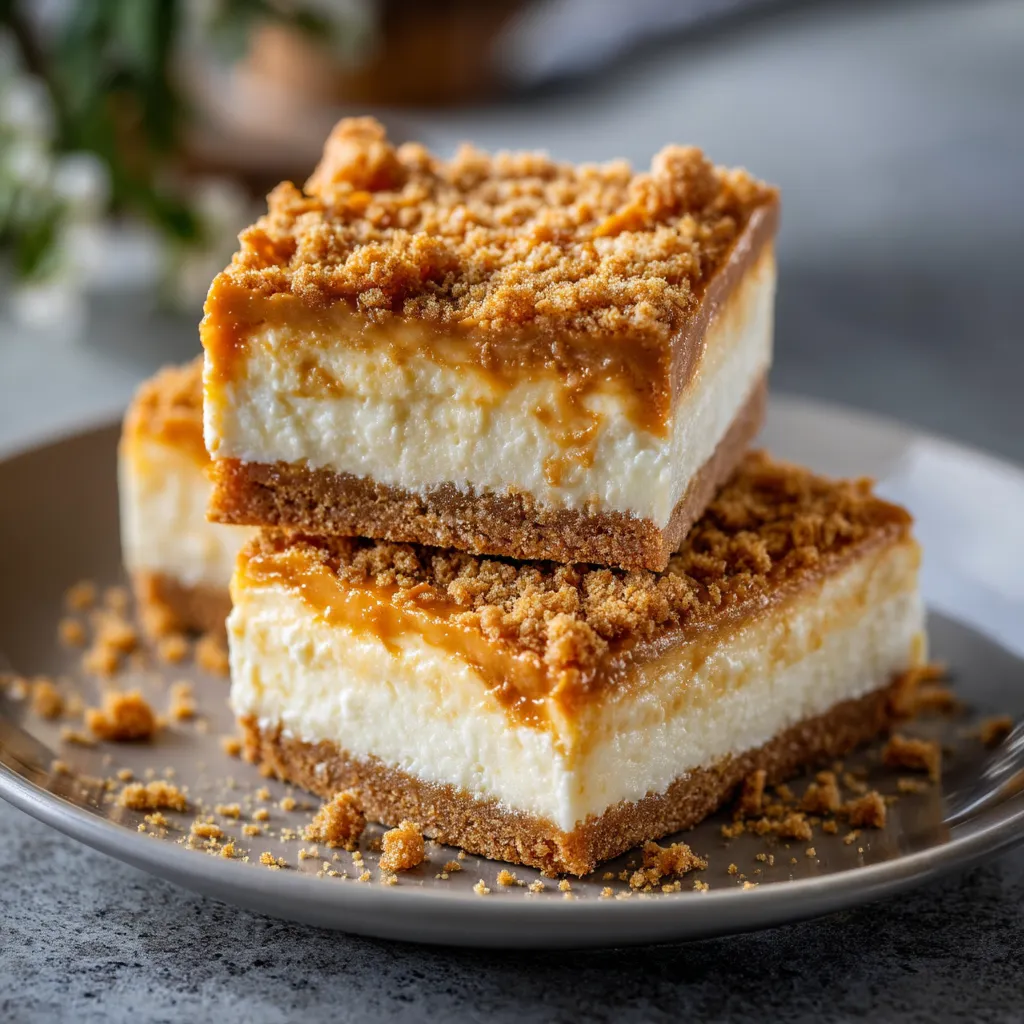
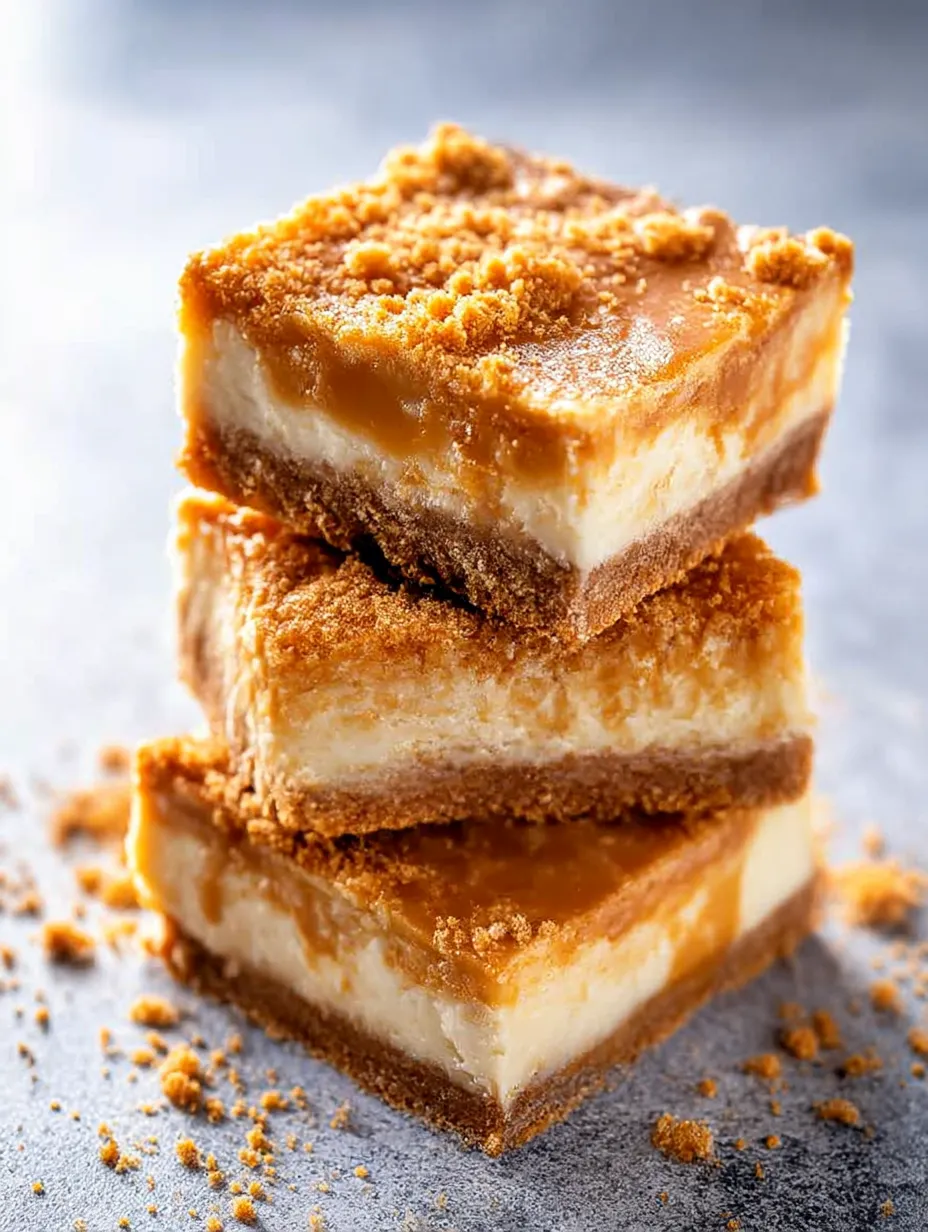
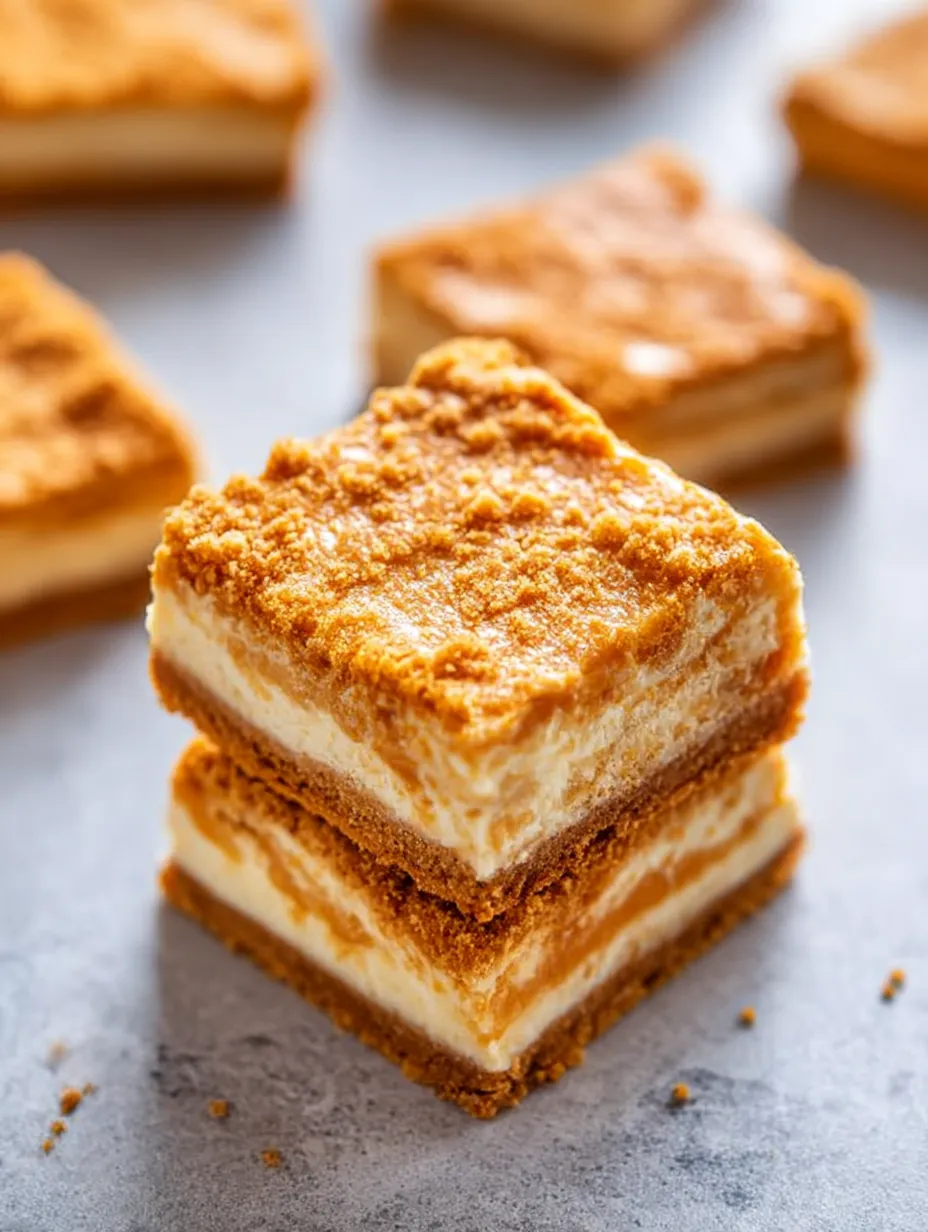
These butterscotch graham cracker cheesecake bars bring together a wonderful mix of textures in one amazing treat. The bottom layer and crumbly top are both made from a tasty butterscotch-graham mix, while the middle features a velvety cream cheese layer. When you bite into one, you'll love how the sweet butterscotch crumbles play against the slightly tart cheesecake – it's a combo that'll knock your socks off.
I whipped these bars up for a block party when I needed something wow-worthy but was short on time. The butterscotch smell while they were baking was so good that neighbors were asking me for the recipe before they'd even had a taste. Now I can't show up to any get-together without bringing them.
Ingredients
- Butterscotch chips: They give these bars their standout caramel-like flavor. Try to get good quality ones that'll melt well.
- Unsalted butter: Brings richness and helps bind the crust. Going unsalted lets you adjust the saltiness yourself.
- Graham cracker crumbs: Form the foundation of the bars. Buy them ready-made or smash your own for a chunkier texture.
- Cream cheese: The main player in the middle layer. Let it sit out until it's completely soft for the best results.
- Large egg: Gives the filling structure. Room temp eggs mix in much better.
- Sweetened condensed milk: Makes the filling silky and sweet without extra sugar.
- Vanilla extract: Boosts all the other flavors. Real vanilla works best here.
- Salt: Cuts through the sweetness and makes the butterscotch pop. Don't skip it, even in desserts.
Step-by-Step Instructions
- Get Your Pan Ready:
- Heat your oven to 350°F and put aluminum foil in a 9x9-inch baking dish. Leave some hanging over the sides to lift the bars out later. Give it a quick spray with cooking spray so nothing sticks.
- Create the Butterscotch Base:
- Put your butterscotch chips and butter in a pot over medium-low heat. This'll take about 5 minutes to melt fully. Keep whisking the whole time so it doesn't burn. Don't worry if it looks weird and separated at first – it'll come together if you keep at it.
- Mix Up the Crust:
- Once your butterscotch is all smooth, dump in the graham cracker crumbs and stir everything together. The mix will be kind of thick and crumbly but should stick when you press it. Scoop out 1 heaping cup and set it aside for the top.
- Make the Bottom Layer:
- Put the rest of your butterscotch crumb mix into the pan. Press it down firmly to make a solid base. A measuring cup works great for packing it down tight.
- Whip Up the Filling:
- Beat your cream cheese until it's super smooth and fluffy, about 2-3 minutes. This step really matters for texture. Add your egg, sweetened condensed milk, vanilla, and salt, and beat until everything's mixed well. If you see little lumps, just keep beating until they're gone.
- Put It All Together and Bake:
- Pour your cheesecake mix over the crust and spread it out evenly. Sprinkle all that reserved crumb mixture on top. Bake for 32-35 minutes until the top feels set but still wobbles slightly when you shake it gently. The top should bounce back a little when touched.
- Let It Rest:
- Let the bars cool on your counter for an hour, then cover and stick them in the fridge for at least 2 hours. This cooling time helps the flavors get friendly with each other and makes sure they'll cut cleanly.
 Pin it
Butterscotch chips really make this dessert special. I found out how amazing they could be while trying different crusts for my cheesecake bars. That first taste with the buttery graham cracker base and rich butterscotch had everyone in my family fighting over who got the last piece. I now always keep a bag of butterscotch chips handy for unexpected visitors or when I need a quick dessert fix.
Mastering the Butterscotch Mix
Getting those butterscotch chips to melt right can be tricky. They don't melt as nicely as chocolate chips do. They'll go through a weird stage where they look all separated and grainy. Just keep your heat on the lower side and don't stop whisking. Eventually, it'll turn smooth and shiny. If it seems too thick, a tiny bit of neutral oil can help things along. Don't give up when it looks messy – it'll come together in the end.
Prep Ahead and Storage Tips
These bars actually taste better after a day in the fridge as all the flavors get to know each other. You can make them up to three days before you need them. They'll stay good in the fridge for about a week if covered well. Want to keep them longer? They freeze great for up to three months if you wrap them tight in plastic and then foil. Just thaw them overnight in the fridge before eating. Only cut what you'll eat and save the rest for later to keep them fresh.
Serving Ideas
These bars taste fantastic on their own, but you can dress them up for special times too. Try adding a small scoop of vanilla ice cream or some whipped cream on top for fancy occasions. A drizzle of warm butterscotch sauce or some toffee bits sprinkled over makes them even more special. I like cutting them into bite-sized squares for dessert tables alongside chocolate treats for variety. The butterscotch flavor stands out and always gets compliments.
 Pin it
Frequently Asked Questions
- → How do I melt butterscotch chips properly?
Heat butterscotch chips gently over low heat and keep stirring until they turn smooth and combine with butter. It might take a moment, so don't rush.
- → Can I prepare these dessert bars early?
Absolutely! Put them in an airtight container in your fridge, and they'll stay fresh for up to 7 days. They're great when cold!
- → What size baking dish should I use?
Grab a 9x9-inch pan and line it with foil for an easy release and quick cleanup.
- → Any tips for a lump-free cheesecake layer?
Whisk the cream cheese at high speed until fluffy. Scrape the sides regularly while mixing in the other ingredients to avoid any clumps.
- → How do I save the leftovers?
Once cooled for an hour at room temp, cover and refrigerate the leftovers. They'll last for up to a week in the fridge.
