
 Pin it
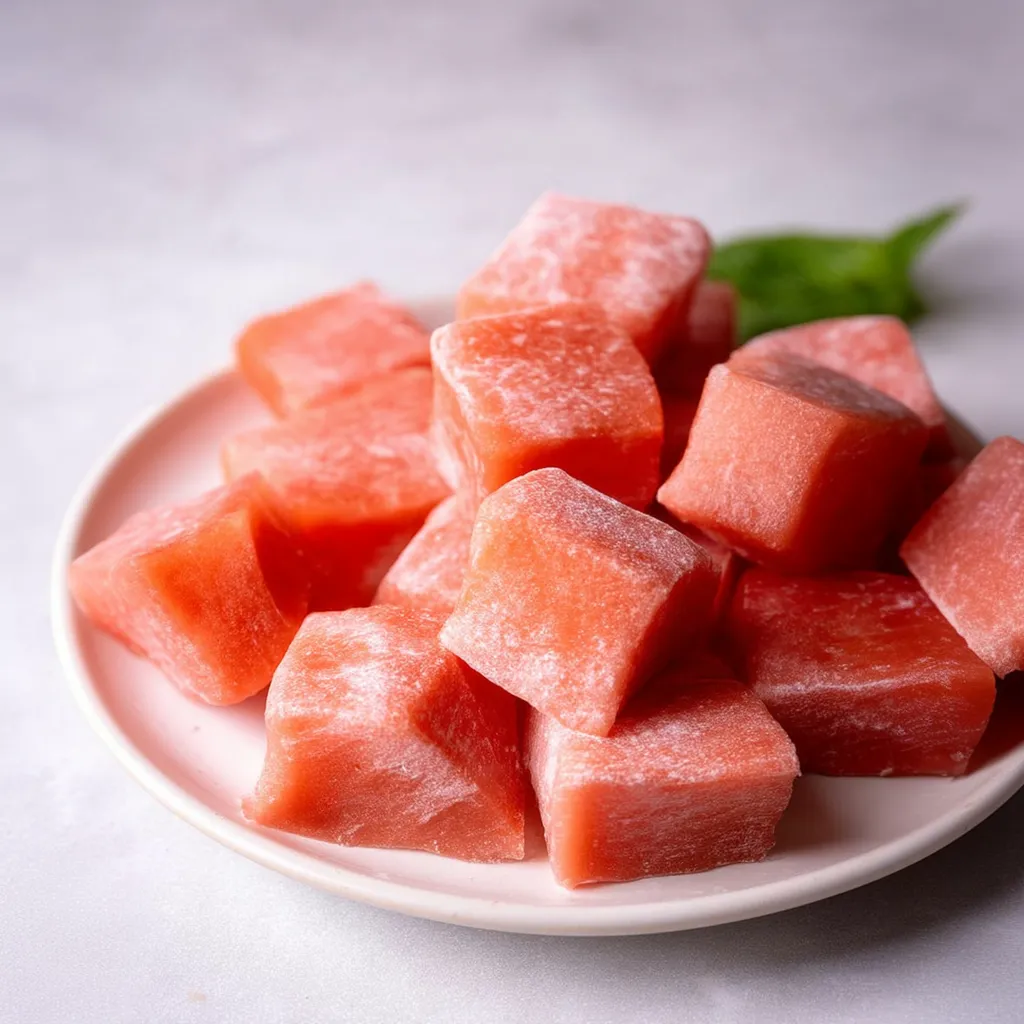
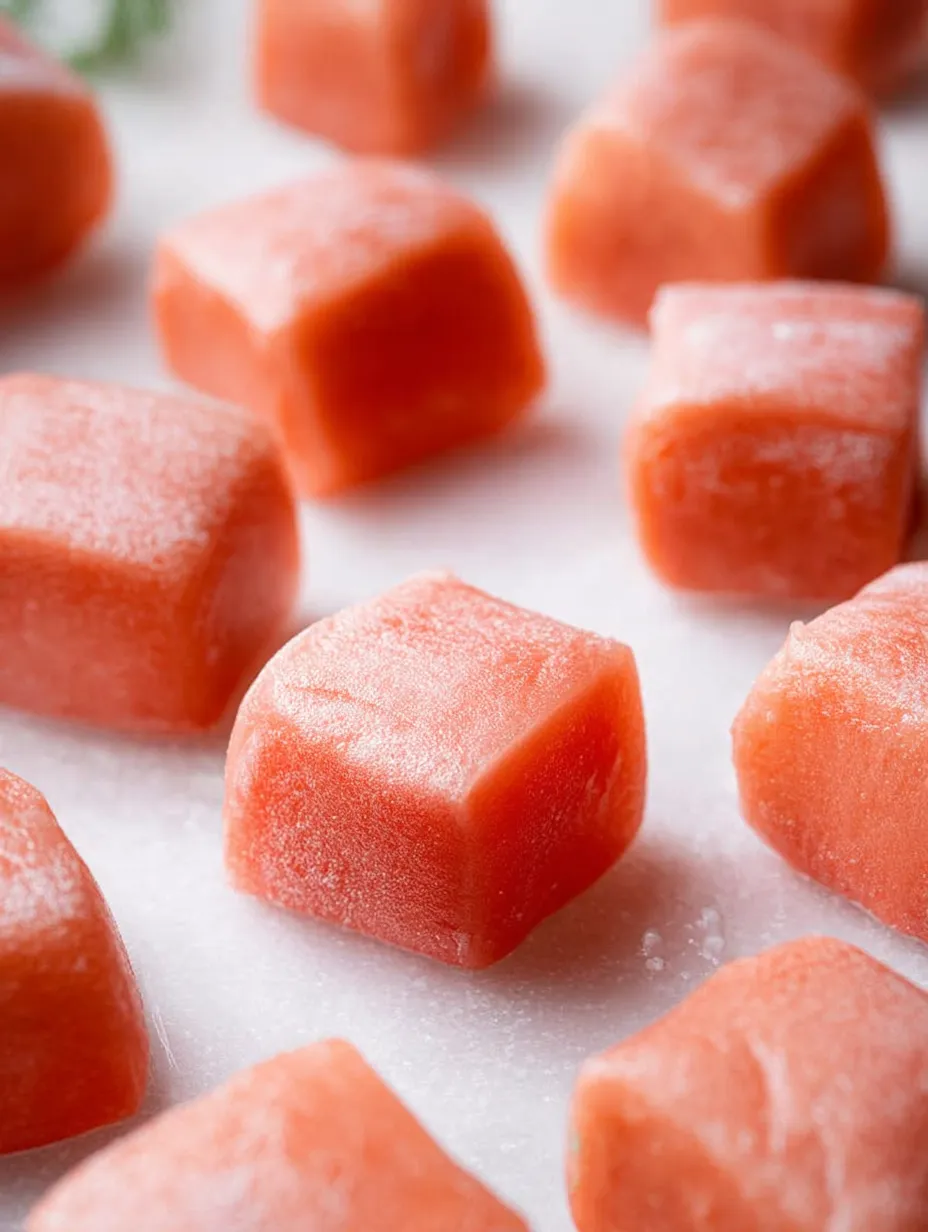
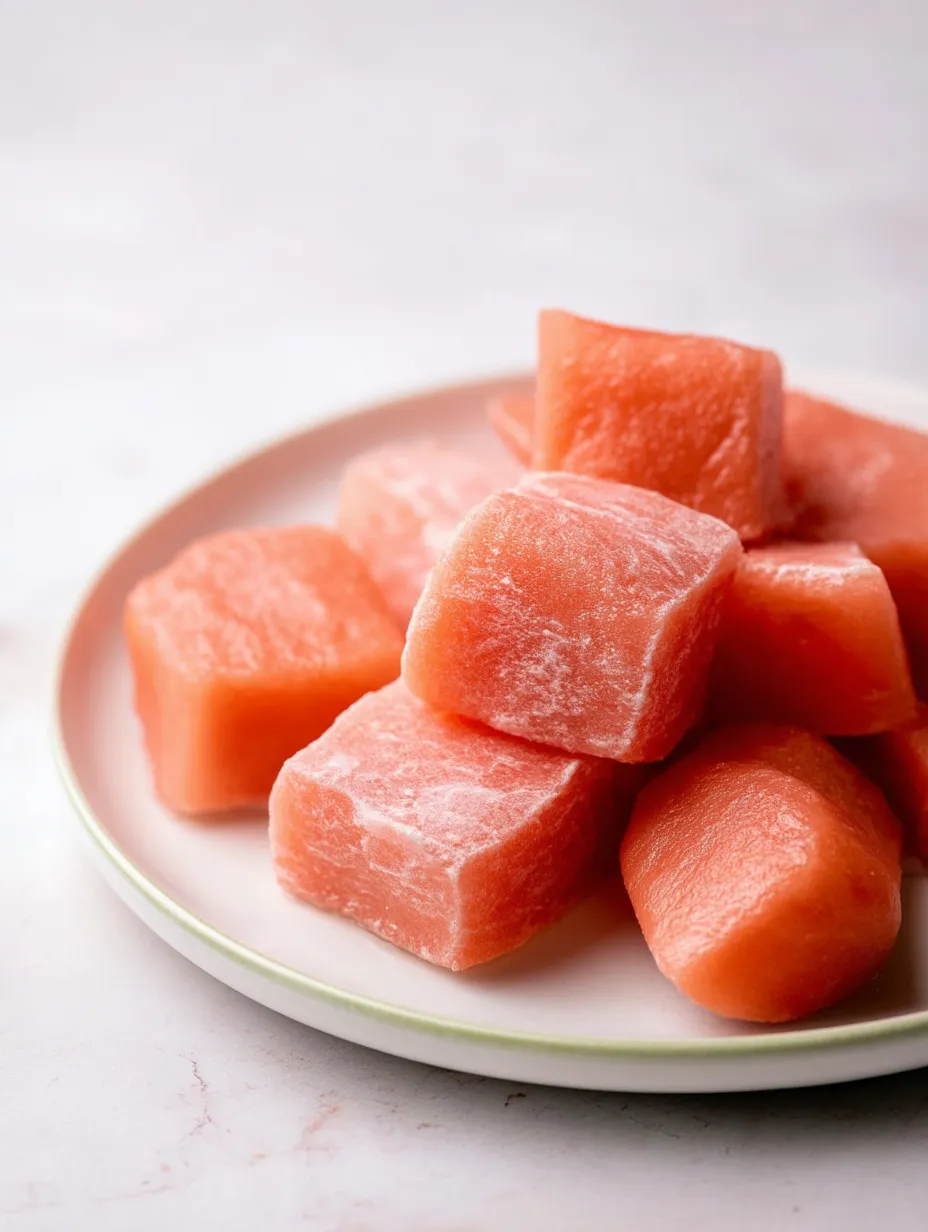
These delicate watermelon mochi squares offer a refreshing summery delight with their soft, chewy texture. They showcase a beautiful natural pink hue from fresh watermelon juice, making them a wonderful light treat without any artificial coloring needed.
I whipped these up during an incredibly hot summer when we wanted something cool and light. Their soft pink appearance and bouncy texture was such a hit that they've now become our go-to summer sweet for family get-togethers.
Ingredients
- Glutinous rice flour: Gives you that bouncy, chewy bite while staying gluten free. You'll find this labeled as sweet rice flour at most Asian markets.
- Maple sugar: Brings natural sweetness without processed sugar. It works really well with the watermelon taste.
- Tapioca starch: Makes sure everything comes together smoothly and doesn't stick too much.
- Fresh watermelon juice: Adds both the pretty color and subtle flavor. Make sure to strain it well.
- Avocado oil: Stops everything from sticking together and adds a bit of richness. Go for something mild tasting.
Step-by-Step Instructions
- Get Your Watermelon Juice Ready:
- Take a ripe watermelon, cube it up and throw it in a blender until totally smooth. Push it through a fine strainer to get rid of any seeds or pulp that would mess with the texture. You'll need exactly 3/4 cup for best results.
- Mix Your Dry Stuff:
- In a big bowl, stir together the glutinous rice flour, maple sugar, and tapioca starch until they're completely mixed. This dry mix is the foundation for getting that perfect mochi bounce.
- Make Your Batter:
- Push the dry ingredients to the sides to make a hole in the middle, then pour in your watermelon juice and 1 tablespoon of avocado oil. Start mixing from the center out until you've got a smooth pink batter without any clumps.
- Heat It Up:
- Put the other tablespoon of avocado oil in a non-stick pan over medium-low heat. Pour your batter in and keep stirring for about 3-4 minutes. You'll see it change right in front of you - getting thicker and turning a deeper pinkish-orange color.
- Form Your Dough:
- With lightly oiled hands, scoop the hot sticky mixture from the pan and roll it into a ball. Work fast but careful since it'll be pretty hot.
- Shape It Square:
- Put your mochi ball on parchment paper and use the paper to help you shape it into an even square. The parchment keeps it from sticking without needing too much extra flour.
- Let It Chill:
- Move the parchment with your mochi square into a square container about 15cm x 15cm. Put a lid on it (don't just use plastic wrap) so the top doesn't dry out, and stick it in the fridge for 1-2 hours until it's totally cool and firm.
- Slice It Up:
- Sprinkle both sides of your chilled mochi square with more glutinous rice flour. Use an oiled knife to cut it into 20 pieces, wiping the knife clean between cuts if needed.
- Finish And Enjoy:
- Roll each piece in more rice flour so they don't stick together, then gently tap off any extra. Put them on a plate and eat them right away for the best texture.
 Pin it
The watermelon juice really makes this whole dish shine. Getting the sweetest, ripest watermelon you can find totally changes both the color and taste. One time I tried making these with a yellow heirloom watermelon and ended up with gorgeous golden squares that had the same wonderful texture.
Storage Tips
These treats taste best when fresh, but you can keep extras in the fridge for up to two days if you use an airtight container with a good lid. Don't just cover it loosely or the mochi will dry out and get hard fast. When you want to eat the refrigerated mochi, let them sit out for about 15 minutes and add a bit more rice flour if they seem sticky.
Texture Troubleshooting
The cooking part is where everything can go right or wrong. If your mochi feels too soft after cooling, you probably didn't cook it long enough. The mixture should definitely change color and get much thicker before you take it off the heat. On the flip side, if your mochi seems too firm or rubbery, you might have cooked it too long or used too much flour. Stirring constantly while cooking helps you get that perfect balance between stretchy and soft.
Flavor Variations
This watermelon version works great in summer, but you can apply the same method with other fruit juices too. Try using strawberry puree, mango juice, or even blue butterfly pea flower tea for beautiful natural colors. You can also tuck small bits of fresh fruit inside each piece for a surprising flavor burst. Just make sure to keep the amount of liquid the same so the texture stays right.
 Pin it
Frequently Asked Questions
- → What's the best way to make watermelon juice for this?
Cut fresh watermelon into chunks, blend it until smooth, and pour it through a fine strainer to separate seeds and pulp. You’ll need 3/4 cup of the clear juice.
- → Are there substitutes for avocado oil?
Sure! You can swap avocado oil with a neutral option like grapeseed or light olive oil—it works just as well.
- → How can I keep the dough from sticking while shaping?
Rub a bit of oil on your hands before handling, or use parchment paper to shape. Either trick works great!
- → Can I keep any leftover mochi for later?
Definitely! Store leftovers in a sealed container in the fridge. They’ll stay good for up to 2 days, though they might firm up a bit over time.
- → Why is dusting with rice flour important?
The flour keeps the pieces from sticking together, so they're simpler to handle after you’ve cut them up.