
 Pin it
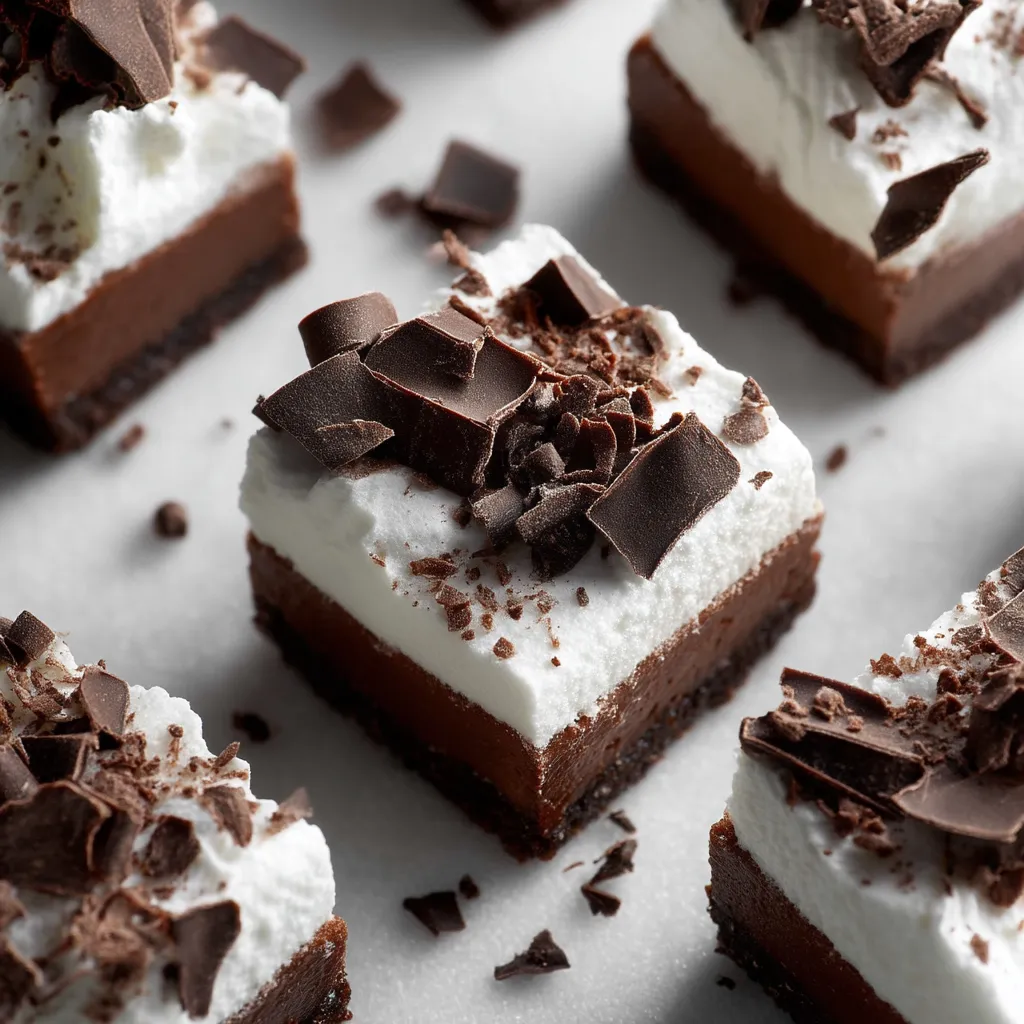
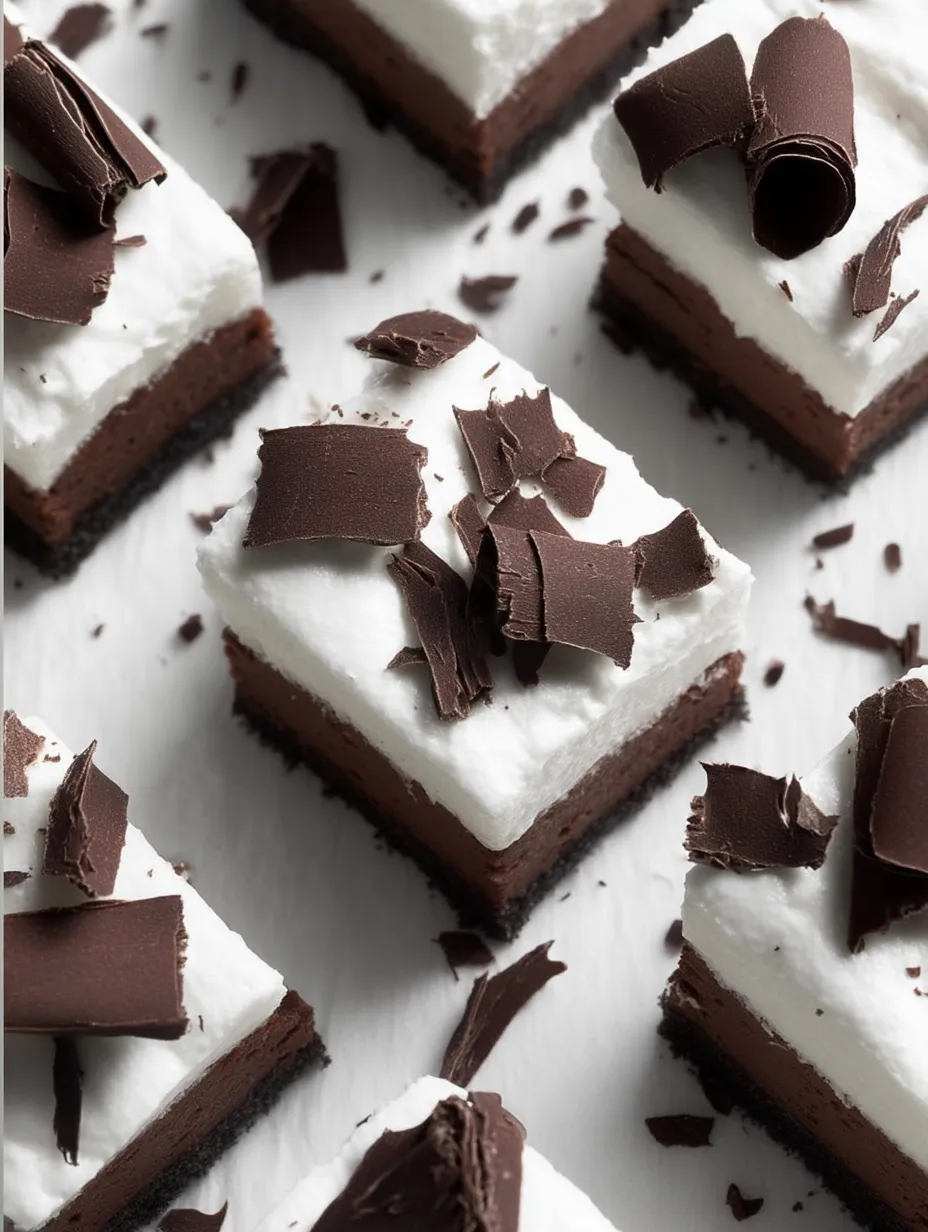
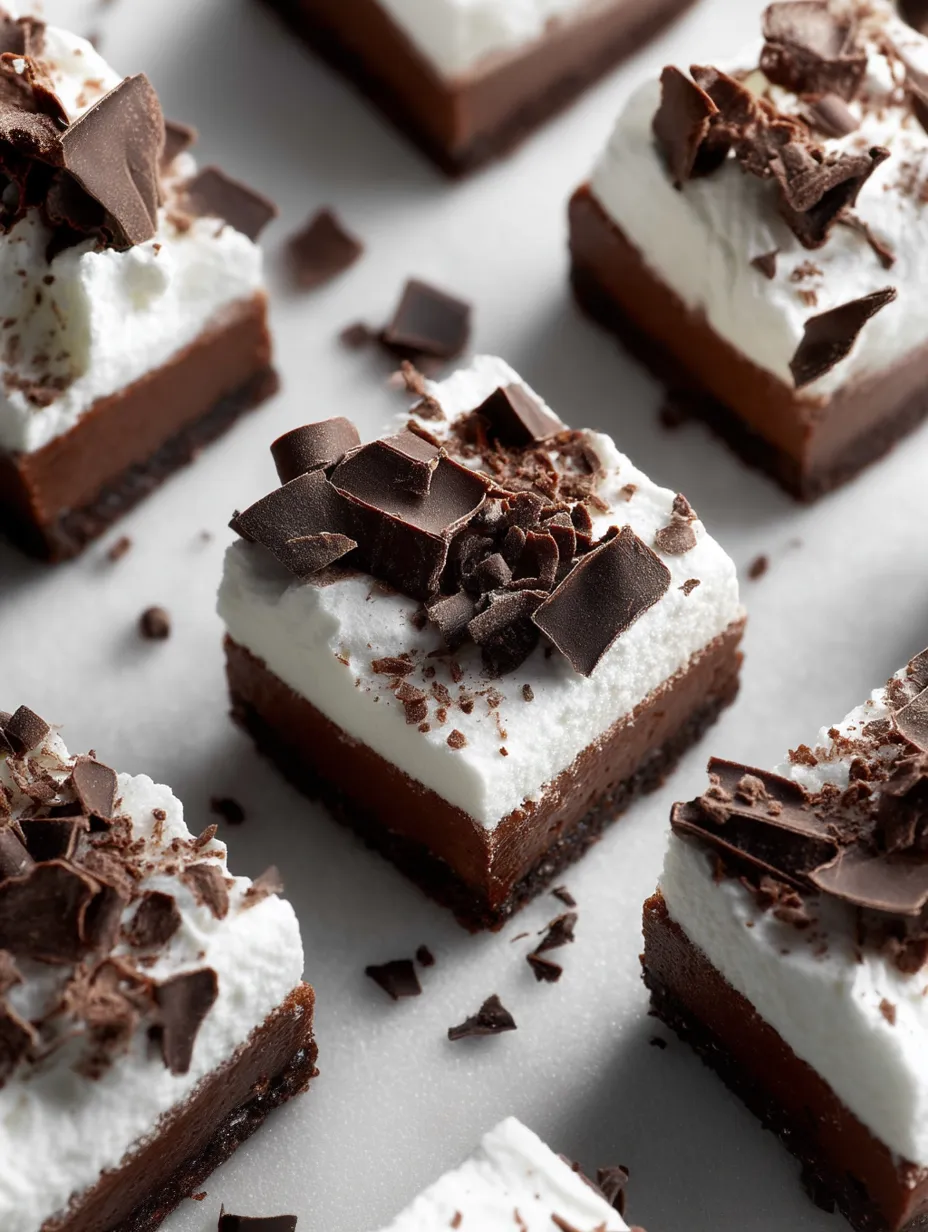
Picture a mouthwatering treat that takes chocolate cream pie to new heights by transforming it into handy bars. With a crunchy base, smooth chocolate middle, and fluffy cream topping, these squares will make any chocolate fan go wild. They're just the thing for parties or anytime you need a chocolate fix.
I came up with these bars when I needed something easier to carry than pie for a block party. They vanished right away, and now folks ask me to bring them to every single gathering we have.
What You'll Need
- Oreo cookie bits: Gives you that dark, chocolatey foundation that works so well with the filling
- Unsalted butter: Keeps the crumbs stuck together and makes the base extra tasty
- Heavy whipping cream: Gives that cloud-like feel that makes the filling so yummy
- Semisweet chocolate chips: Go for the good stuff here—it really shapes the taste
- Unsalted butter: Brings a smooth, velvety touch to your chocolate mix
- Full fat cream cheese: Adds a nice zing and helps everything hold together while cutting sweetness
- Powdered sugar: Melts right in for ultimate smoothness without any sugar crunch
- Unsweetened cocoa powder: Pumps up the chocolate kick—try Hershey's Special Dark for extra richness
- Vanilla: Works magic by bringing out all those chocolate flavors with its warm scent
- Salt: Cuts through sweetness and makes the chocolate taste even better
- Heavy whipping cream: Make sure it's straight from the fridge for the best puffiness
- Powdered sugar: Helps your cream topping keep its shape longer
- Vanilla: Brings a nice hint of flavor that works well with the chocolate parts
- Shaved chocolate: You can skip it, but it looks pretty and gives you more chocolate goodness
Let's Make These Bars
- Get Your Pan Ready:
- Put parchment in your pan with extra hanging off the sides. These flaps will let you lift the whole thing out later without messing up your dessert.
- Make Your Cookie Bottom:
- Crush those Oreos until they look like sand. Take out the filling first for better results. Mix thoroughly with melted butter until all crumbs get coated. Push down hard with a measuring cup to get a flat, tight layer that won't fall apart when cut.
- Quick Bake:
- Pop it in at 350°F for just ten minutes. You want it set but still slightly soft—not too hard or it'll be tough to bite through.
- Get Your Chocolate Ready:
- Take your time with the double boiler. Keep water barely bubbling instead of boiling hard so your chocolate doesn't get too hot. Keep stirring to get it super smooth with no little bits.
- Beat Your Cream:
- For the filling part, whip that cream until peaks stay standing when you pull the beaters out. Put it in the fridge right away while you work on other stuff.
- Mix The Chocolate Base:
- Start mixer slow when adding dry stuff to cream cheese to avoid making a mess, then speed up to get some air in there. Keep going until everything looks completely smooth before adding your melted chocolate.
- Put It All Together:
- Your folding technique matters a lot here. Use a big spatula, cut down the middle, then sweep around and turn the mix over itself. This keeps all the air bubbles in the whipped cream for a fluffy texture.
- Let It Set:
- Three hours works in a pinch, but leaving it overnight makes it taste even better and cuts cleaner.
- Add The Top Layer:
- Save this step for right before serving so it looks its best. The white cream looks amazing against the dark chocolate filling.
- Cut It Nicely:
- Wipe your knife clean between cuts for pretty squares. Hot water on the knife helps it slide through smoothly.
 Pin it
The real game changer in this recipe is dark cocoa powder. I found out how amazing it is years back when making these for my daughter's birthday party. She told me they beat anything from fancy bakeries, and now we always make them together as our special thing.
Keeping Your Chocolate Bars Fresh
These treats stay perfect in the fridge for up to four days if you keep them in something airtight. Want to save them longer? Wrap each piece in plastic, then foil, and freeze them. They'll thaw out nicely overnight in your fridge. I'd skip putting the whipped topping on before freezing—just add fresh cream after they've thawed.
Switching Things Up
The original is fantastic, but you can easily change things around. Try graham crackers or shortbread for the base to get different flavors. Want a coffee kick? Add a tablespoon of espresso powder to your chocolate mix. If you love white chocolate, swap in white chips instead. My family can't get enough of our holiday version with a few drops of peppermint extract mixed into both the filling and topping.
 Pin it
Ways To Serve
These squares work at fancy dinner parties but are just as good at backyard barbecues. They're great on their own or dressed up with extras. Try adding some raspberry sauce for a pop of color and fruity taste. Coffee lovers should try having these with a shot of espresso to bring out the chocolate even more. In summer, throw on some fresh berries. I love serving these at dinner parties with tiny forks and telling guests to try each layer separately before taking a bite with everything together.
Frequently Asked Questions
- → What’s the best way to make the crust?
Grind Oreo cookies (don’t forget to remove the filling) into crumbs, blend with melted butter, press into your pan, and bake at 350°F for about 10 minutes.
- → Can I swap the chocolate chips in the recipe?
Absolutely! You can use chopped chocolate bars or other variations, just make sure to adjust for sweetness as needed.
- → Why is chilling time important?
It helps the dessert firm up properly, so the layers stay intact and the flavors meld beautifully.
- → What can I do to enhance the whipped cream on top?
Add a splash of vanilla to give it a boost, then sprinkle chocolate curls or shavings to make it look extra special.
- → Can I freeze these bars for later?
Yes, these bars freeze well for weeks. Let them thaw in the fridge when you’re ready to serve for the best taste and texture.