
 Pin it
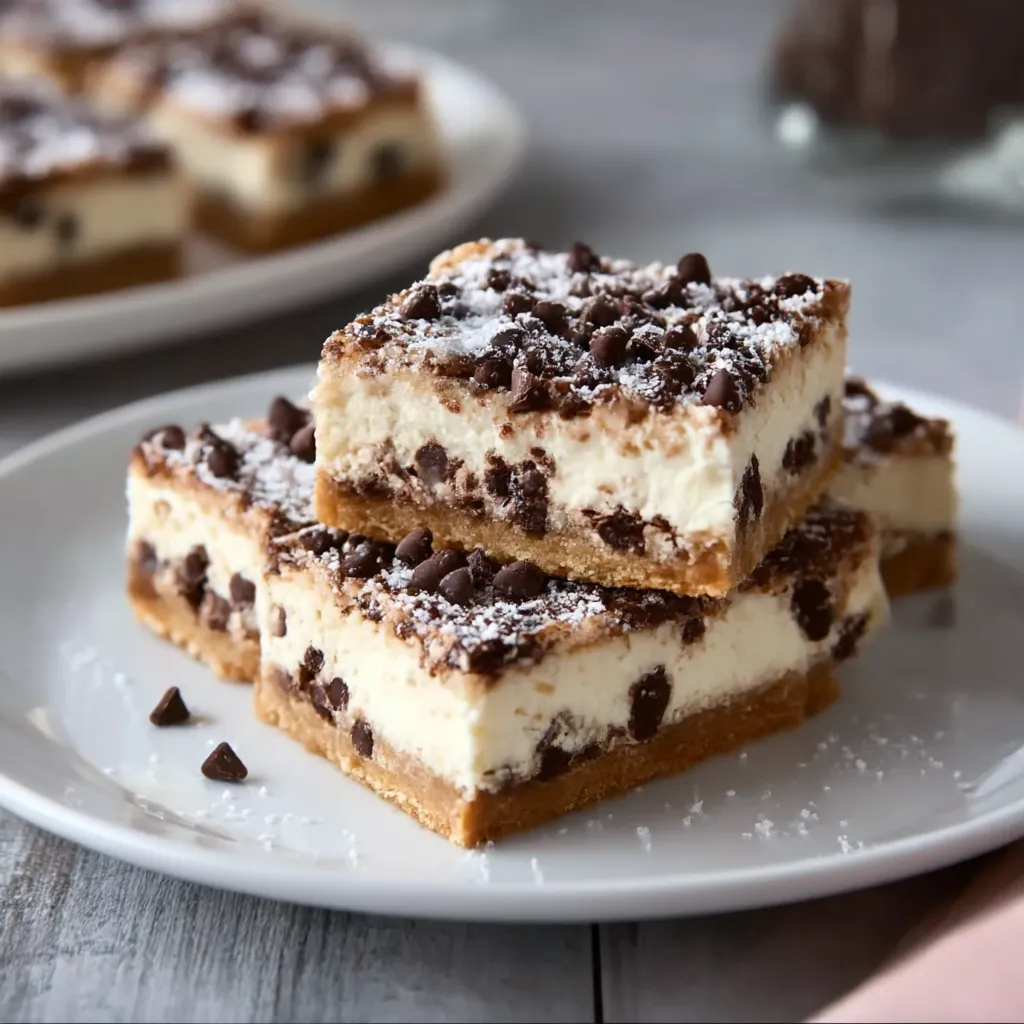
If you’ve ever wished you could mash up cannoli with cheesecake, these bars are your dream come true. Creamy and thick thanks to ricotta and mascarpone, you’ll smell a hit of cinnamon and orange with mini chocolate chips in every bite. That crisp waffle cone base nails the snap and taste of true cannoli shells, and you don’t need to bother with frying or fiddly piping.
Everybody asks for these bars when I show up at a get-together. They're a year-round favorite at our place—my family always requests them for Sunday feasts. First time was for a potluck, just trying to bring a bit of our roots. Now, it’s a staple.
Dreamy Ingredients
- Powdered sugar (optional): A sweet dust on top makes these look like old-school cannoli. A super-fine white sugar gives the cleanest finish.
- Mini chocolate chips: Sprinkle these all through the filling so every bite is loaded. Pick a semi-sweet kind you love by the handful.
- Ground cinnamon: Pulls out the orange flavor and adds gentle spice. Use fresh ground if you can—it’s worth it for that extra punch.
- Fresh orange zest: Wakes everything up and feels classic. Grab a brightly colored orange for the best aroma.
- Vanilla extract: Adds cozy depth. Real vanilla brings out the best in the cheeses.
- Large eggs: These make the bars hold together and turn super silky. Let them come to room temp so they blend in fast.
- Granulated sugar: Keeps things sweet but lets cheese flavors shine. Use the pure cane kind for the cleanest taste.
- Mascarpone cheese: For that smooth, lightly tangy bite. Go for full fat and drain off any extra water for a luscious texture.
- Ricotta cheese: The secret to rich, creamy cheesecake. Make sure it’s thick and full-fat, and if it’s runny, drain it overnight.
- Butter: Holds the crust together and adds extra flavor. Melt it and use the good stuff if you can.
- Waffle cone crumbs: Brings real cannoli taste and crunch. Use fresh, crisp cones or swap for graham crackers if that’s what you have.
Step-by-Step Walkthrough
- Slice and Serve:
- Lift the chilled bars out using the parchment paper and set on a cutting board. Cut them into any shape or size that works—eight big squares or smaller bites. Add a dust of powdered sugar if you want that bakery finish.
- Cool and Chill:
- Once they’re baked, let them cool right in the pan until room temp. Pop the whole thing in the fridge for at least four hours—overnight’s even better. This helps them set up sturdy and makes cutting easy.
- Bake:
- Stick the pan in at 350 F for about 30–45 minutes. The edges should just start to turn golden, and the middle should be set but still a little wobbly. It’ll finish firming up as it cools down.
- Assemble and Add Chocolate Chips:
- Spread the creamy filling over the crust so it’s level all around. Toss mini chocolate chips across the top. Every bar should get plenty in each bite.
- Add Eggs and Flavorings:
- Crack in eggs one after the other, mixing well in between. Pour in your vanilla, orange zest, and cinnamon next. Beat until everything looks smooth and even.
- Mix the Cheesecake Filling:
- In a big bowl, blend ricotta, mascarpone, and sugar on low, then bump up to medium when they start coming together. Mix until it’s all creamy with no lumps. Smoothness here makes the final bars silky.
- Make the Crust:
- Stir melted butter with your waffle cone crumbs in a bowl until all of it’s damp and clumping. Press this mixture into the bottom of your lined pan, making sure it’s flat and firmly packed from side to side for a crunch that sticks together after baking.
- Prepare the Pan:
- Lay parchment paper so it lines the bottom and hangs over two edges of your 9x9 pan. This way, you can pop the bars out in one smooth move after chilling.
 Pin it
My favorite part is always zesting the orange. It takes the whole thing up a level and seriously reminds me of my Nonna’s house. Perfect for making even regular dinners feel special.
How to Store
Keep bars sealed up in the fridge and they’ll stay just right for about a week. To stash them longer, wrap each piece in parchment and tuck them in a freezer bag. They defrost super fast and taste just as good, so you can prep them days before your party and they’ll still wow everyone.
Swap Outs
No waffle cones at your shop? Sugar cones totally work or use graham crackers for a lighter taste. Out of mini chips? Chop up a chocolate bar or sub in toasted nuts for a fun switch. Mascarpone can get traded with full-fat cream cheese, though the bars will come out with a bit more tang and a touch less silkiness.
Serving Ideas
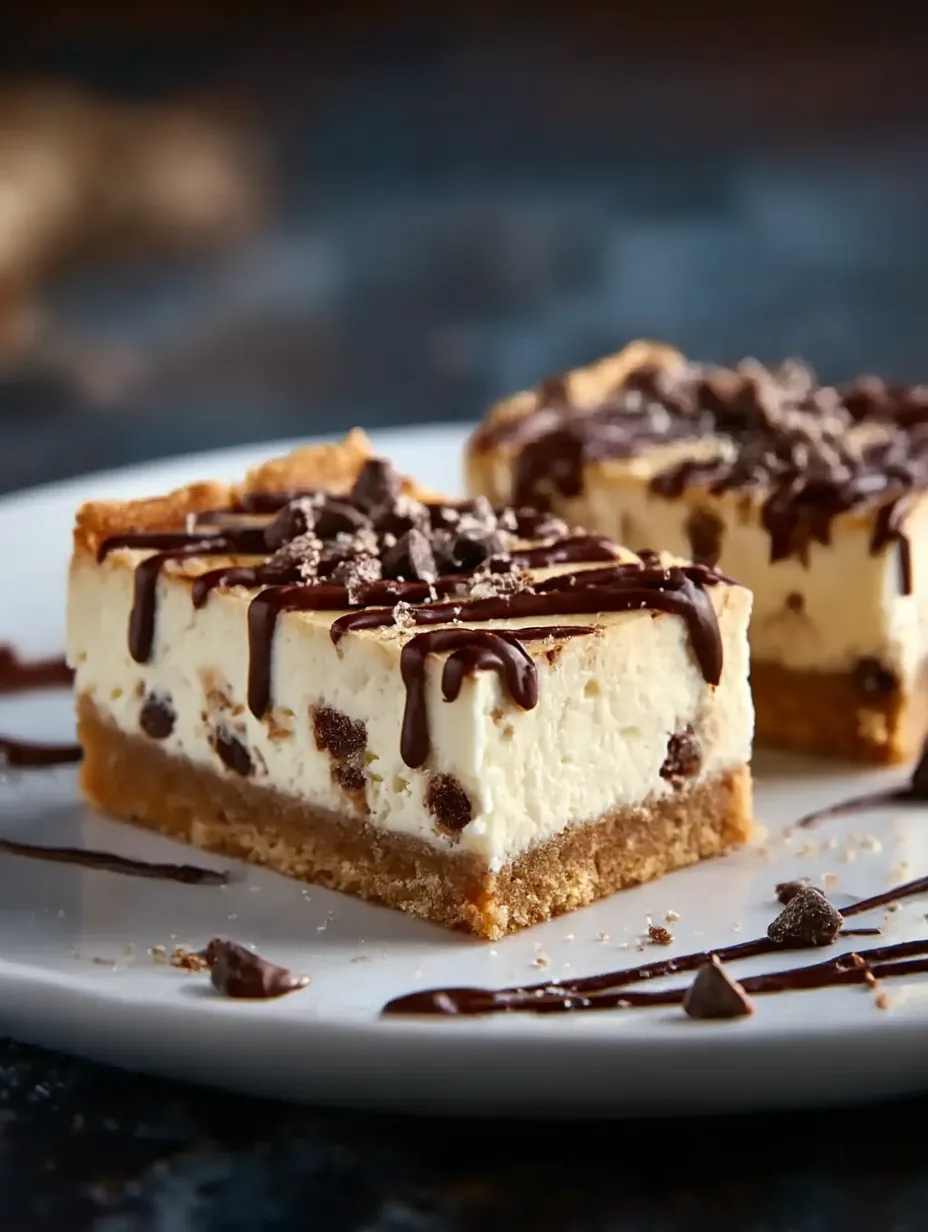
Cut these into little squares and add a pile of fresh berries for a party. For something fancier, dollop on whipped cream, sprinkle chopped chocolate, or grate a bit of candied orange on top. Leave the bars out for a few minutes before serving to bring the flavors forward.
 Pin it
Tradition Meets Today
This treat riffs off the classic Sicilian cannoli—one of the most beloved Italian American sweets. Making them as bars cuts out the mess and fuss while keeping all the good stuff. I feel connected to tradition when I bake these, but I love how the shortcut means I can actually fit them into our busy life.
Frequently Asked Questions
- → How do I make the best base?
Graham cracker or waffle cone crumbs and melted butter pressed into your pan give that tasty crunch and keep everything together.
- → Should I drain the cheese first?
Go for thick, full-fat ricotta and mascarpone. If your ricotta is wet, let it sit in a strainer in the fridge overnight so your bars stay set, not soggy.
- → Can I swap in some different mix-ins?
Nuts or even more chocolate are both great for a little extra bite and flavor. Play around and see what you like best.
- → When are the bars baked just right?
You want the edges faintly golden and the middle almost set but not wobbly. If you use a different pan, peek at them early, since baking time can vary.
- → What's the best way to keep leftovers fresh?
Let them cool off, then tuck them in the fridge or freezer. Chilling makes these bars super easy to slice and keeps the texture just right.