
 Pin it
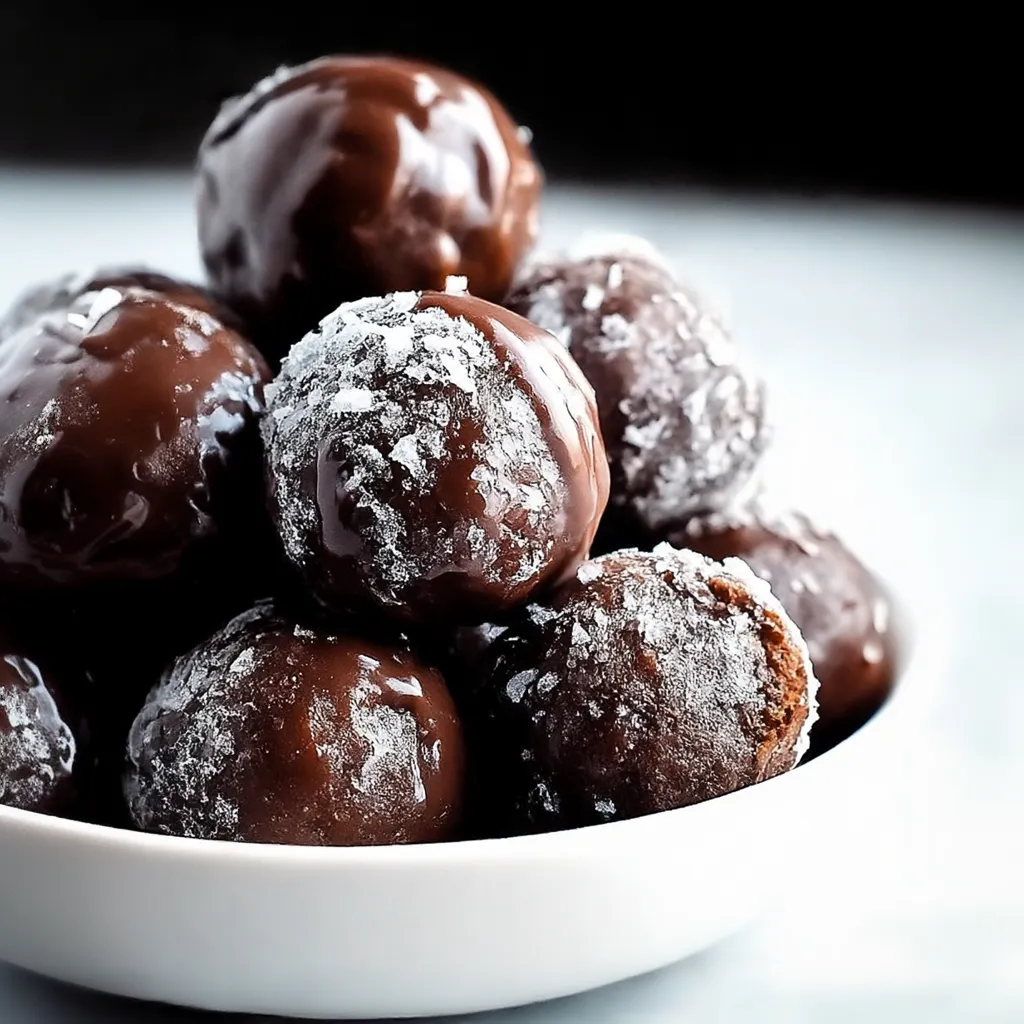
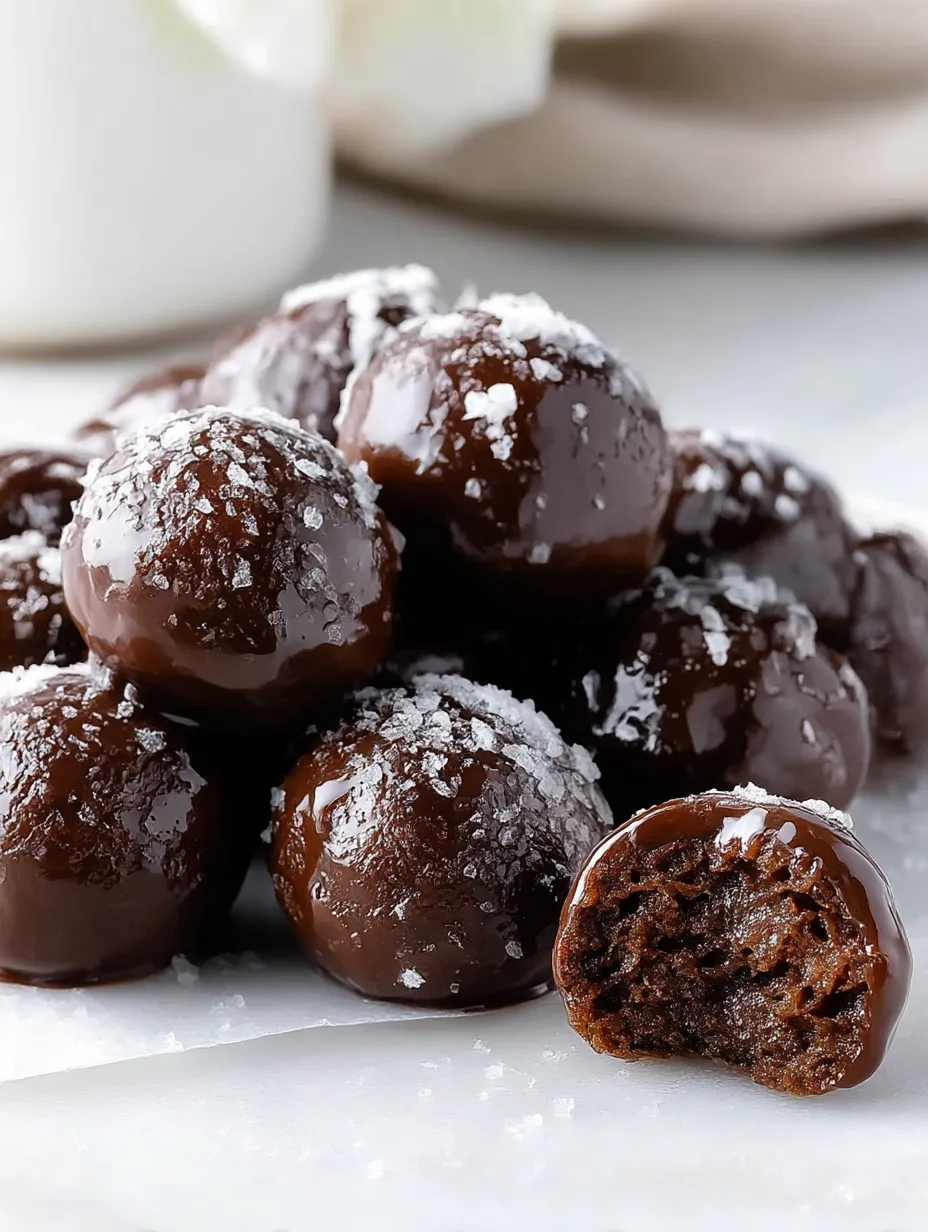
These bite-sized chocolate donut holes turn everyday ingredients into mouthwatering treats that'll satisfy your sweet tooth without the fuss of deep frying. Every soft bite packs rich chocolate goodness complemented by a sweet vanilla coating, bringing that donut shop magic straight to your kitchen.
I whipped these up for the first time when my daughter wanted chocolate donuts on her birthday morning but I wasn't up for the mess of traditional frying. Now the family asks for them at practically every celebration we have.
Ingredients
- All-purpose flour: Forms the base that makes these donut holes so soft
- Unsweetened cocoa powder: Gives that intense chocolate kick; Dutch-processed works best
- Baking powder and baking soda: Team up to create the fluffy, airy texture we want
- Melted butter: Brings moisture and flavor that you just can't get from regular oil
- Brown sugar: Adds caramel-like notes that make the chocolate taste even better
- Sour cream: The hidden hero that keeps everything incredibly soft
- Whole milk: Adds the creaminess that makes these taste shop-bought
- Vanilla extract: Works in both the donut mix and glaze to add warmth and extra flavor
Step-by-Step Instructions
- Get Everything Ready:
- Heat your oven to 350°F and coat your mini muffin tin well with butter or spray. Don't skimp on greasing—chocolate stuff sticks more than vanilla. Make sure you hit every spot in those cups so they pop out easily later.
- Mix Dry Stuff:
- Stir flour, cocoa, baking powder, baking soda, and salt until they're fully blended with no little cocoa lumps. If your cocoa usually clumps, run everything through a sieve for the smoothest mix.
- Prep Butter Blend:
- Beat the melted butter with sugars until it gets thicker and a bit lighter, about a minute of good stirring. This puts tiny air bubbles in there to help them rise. Then mix in eggs, yolk, and vanilla until everything looks smooth and shiny.
- Blend Wet Stuff:
- Mix milk and sour cream together until smooth with no white sour cream streaks left. Stuff at room temp mixes way better, so take these out of the fridge about half an hour before you start.
- Mix Everything:
- Add dry stuff and milk mix to your butter blend bit by bit, starting and ending with the dry things. Use gentle folding now, not whisking, to keep everything tender. Stop as soon as you don't see flour streaks anymore.
- Scoop and Bake:
- Use a small cookie scoop to drop batter into your pans, filling about three-quarters full so they can rise properly. Tap the pan twice on the counter to pop big air bubbles, then bake for 10 minutes flat.
- Make the Glaze:
- While they cool, stir powdered sugar, milk, and vanilla to make a smooth coating. Start with less milk and add more slowly until it coats the back of a spoon but still runs off easy.
- Add the Glaze:
- Dip each completely cooled donut hole in glaze, let extra drip off, then put on a wire rack over paper to catch drips. For a fancier look, dip them again after the first coat sets for about 10 minutes.
 Pin it
These chocolate treats have become our go-to snack for snowy days. There's something magical about munching on chocolatey bites with vanilla coating while watching snow fall outside. My kids now call them snow day donuts no matter what the weather's doing.
Make Ahead Tips
These chocolate bites actually taste better the next day as the cocoa flavor gets stronger overnight. Just keep them unglazed in a sealed container, then add the glaze right before serving for the best look. If you need to make them way ahead, the unglazed donut holes freeze really well for up to three months in freezer bags. Just let them sit out for about an hour before adding glaze.
Easy Variations
While these chocolate donut holes taste amazing as-is, you can easily switch things up. Toss in half a cup of mini chocolate chips for extra chocolate goodness. Or swap the vanilla glaze for a peanut butter one by mixing in two tablespoons of smooth peanut butter instead of some powdered sugar. For holidays, throw some sprinkles on the wet glaze before it dries, or shake on colored sugar for a fun touch kids will love.
 Pin it
Serving Suggestions
These sweet chocolate bites go perfectly with morning coffee or afternoon tea, making you feel like you're at a fancy café. For a nice dessert display, stack them in a pyramid on a cake stand with a light dusting of powdered sugar. They're also great for brunch spreads with some fresh fruit to balance out the sweetness. Kids love dipping them in small cups of cold milk, turning snack time into a fun activity they'll ask for again.
Troubleshooting Tips
If your donut holes turn out dry, you probably baked them too long or used too much flour. The mix should be thick but still a bit pourable. When you measure flour, spoon it into your measuring cup instead of scooping straight from the bag, which packs it down too much. For super soft donut holes, take them out of the oven right when a toothpick comes out with a few moist crumbs still on it, not completely clean.
Frequently Asked Questions
- → What’s the best way to store these treats?
Keep them in a sealed container at room temperature for two days, or refrigerate them for up to a week.
- → Can I freeze them for later?
Absolutely! Let them cool completely, then arrange in a layer inside a freezer-safe container. Thaw whenever needed.
- → What cocoa powder is best to use?
Go for a high-quality unsweetened cocoa powder. Popular options are Ghirardelli or Hershey’s for rich flavor.
- → How do I adjust the glaze consistency?
Add a bit more milk to thin it out, or mix in some extra powdered sugar to make it thicker.
- → Can a mini muffin pan work too?
Definitely. If you don’t have a donut hole pan, a mini muffin pan works perfectly. Same prep and bake method apply!
- → Why do my chocolate treats feel heavy?
Overmixing the batter could be the culprit. Stir only until combined to keep them light and airy.