
 Pin it
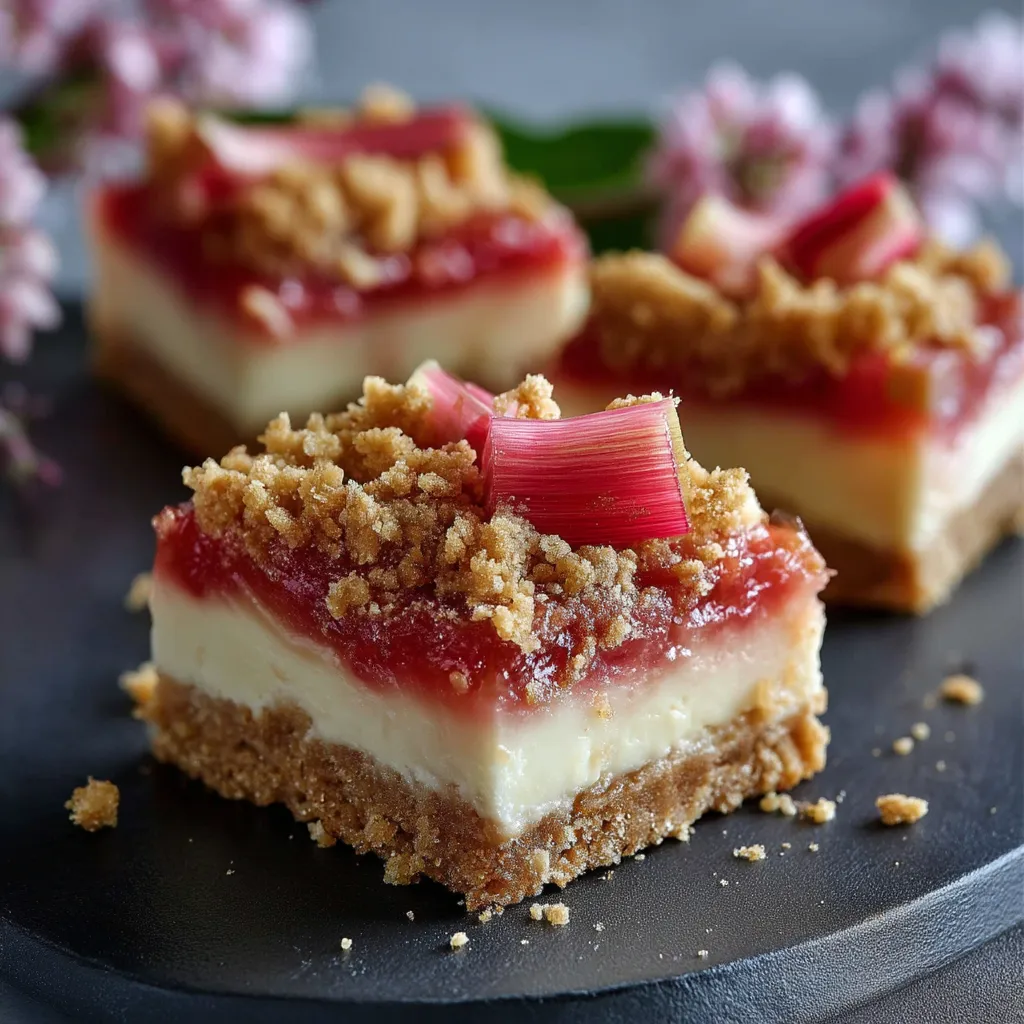
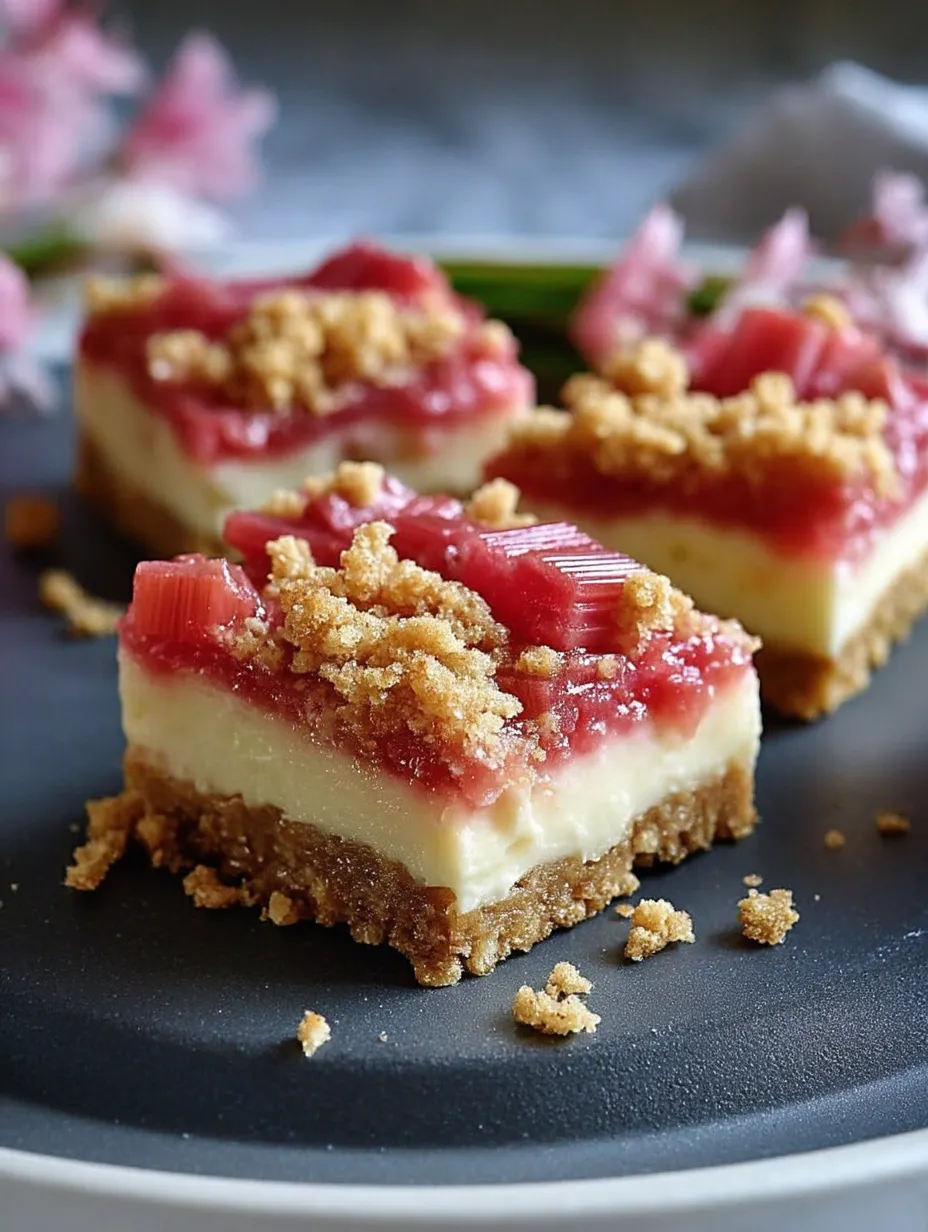
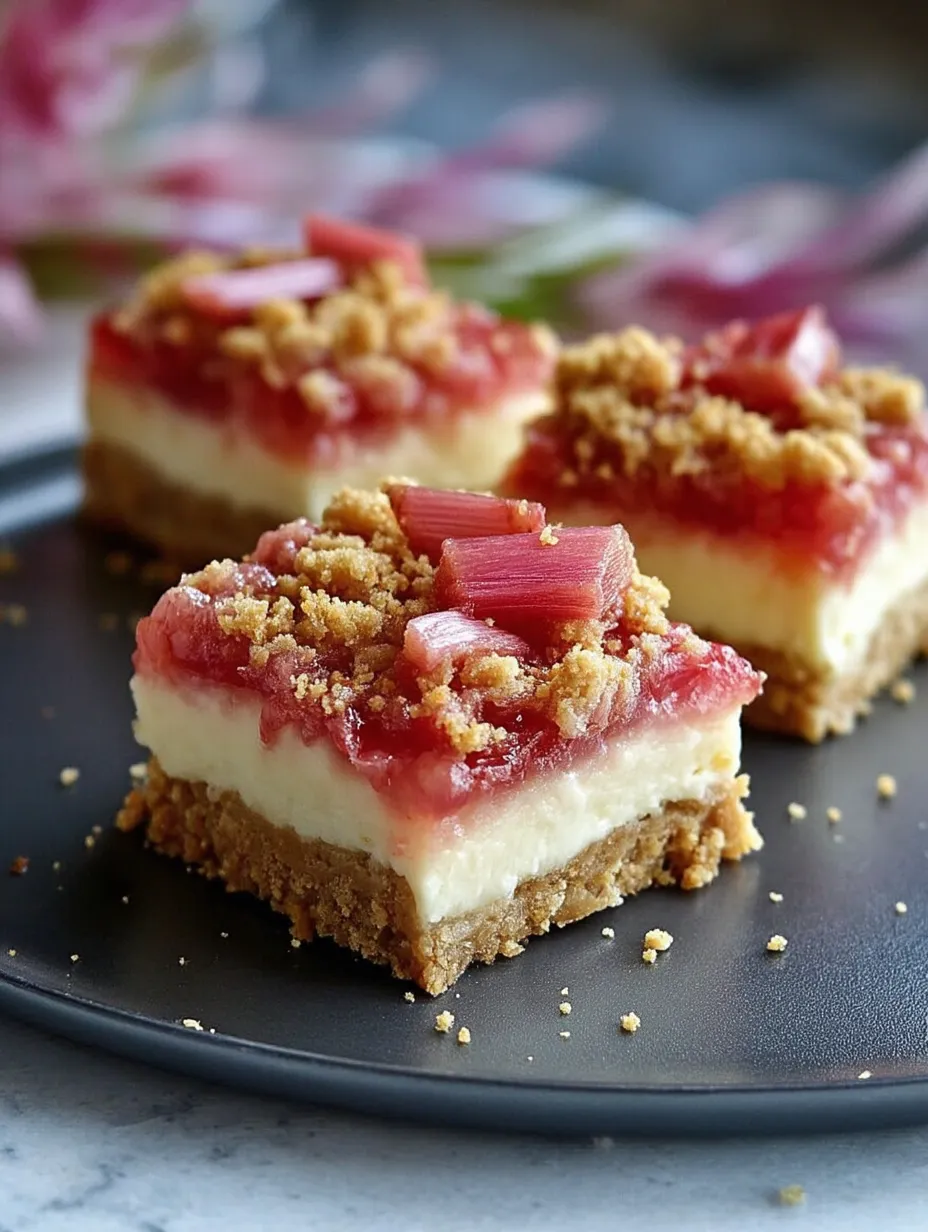
These tangy rhubarb squares combine a buttery graham base, smooth cheesecake middle, and swirled rhubarb top layer. The stunning marble pattern doesn't just look fancy—it makes sure you get the perfect mix of sweet and tart in every mouthful.
I brought these treats to a backyard gathering one spring and they vanished faster than anything else on the table. They've since turned into my go-to spring dessert that everyone asks for once rhubarb shows up at markets.
Ingredients
- Graham cracker crumbs: create the crunchy base that works so well against the soft filling
- Melted butter: holds the crust together and adds a wonderful richness
- Cream cheese: gives that smooth texture and slight zip we all love
- Sour cream: brings extra creaminess and balances the sugar
- Vanilla extract: adds subtle flavor notes throughout the cheesecake
- Fresh rhubarb: delivers that signature zip—grab stems that feel firm with bright coloring
- Cornstarch: helps the rhubarb topping set up just right for creating patterns
- Cinnamon: offers a cozy background flavor that makes the rhubarb pop
Step-by-Step Instructions
- Prepare the Crust:
- Stir graham crumbs with melted butter and sugar until it looks like damp sand. Push it down firmly into your pan using a measuring cup to make it flat. Baking it first really matters—it's how you get that crispy foundation that won't turn mushy under the filling.
- Make the Cheesecake Filling:
- Whip the cream cheese until it's totally smooth before adding anything else. Room temp cream cheese is a must or you'll end up with bumps. Add eggs one by one, mixing just enough to blend them in. Too much mixing puts air in that can make cracks later.
- Cook the Rhubarb Layer:
- Cook the rhubarb mix until the pieces soften and the sauce gets thick. Keep stirring as the cornstarch needs heat to work its magic—you'll notice it change from cloudy to shiny. This usually takes around 10 minutes of gentle cooking.
- Create the Marbled Effect:
- Spoon bits of the rhubarb mix over your cheesecake layer, then pull a knife through to make pretty swirls. Don't mix too much or you'll lose the cool color contrast. Just a few knife strokes will give you that bakery-style look.
- Bake to Perfection:
- Look for set edges while the middle still wobbles slightly. Taking it out at this point stops it from drying out or cracking. The filling will firm up more as it cools, so don't worry if it seems a bit soft.
 Pin it
Rhubarb truly takes center stage here. My grandma grew it in her backyard, and I can still picture myself helping her cut those red stalks every spring. Whenever I make these squares, I'm taken back to her kitchen and the wonderful smell of rhubarb treats cooling by the window.
Storage and Make-Ahead Tips
These treats actually get better after chilling out in the fridge. All the flavors mix together and the texture turns even creamier. You can keep them wrapped up in the fridge for about 5 days. Want to save them longer? Pop them in the freezer for up to 3 months in a sealed container with parchment between layers. Just let them thaw in the fridge overnight before serving.
Seasonal Variations
Though this treat really shines with spring rhubarb, you can switch things up all year round. During summer, swap in fresh strawberries or raspberries. When fall hits, try apples with extra cinnamon. In winter months, frozen rhubarb works great—just thaw it and drain off the extra water before cooking. Each version keeps that amazing creamy base while showing off whatever fruit is in season.
Serving Suggestions
These squares taste fantastic on their own, but you can dress them up for fancy occasions. Try adding a spoonful of whipped cream and a tiny mint leaf to make them look extra nice. For something more indulgent, drizzle some melted white chocolate on top or serve with a scoop of vanilla ice cream. When putting them out at a party, cut them into tiny bites so folks can try them along with other desserts.
 Pin it
Frequently Asked Questions
- → What’s the process for making the base?
Mix crumbs with melted butter and some sugar, then press tightly into your pan. Bake it for 10 minutes before layering the rest.
- → Can frozen rhubarb work here?
Yep, you can! Just make sure to thaw thoroughly and remove extra liquid before using.
- → Any tips for creating a swirled top?
Drop spoonfuls of rhubarb mixture on the cheesecake and use a knife to gently swirl it around before baking for a nice marbled look.
- → Can I prep these ahead of time?
Of course! Pop the bars into the fridge after baking and let them chill for at least 2 hours. They’ll stay fresh for up to 3 days.
- → How should I serve these bars?
They’re great cold or room temp. For an extra treat, add whipped cream or drizzle some fruity syrup on top.