
 Pin it
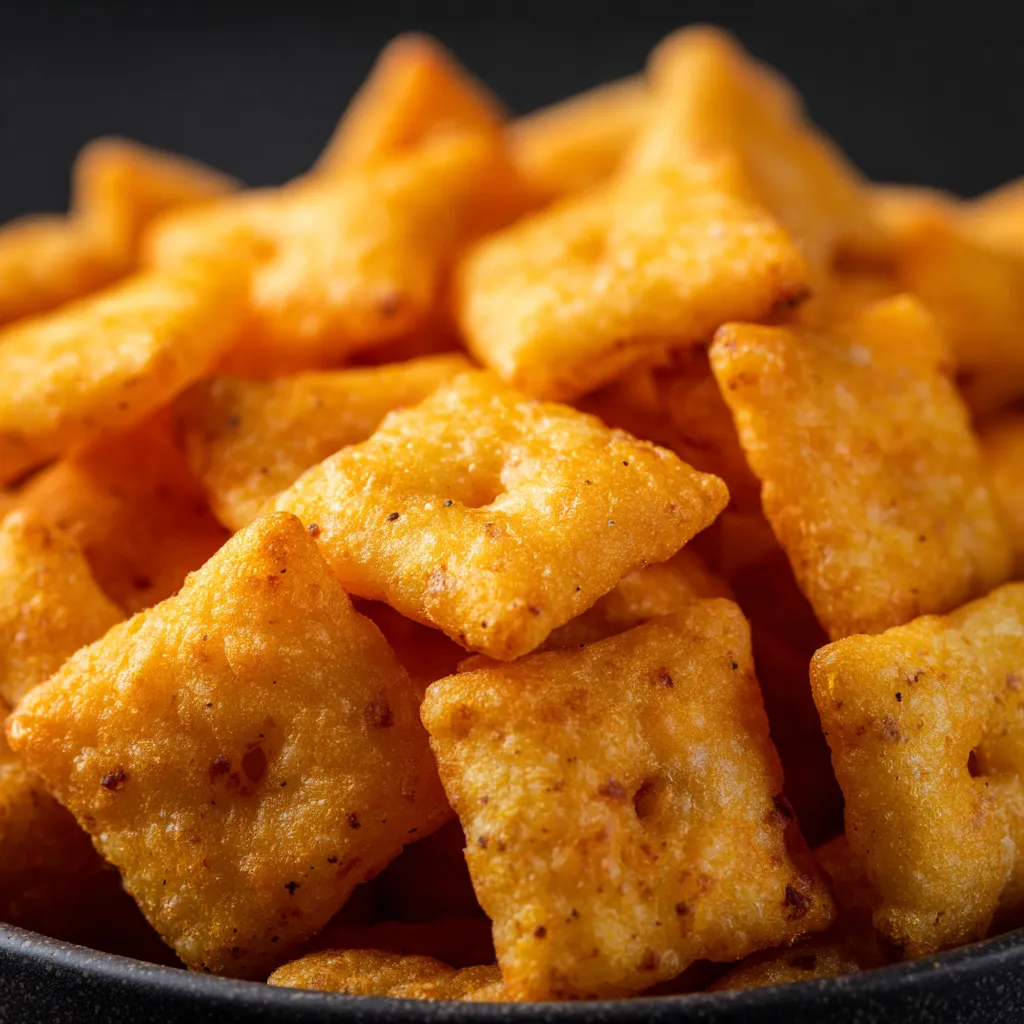
I always reach for Cheeze-Its when I'm craving something salty at midnight or need easy snacks for a hangout. When you whip these up yourself, you get loads of real cheese flavor with just the right crunch. You can go gluten free or low carb by swapping the flour—no one will notice, trust me.
Once the sharp cheddar hits the oven, my whole house smells like buttery heaven. Honestly, these disappear so fast I barely get a chance to sneak one before they’re all gone—especially if there’s a movie night happening.
Tasty Ingredients
- Ice water: pulls the dough together but doesn't make things too sticky
- All purpose flour: brings the crunch and shape, swap in cup-for-cup gluten free flour if you want
- Garlic powder: adds a hint of warmth so you get a little something extra
- Seasoning salt: kicks up the savoriness, but you can use kosher salt if that's what you have
- Salted butter: softened to make every bite melt away, pick a fancy butter if you can
- Sharp cheddar cheese: shred a fresh block yourself for the most flavor and best melt, salty and bold
Sharp cheddar’s the MVP here, so grab the best you can find—it makes everything pop.
Foolproof Steps
- Cool Them Down:
- Leave the crackers on the baking tray until they’re totally cool before moving or storing. Waiting helps them crisp up nicely.
- Let’s Bake:
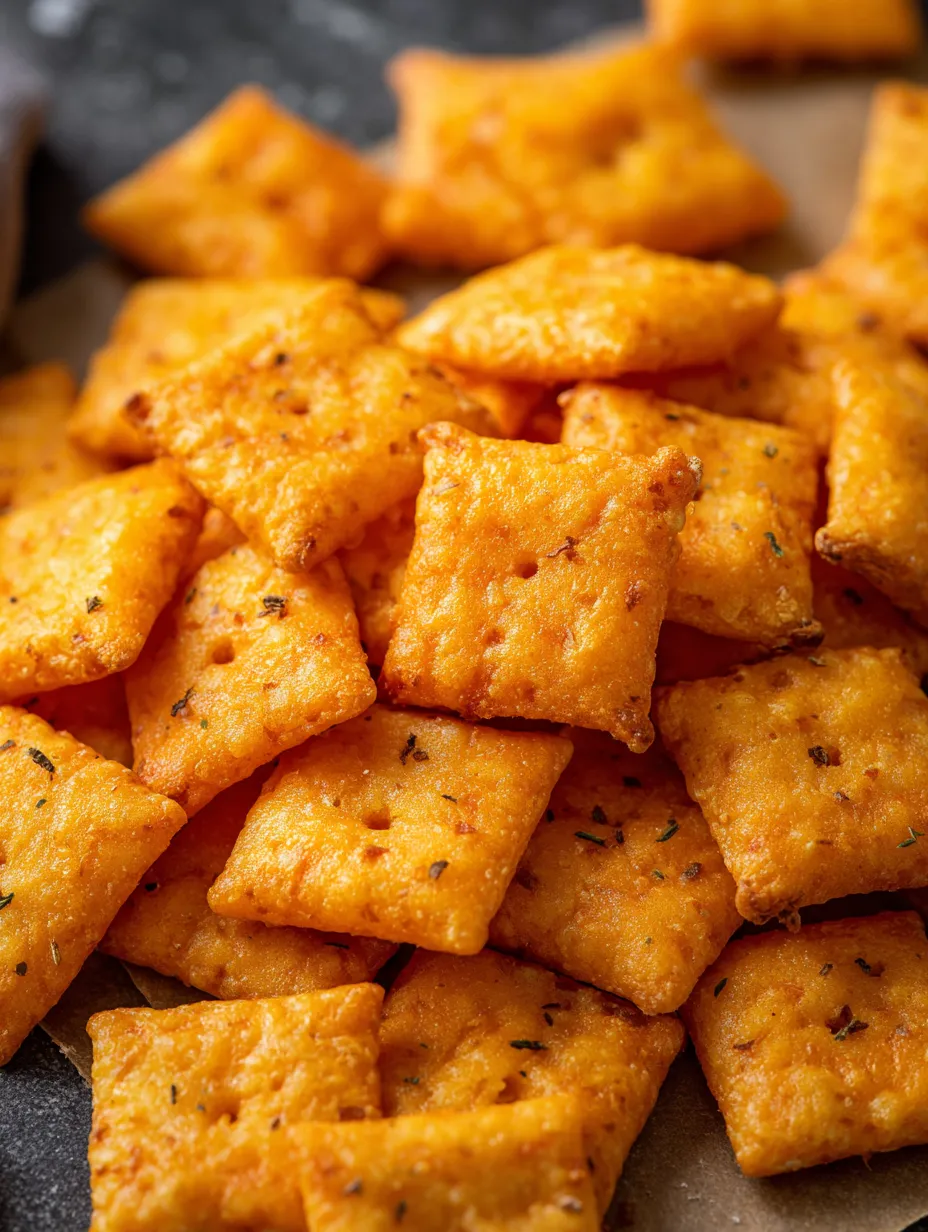
- Lay out the cracker squares on your baking sheet. Make sure to leave little gaps. Bake for about twelve to sixteen minutes. Golden edges are your sign they’re ready.
- Poke That Middle:
- Use a skewer or toothpick to poke a small hole in every square. That tiny hole helps keep the texture right and makes them look classic.
- Slice and Roll:
- Preheat your oven to 350°F and line your pan with parchment. Split your dough in half and roll each on a dusting of flour to about one eighth or quarter inch thick. Cut with a knife or cutter into mini one inch squares.
- Let the Dough Chill:
- Smoosh the dough onto some plastic wrap, press it flat and wrap it up tight. Toss it in the fridge for at least an hour to firm up the fat. That way, you'll get crackers with a real crunch.
- Bring Everything Together:
- Drizzle in icy cold water, just a splash at a time. Pulse between pours. Once it sticks in a soft ball, stop, but if it's too crumbly you can add a bit more water.
- Add the Flour:
- Now, dump in the flour and pulse until you see it look crumbly and sandy—perfect for layering.
- Cheese Mix Blitz:
- Throw your shredded cheddar, softened butter, seasoning salt, and garlic powder into a blender or processor. Pulse so it’s mixed and crumbly but stop before it goes smooth—the secret to a flaky bite.
 Pin it
Hand-grating the cheese is my happy place. My little brother used to sneak handfuls every time until it became our baking ritual—snacking on the leftover cheese before the crackers even hit the oven.
Storing Made Simple
Once cool, pop your crackers into an airtight box and keep at room temp. They're good for up to seven days. If they ever go a bit stale, just heat them at low temp for five minutes—that crunch comes right back. Don’t freeze though—they lose their snap.
Swapping Ingredients
To skip wheat, pick a gluten free blend. Almond flour is fine for keto but makes the dough trickier. Grab white cheddar or mix up mild and sharp for new flavors. If you use unsalted butter, just bump up the salt a little.
Fun Ways to Serve
Snack on them straight up with fruit or veggies in the afternoon. Top off soup or toss them onto a cheese board for a fun twist. Try breaking a few over hot tomato soup if you want to feel like a kid again.
 Pin it
Snack History
Cheeze-Its first popped up back in the 1920s and became an American classic. Skipping the boxed stuff means you get pure cheese flavor with a soft nod to old-school snacking and none of those preservatives.
Frequently Asked Questions
- → How do I make the crackers extra crispy?
Spread the dough thin, then bake till you see nice golden edges. Let 'em cool all the way—crunch gets better.
- → Can I use a different cheese?
Go for pepper jack or gouda if you like, but sharp cheddar pops with the most flavor. Just use a hard or semi-hard cheese.
- → Are gluten-free or keto versions possible?
Totally—just grab your go-to almond or gluten-free flour. You might need to change the amount so it holds together right.
- → Do I need to chill the dough?
Yep, chilling keeps the dough easy to roll and cut, plus you get crunchier snacks in the end.
- → How should I store them?
Let them cool down, then stash them in something airtight on the counter. They stay fresh and snappy for up to a week.