
 Pin it
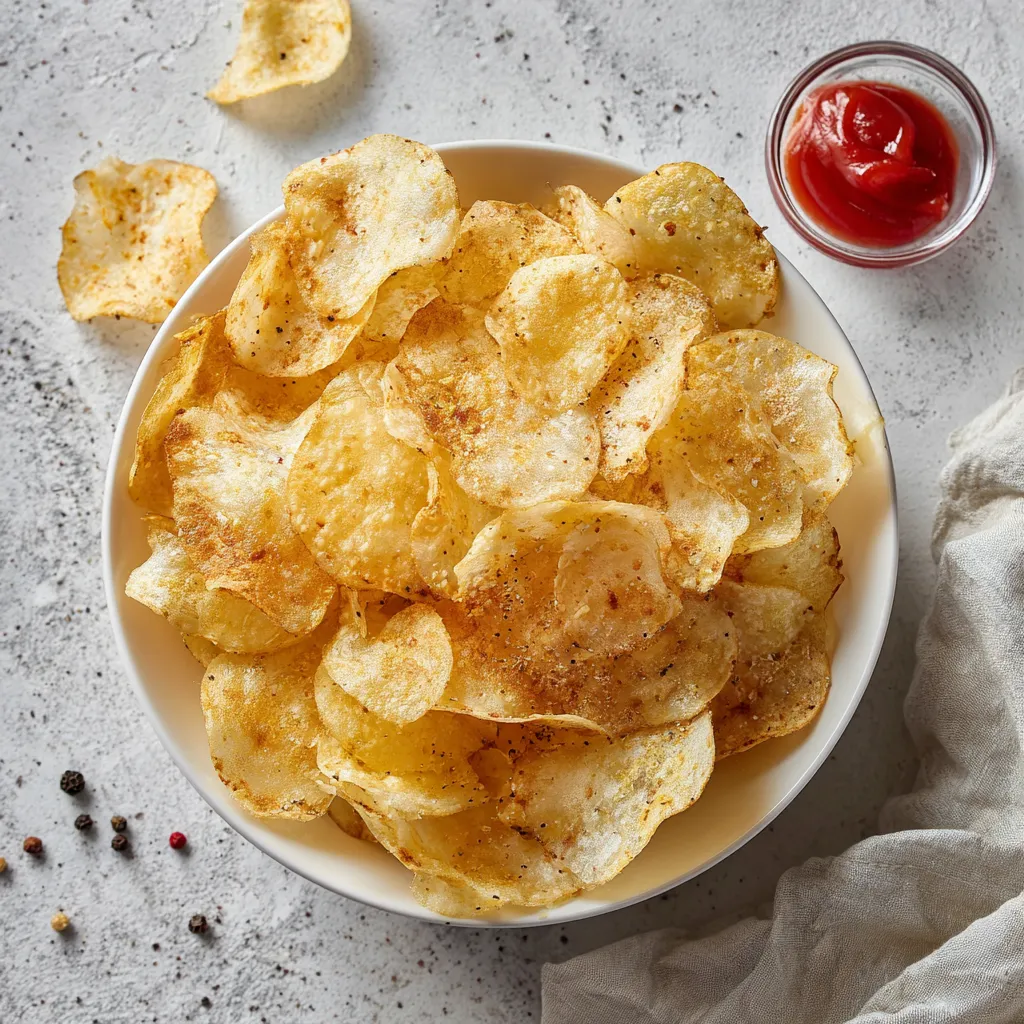
Homemade baked potato chips are my go-to snack anytime I want something crunchy and satisfying. They’re not hard to make, and taste so much fresher than anything you grab off a store shelf. These always disappear fast during game nights or hangouts—we're always grabbing handfuls until the bowl's empty.
The first time these came out of my oven, my family polished them off before they cooled down. Now everyone keeps asking for more, and honestly, they're so much better for you than the ones at the store.
Tasty Ingredients
- Russet potatoes: These give you that crispy bite and classic taste. Pick potatoes that are hard and have no spots.
- Olive oil: Coats the slices just enough so they crisp and get a nice flavor. If you can, pick a good extra virgin one.
- Sea salt: That brings out potato-y flavor. Finer salt sticks better and covers more area.
- Ground black pepper: Kicks up the flavor and adds a subtle warmth. Fresher is always better if you have it.
- Paprika or garlic powder: Toss one on for extra color or zing. Grab the freshest spice you can find from a trusted brand.
Easy Step Guide
- Let Chips Cool:
- As soon as they're out of the oven, give them five minutes to cool down. That's when they finish getting crispy.
- Bake Chips:
- Put your tray in a preheated oven at four hundred twenty five degrees. Bake around fifteen to twenty minutes. Flip them about halfway and keep an eye out towards the end so nothing burns.
- Spread Them Out:
- Make sure each potato slice sits in its own spot on the tray. No stacking or they'll just steam, not crisp up.
- Season Everything:
- Toss your slices in a bit bowl with oil, salt, pepper, and any spices you like. Stir until every slice shines and is fully coated.
- Slice Potatoes Thin:
- Scrub those potatoes and dry them well. Slice as thin as you can—think about one eighth inch. A mandoline is your friend for cutting everything the same size.
- Get Baking Tray Ready:
- Lay a sheet of parchment paper on your large baking tray. Make sure it fits so your chips cook evenly.
 Pin it
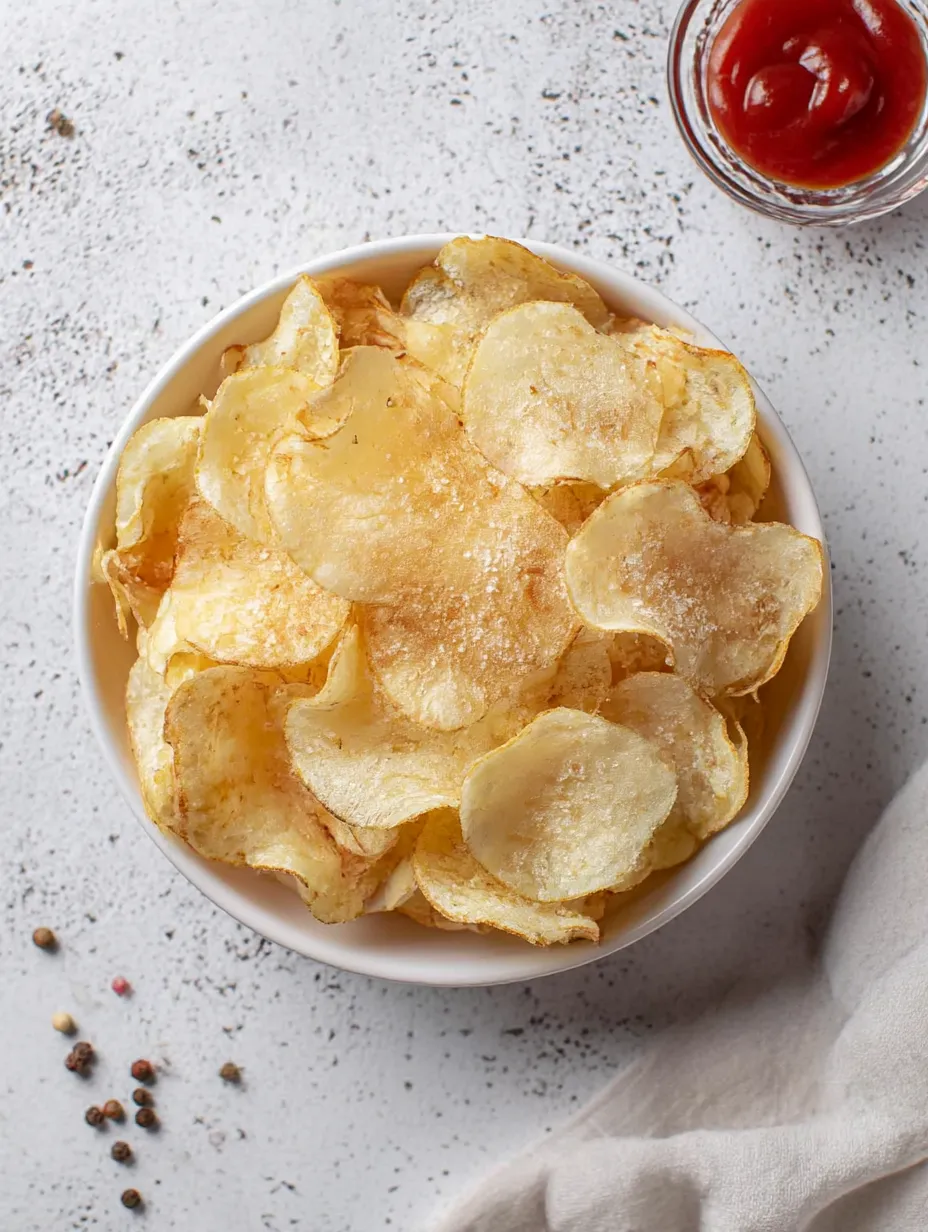
I love smoked paprika sprinkled on for a little extra punch. My dad once stole a handful off the tray and said they're better than anything he ate as a kid.
Smart Storage Ideas
Freshly made chips taste awesome right away, but you can stash leftovers in a sealed container for up to two days. Let the container breathe a little—the chips stay crisper that way. Fridges make them go soggy, so skip the fridge. To get them crunchy again, warm them in a low oven.
Swaps and Variations
No russets? Yukon golds turn out great too and have a slight buttery note. You can try avocado oil—it handles higher heat and doesn’t have much flavor. Smoked salt or chili powder can also swap in for paprika to mix things up.
 Pin it
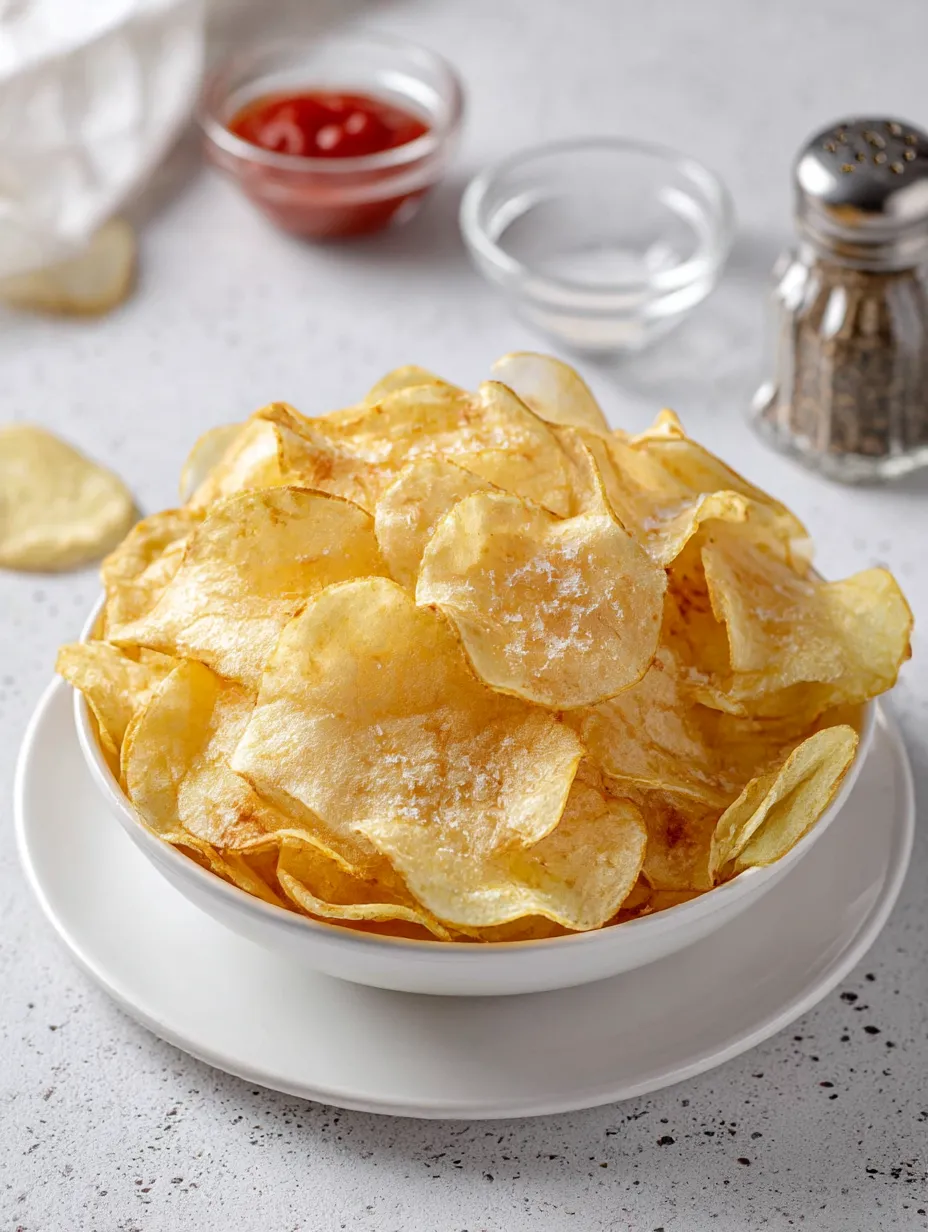
How To Serve Them
Pair these crunchy chips with homemade salsa or go with old-school sour cream dip. I even throw a handful on top of soup for extra texture. They’re honestly the simplest way to please a crowd at any get together.
Fascinating Potato Chip Story
Potato chips probably started in New York back in the 1850s thanks to a lucky kitchen slip. Making them yourself means you get way more creative with flavors. A couple small changes and your chips can turn out totally unique.
Frequently Asked Questions
- → Can I use other potato varieties?
You sure can! Yukon Gold or even red potatoes are great, but russets crisp up the best because they're more starchy.
- → How do I get uniform slices?
Using a mandoline really helps to get thin, even slices. If you're slicing by hand, try for about 1/8 inch per slice.
- → Why are my chips not crisp?
Chips get soggy if you cut them too thick or let the slices overlap. Always slice nice and thin and space them all out on the tray.
- → Can I add other seasonings?
Definitely! Mix in things like paprika, a sprinkle of garlic powder, or any spices you like after tossing with oil.
- → Are baked chips healthier than fried?
Absolutely! Baking uses way less oil so you cut down the fat and calories, but keep the crunch.