
 Pin it
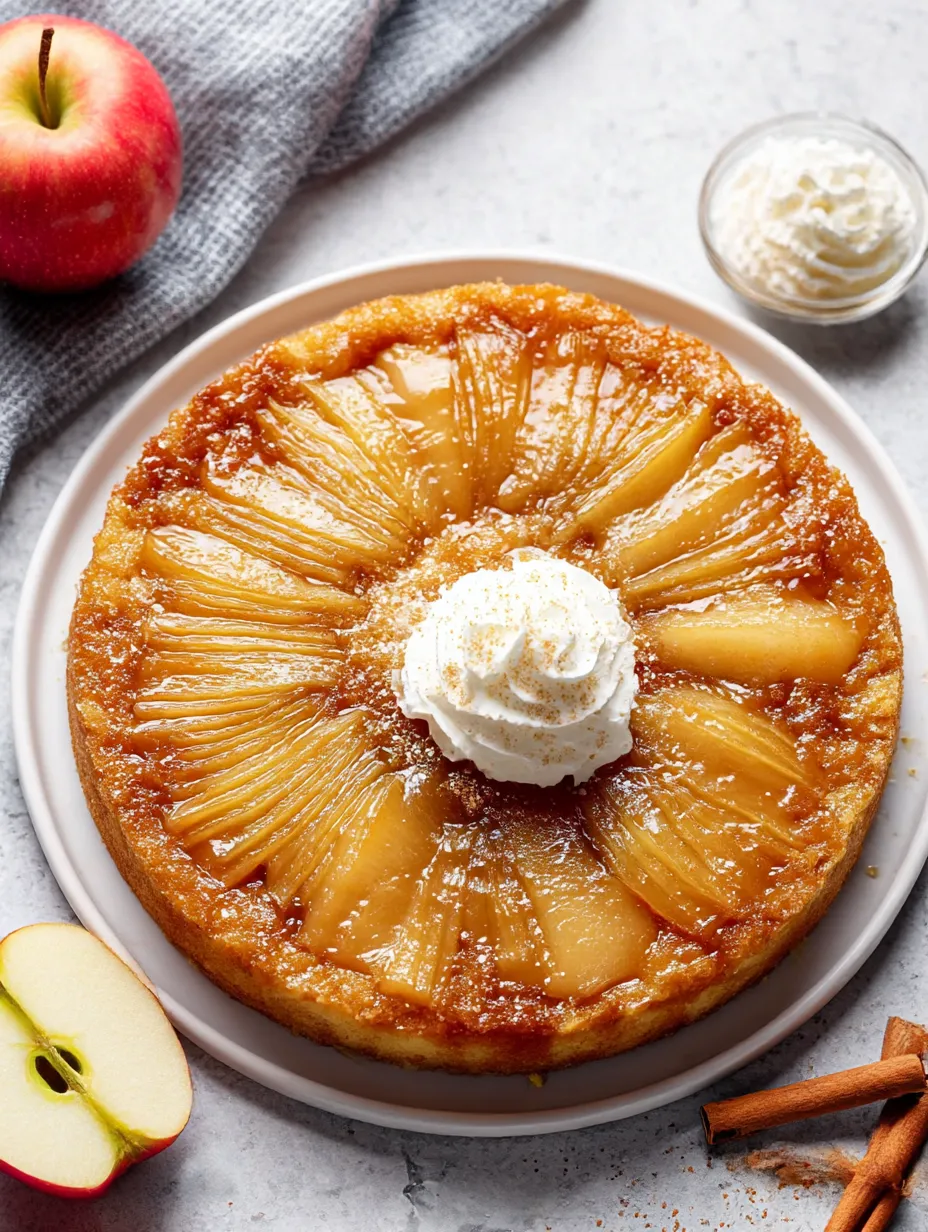
This upside down apple dessert is all about cozy feelings and happy memories. Picture a soft, rich cake with golden apples baked in buttery brown sugar that you flip out to show off their shiny, sweet top. It's got a crackly edge and a cinnamon smell that makes it the star at parties, weekend gatherings, or after a long workday.
The very first time I baked this, the buttery apple aroma filled my kitchen and convinced me this is THE dessert for family hangouts. Everyone always scrambles to get those outside slices packed with caramelized bits.
Dreamy Ingredients
- Egg: Holds everything together and makes the cake taste richer. Go with a big, super fresh one for best results.
- Vanilla extract: Boosts flavor—pure vanilla just tastes deeper and better than the fake stuff.
- Milk: Makes your batter smoother and gives it a nice soft texture. Whole milk is extra rich but plant-based milk totally works.
- Salt: Brings the flavors together. Use fine sea salt if you can find it.
- Ground cinnamon: Warms things up. Try to grab a fresh, fragrant cinnamon for a better kick.
- Baking powder: Makes everything fluff up and rise. Double check it’s still good!
- Granulated sugar: Sweetens the base of the cake. Fine, classic white sugar is easiest to mix in.
- All purpose flour: Gives your cake its crumb. Make sure you measure carefully for that tender bite.
- Unsalted butter: Adds a rich flavor while browning those apples. Good quality butter really makes a difference.
- Light brown sugar: Becomes gooey caramel on the bottom. Use soft, fresh sugar for yummiest results.
- Honeycrisp apples: Hold their shape and get super sweet once baked. Look for heavy, flawless apples for best flavor.
Easy Step-by-Step
- Unmold and Cool:
- Once your cake's out, run a thin knife along the sides so it doesn’t stick. Let it chill out until it’s cool, then put a plate on top and flip it so the apples end up on display.
- Bake Away:
- Slide the pan into the middle of the oven. Bake for 30 to 35 minutes, peeking in near the end. A toothpick should come out clean and the top turns golden.
- Batter Time:
- Gently pour your batter on top of the apples, spread it so it covers everything edge to edge.
- Bring the Wet and Dry Together:
- Mix in egg, melted butter, milk, and vanilla to the dry stuff. Stir just until it all comes together—don't keep going or the cake gets tough.
- Dry Stuff Mix:
- Grab a big bowl and whisk flour, salt, cinnamon, baking powder, and sugar until they're totally blended.
- Apple Options:
- Cut up your apples into chunky slices about a quarter inch thick. Layer them in the pan in neat, overlapping circles and press them into the brown sugar a bit.
- Sugary Start:
- Sprinkle brown sugar over the melted butter so the whole bottom is covered—this is where all the caramel magic happens.
- Melt Butter in Your Pan:
- Put the butter right into the cake pan and pop it in the oven until it’s melted—not sizzling, though!
- Fire It Up:
- Turn your oven on to 350°F and let it heat all the way up so that cakey surface gets nicely browned.
 Pin it
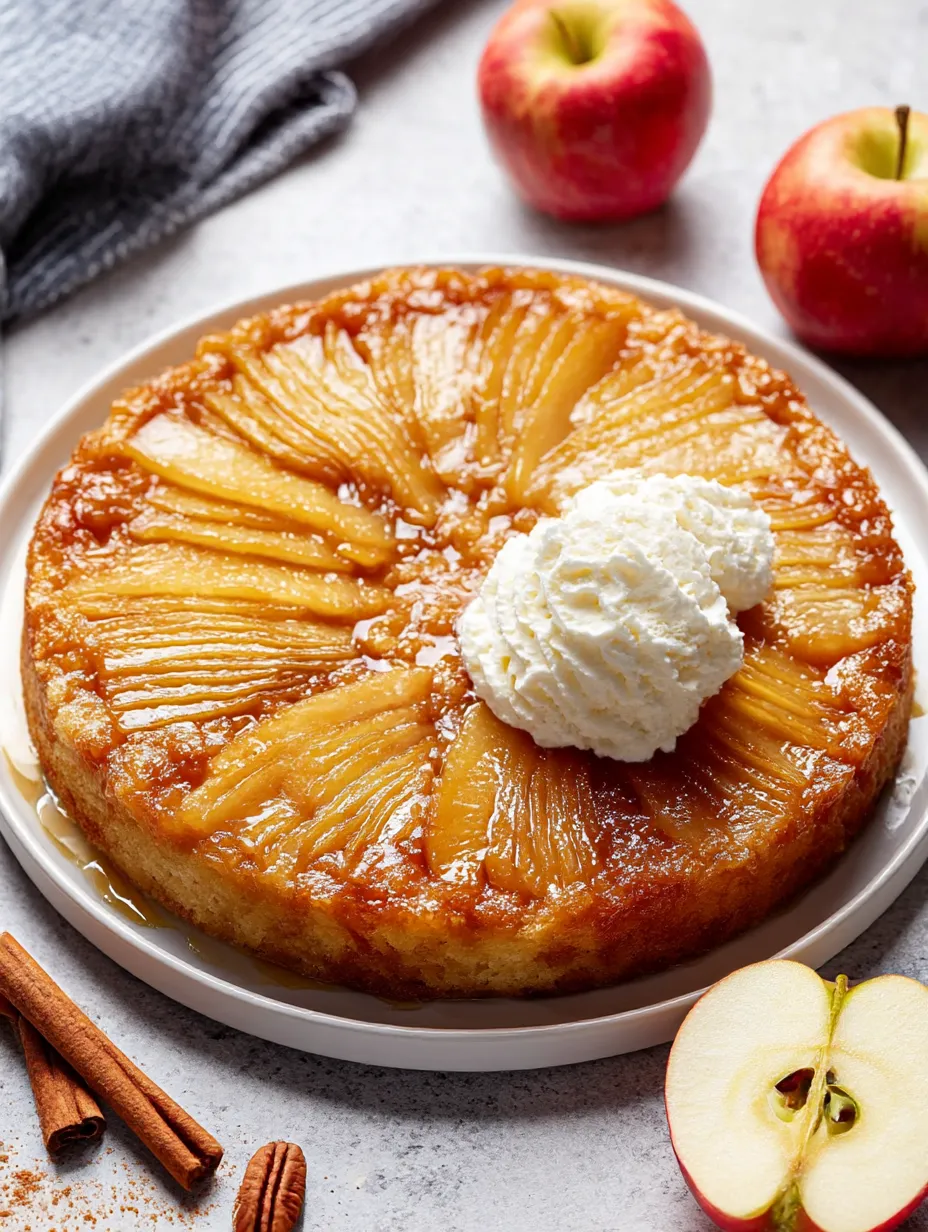
Every autumn we go apple picking just to make this cake with Honeycrisps. That first bite brings back crisp afternoons, warm sweaters, and my sister's endless requests for more cinnamon every single time.
Storage Advice
If there’s any left, wrap completely cooled cake tightly in plastic or keep in a sealed container on your counter for two days. Planning to store it longer? Pop it in the fridge—it’ll last about five days. For extra-long keeping, freeze individual wrapped slices and heat up whenever you want a piece. A quick thaw and warm-up, and you’re back in business!
Swaps and Substitutions
Just about any baking apple works—try Granny Smith for tartness or Pink Lady if you want super sweet. If you only have salted butter, go ahead and skip extra salt. Out of cinnamon? Throw in a bit of nutmeg or pumpkin pie spice. Oat or almond milk stands in for dairy, and a gluten-free flour blend works if you're avoiding wheat.
Serving Ideas
Top every piece with a big scoop of creamy vanilla ice cream or fluffy whipped cream. For a breakfast twist, add Greek yogurt and some toasty nuts on top. Feeling fancy? A warm drizzle of caramel sauce does the trick. Grab a mug of hot spiced tea or strong coffee to finish things off.
 Pin it
Bit of History
Flip cakes started way back in 1800s America, when folks baked fruit and sugar under plain cake in heavy pans. Pineapple versions took off in the 1950s, but apple flips probably go even further back. My favorite part is mixing classic tricks with today’s fresh flavors for something that never goes out of style.
Frequently Asked Questions
- → Which apples taste best in this cake?
Honeycrisp is a go-to since they’re juicy and sweet, but don’t stress. Pink Lady or Granny Smith get the job done if you love a tart bite.
- → Should the apple peels come off?
Keep the skins for color and extra texture. No need to peel—just slice and get baking.
- → Is plant-based milk good to use?
Yup—almond, oat, or anything else you like. The cake stays moist and yummy.
- → How do I check if it’s baked through?
Stick a toothpick in the middle. If it comes out clean or has a couple tiny crumbs, you’re set.
- → What if I swap in dark brown sugar?
Go ahead—dark brown sugar adds richer caramel vibes, so use what you’ve got on hand.
- → What’s the best way to serve it?
Once it’s a bit cool, flip it out, cut slices, and dig in. Add whipped cream if you’re feeling fancy.