
 Pin it
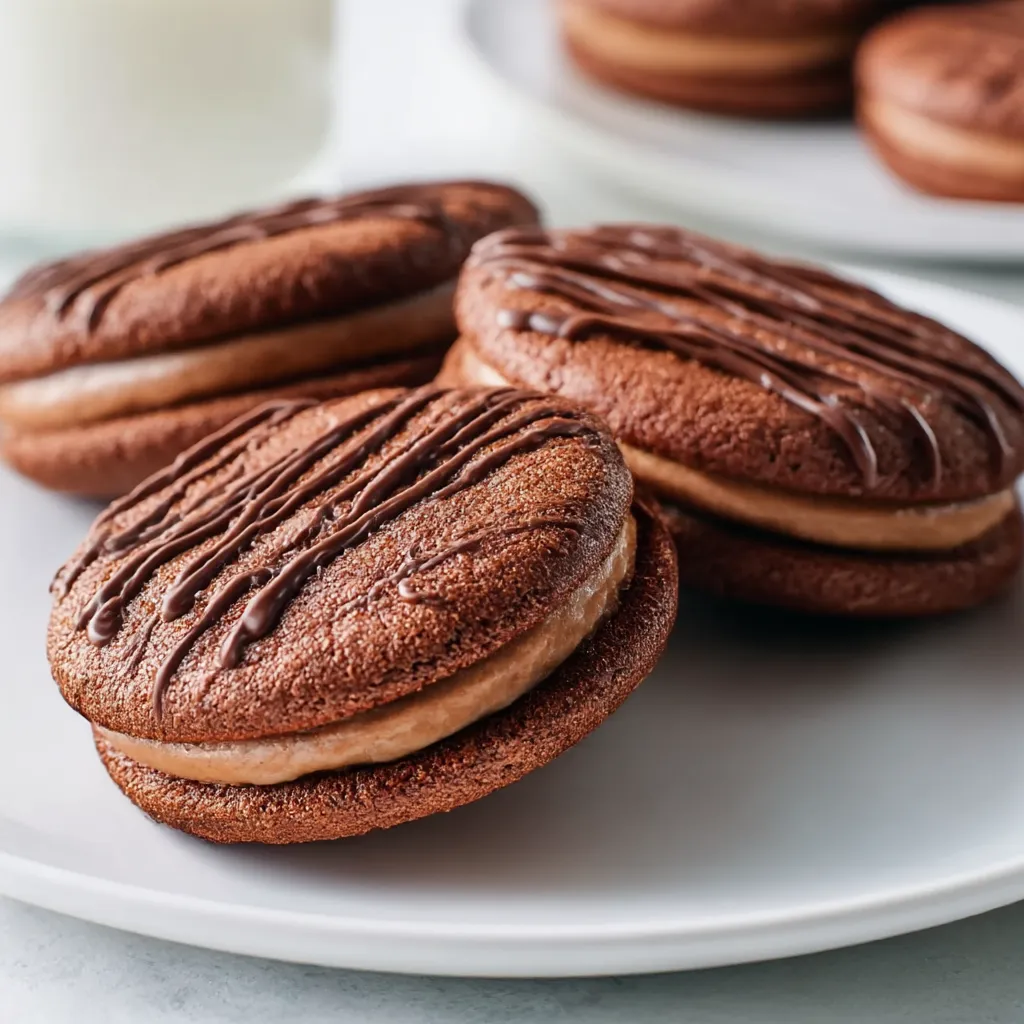
Biting into these homemade Fudge Rounds always takes me back—they’re just like the chocolate sandwich cookies I craved as a kid, but with an even deeper chocolate flavor and extra soft bite. You’ll get fudgey, chewy layers and a creamy center, plus that fun chocolate swirl on top. Anytime I wanna wow guests or spark a bit of nostalgia, these are my go-to.
When I baked these for my nephew’s birthday, he took one bite and said they’re way better than anything from the package.
Decadent Ingredients
- Powdered sugar: Makes the filling sweet and gives it a soft, fluffy texture. Sift to ditch any lumps
- Vegetable oil: Blends with the chocolate to help it melt and set with a glossy look
- Milk chocolate chips: Go for creamy ones to melt for the drizzly finish
- Warm water: Gets that filling ultra smooth and easy to spread
- Fine salt: A dash that boosts chocolate flavor and keeps it from being overly sweet
- Baking soda: Helps cookies puff up in the oven before they settle back down
- Cornstarch: Softens up the cookies and keeps them from being dense
- Unsweetened natural cocoa powder: Delivers bold chocolate flavor, especially the nostalgic kind
- All-purpose flour: Holds everything together. Sift before measuring if you can for best results
- Vanilla extract: Adds a bit of mellow sweetness. Pure vanilla works best
- Light corn syrup: Makes them chewy as can be and stops sugar from getting gritty
- Large egg: Binds all the dough. Gotta use large or the texture will be off
- Granulated sugar: Sweetens things up and helps give those crispy edges
- Unsalted butter: Main source of that melt-in-your-mouth feel, both in cookies and the filling. Real, quality butter makes a difference
Simple How-To Steps
- Set and Serve:
- Let them chill briefly or hang out at room temp before eating for best texture. Leftovers? Stash however you like
- Assemble Fudge Rounds:
- Spread the filling on the smooth side of half your cookies. Top with the rest and press gently so the filling squeezes to the edges
- Get the Filling Ready:
- Beat the butter until smooth, then mix in sifted powdered sugar and cocoa. Add vanilla and warm water, and beat till the filling is light and fluffy
- Melt and Swirl Chocolate:
- Microwave milk chocolate chips with a bit of oil, pausing every 15 seconds to stir. Make it pourable, then use a spoon or piping bag to swirl it on top, and chill till it sets
- Let Cookies Cool:
- Leave them on the sheets to cool a few minutes before moving them to racks so they can finish up. They’ll flatten out a bit as they cool down
- Bake and Shape:
- Drop the dough in scoops onto lined baking sheets about two inches apart. Bake at 350°F for eight to nine minutes—watch for puffed cookies with set edges
- Mix the Dough:
- Slowly add dry ingredients to your wet mix with the mixer on low. Stop as soon as a sticky dough forms
- Combine Dry Ingredients:
- In a new bowl, mix together flour, cocoa, cornstarch, baking soda, and salt until the color looks even
- Add Wet Ingredients:
- Blend in the egg, vanilla, and corn syrup to your creamed butter–sugar mix, scraping down the side as needed
- Cream Butter and Sugar:
- Toss your room temp butter and sugar into a stand mixer. Whip for 3 minutes until pale and fluffy
- Prep Baking Pans:
- Lay parchment paper on two baking sheets so nothing sticks and they brown evenly
 Pin it
Good Stuff to Know
- Throw extras in the freezer, they keep great
- If you’re making a lot for an event, just double it—works fine
- Don’t skip the corn syrup, it’s what makes them super chewy
Honestly, swirling the warm chocolate on top is everyone’s favorite part. My kids love making silly patterns and every batch feels new. It’s almost more about the fun of making them than just eating them.
Keeping Them Fresh
Pop your finished Fudge Rounds in an airtight container. They can chill at room temp for a day or in the fridge for five days. Freezing? Lay them in a flat layer first. Eat them cold if you want—they get even fudgier straight from the fridge.
 Pin it
Easy Swaps
Got golden syrup? That’ll work instead of corn syrup and gives a caramel twist. Need dairy free? Try a solid vegan butter for the filling (just not the super soft kind). Dark or semi-sweet chocolate chips can easily take the place of milk chocolate here if you’re after a stronger chocolate punch.
How to Serve
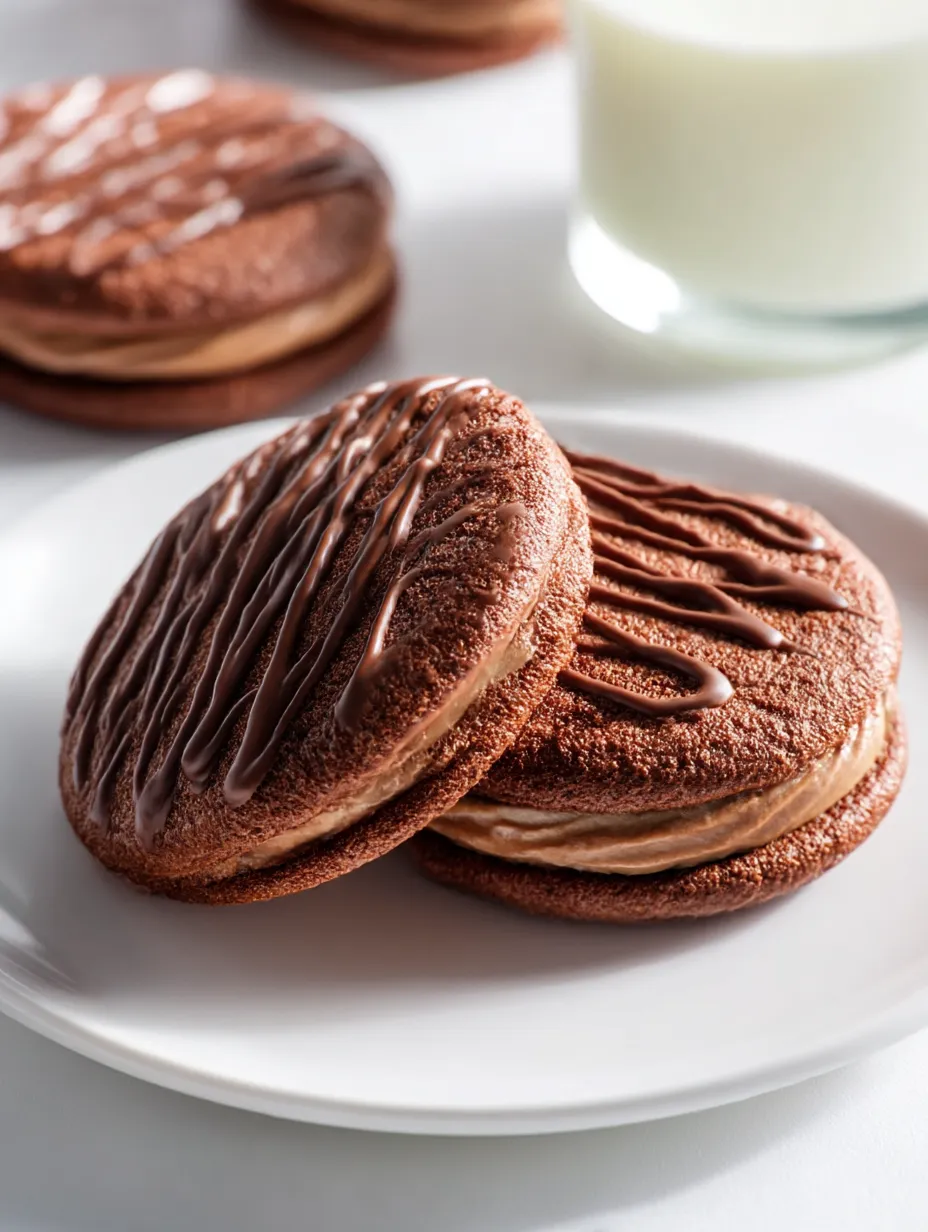
Load these up in lunch bags, pile them on a dessert spread, or stack them tall at birthday parties. They’re awesome with cold milk or a coffee. Since they hold up super well, they make perfect gifts or bake sale goodies.
Memory Lane
These chewy chocolate rounds always remind me of old-school lunch snacks and after-school bites in America. Making them from scratch with real butter and cocoa just feels right—kind of a throwback to family baking days. The fun of swirling, stacking, and filling nails the nostalgia, but with extra homemade love.
Frequently Asked Questions
- → What helps Fudge Rounds stay chewy?
Don't overbake them if you want ’em soft! Keep them sealed tight or chill in the fridge to lock in that fudgy bite.
- → Can I swap in golden syrup for corn syrup?
Sure can! Just use the same amount, and you’ll get the same soft texture.
- → Which chocolate makes the best drizzle?
Go with milk chocolate chips and stir in a splash of veggie oil. That makes your top layer silky and shiny.
- → When do I pull the cookies out of the oven?
Once the cookies puff up and the ends look set, they're ready! Let them cool; they’ll flatten out for an extra soft bite.
- → Can I freeze these cookie sandwiches?
Totally! Pop the finished Fudge Rounds in the freezer for up to a month. Eat straight out of the freezer or thaw in the fridge first.