
 Pin it
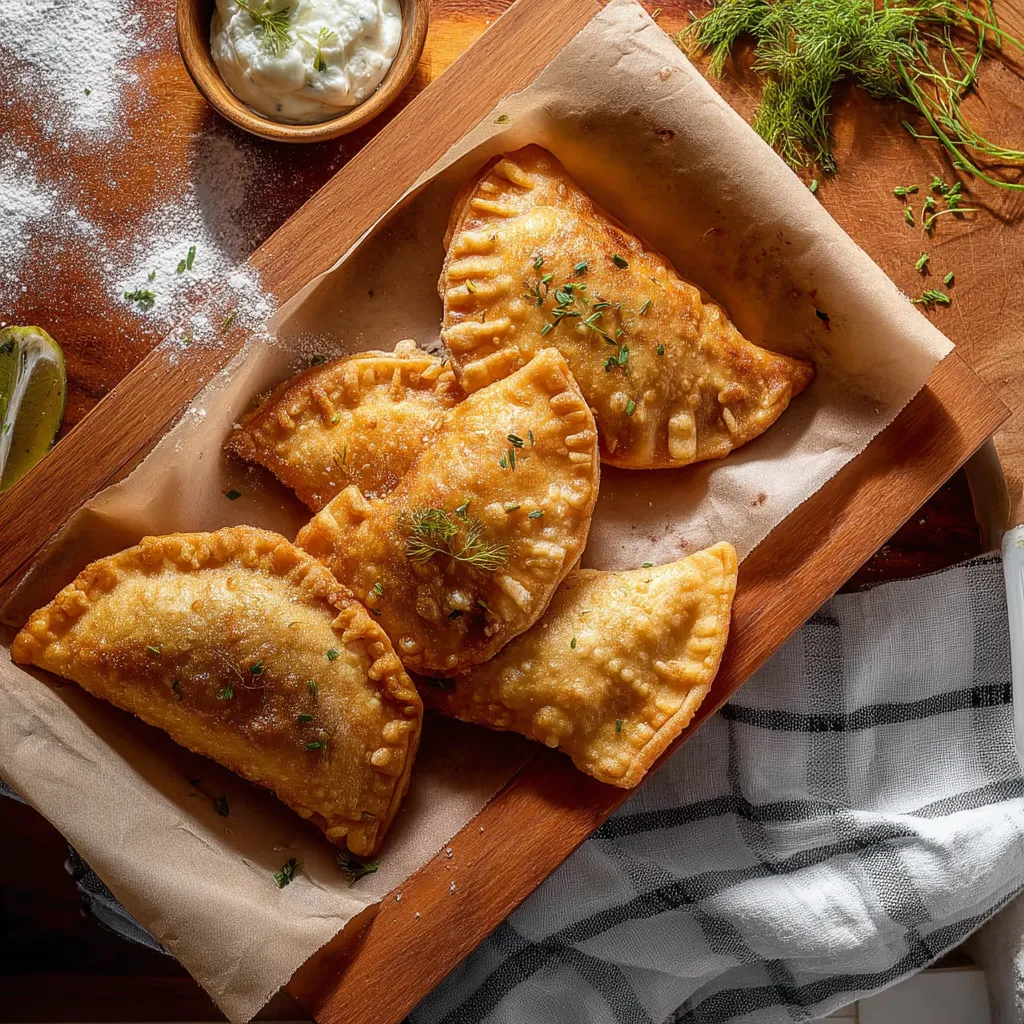
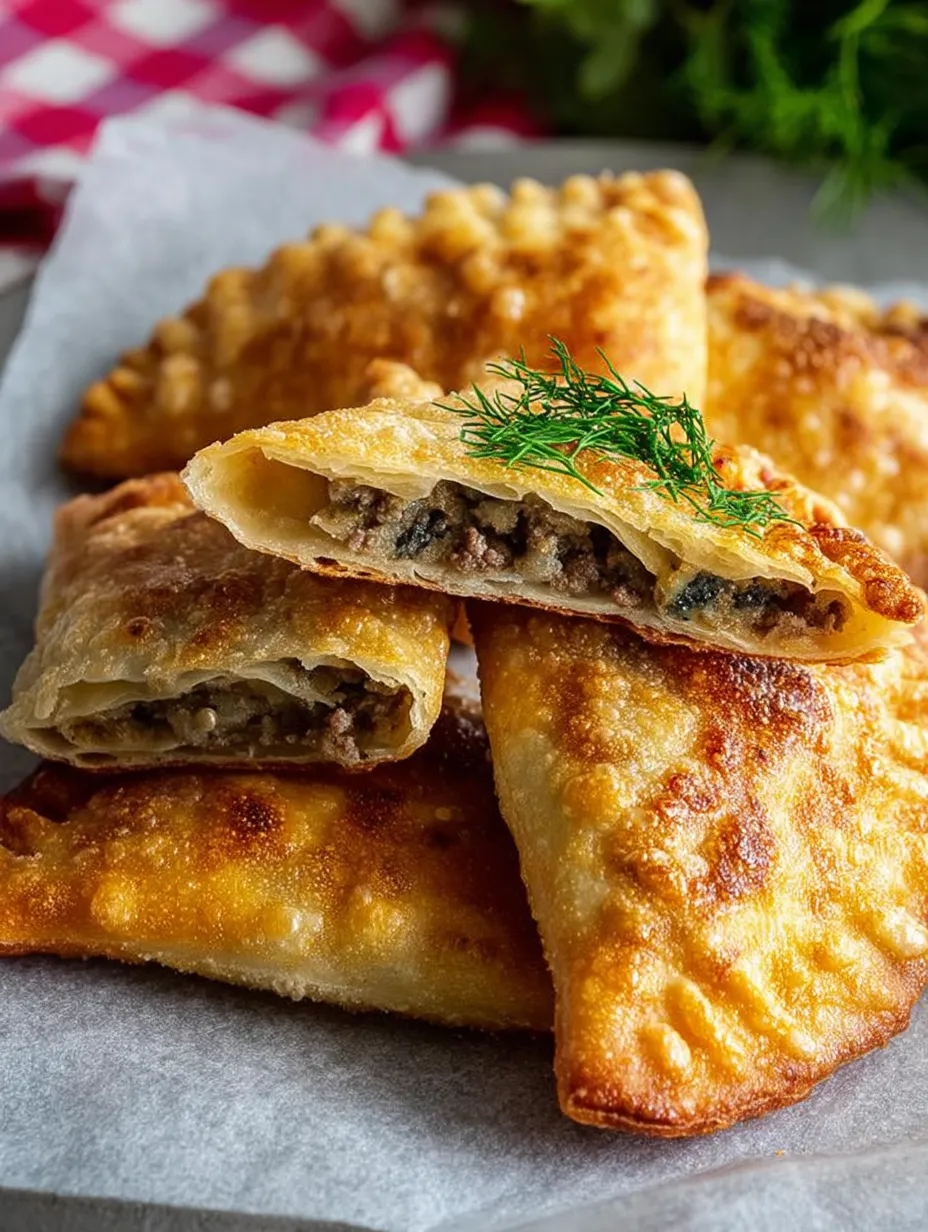
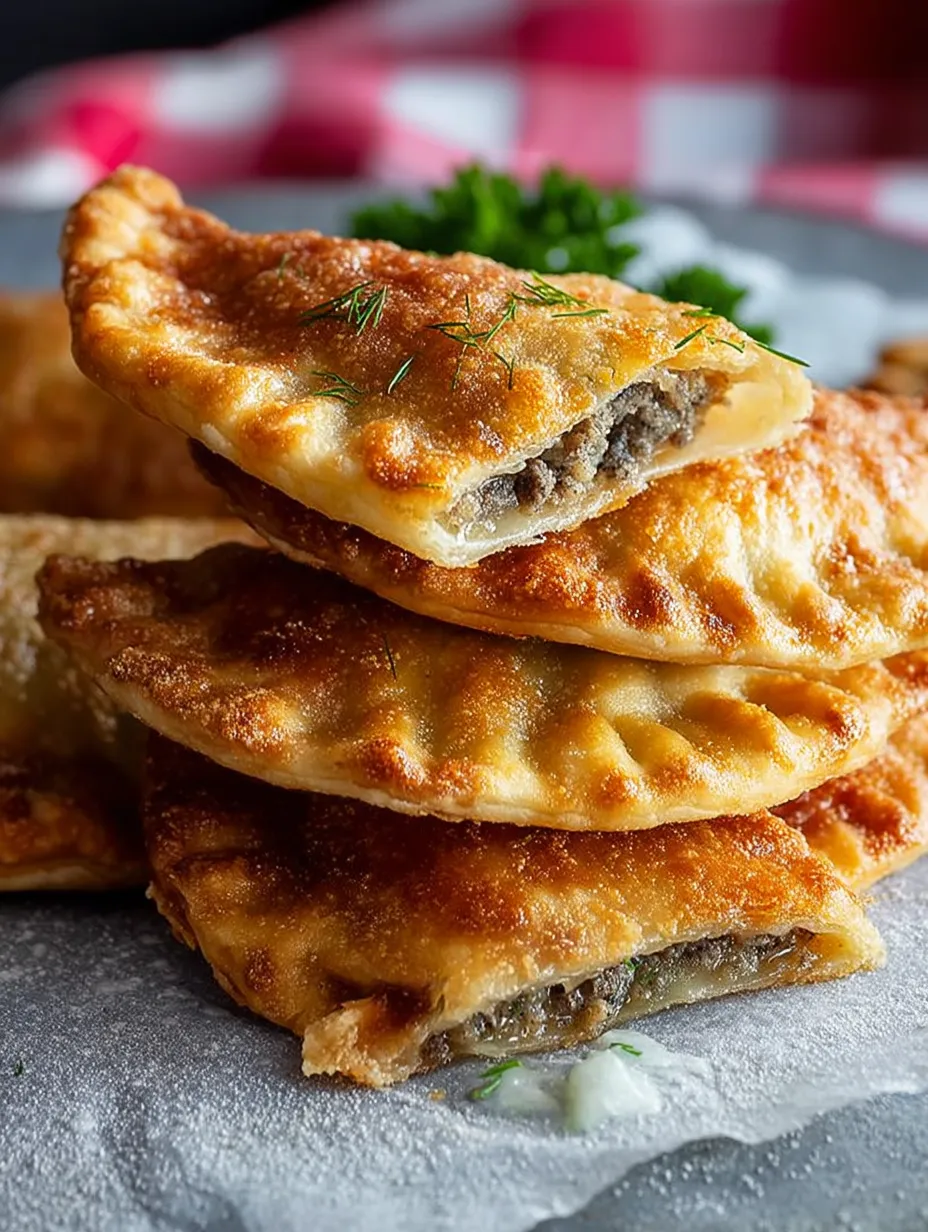
These golden, crispy Crimean pastries stuffed with juicy minced beef bring the beach vibes straight to your home. You'll need both hands to hold these massive treats that sit at the heart of Crimean Tatar food culture. They've won fans as popular street snacks across Russia, Ukraine, Eastern Europe, and Central Asia.
My first bite of chebureki happened during my Black Sea trip and I couldn't get enough of the texture mix. I tried many times to nail that crunch at home, and finally, this recipe brings back those sunny beach moments and that authentic taste I've been chasing.
What You'll Need
- Plain flour: Gives your chebureki the right firmness while staying soft
- Salt: Wakes up all the flavors in the dough
- Water: Makes your dough stretchy so it seals nicely
- Vegetable oil: Keeps dough flexible and stops it from sticking
- Brown onion: Adds a nice sweet depth when cooked down
- Fatty ground beef: Go for 80/20 beef to keep things juicy
- Quality sea salt: Boosts flavors without going overboard
- Black pepper: Adds that cozy spice that works great with beef
- White pepper: Gives a bit of heat without dark spots
- Ground cumin: Can't skip this for real Crimean Tatar taste
- Garlic powder: Mixes through the meat for flavor in every bite
- Fresh dill: The must-have herb that screams Eastern European cooking
- Oil for frying: Pick something neutral that can take heat like canola or sunflower
Tasty Making Steps
- Mix Your Dough:
- Throw flour, salt, water, and a spoonful of oil in a bowl. Use wet clean hands to mix it all up until you get a nice ball. The wetness helps stop sticking and gives you better control. Knead it on a floured counter for about 5 minutes until it feels smooth and stretchy. Add tiny bits of flour or water if needed. You want it soft but not sticky. Cover it up and let it chill for an hour so the gluten can do its thing.
- Get Your Filling Ready:
- Cook finely chopped onions in some oil on medium heat until they're soft and see-through but not brown, around 8 minutes. Put them in a cool dish and let them chill completely. This cooling bit matters because hot onions would start cooking your raw beef too soon. Once cool, mix them with your ground beef, all your spices, and chopped dill. Use your hands to blend everything really well.
- Shape Your Chebureki:
- Cut your rested dough into four equal chunks about 76g each. On a well-floured surface, roll each ball into a thin circle about 12 inches across. Thinner dough makes crispier chebureki, but don't go so thin they tear. Spread a quarter of your meat mix on half of each circle, leaving a 15mm empty edge for sealing. Keep the raw meat spread thin and even so it cooks through when fried.
- Close Them Up:
- Fold the empty half over your filling to make a half-moon. Before you seal it all up, check they're about 15-16 cm long and 8-10 cm wide. Press the edges firmly with your fingertips, then make a pretty pattern by pressing with a fork. This double-sealing trick makes sure nothing leaks during frying. Your properly rested dough should stick together without needing extra water.
- Fry Them Golden:
- Heat up 1cm of vegetable oil in a medium pan until a little test piece of dough bubbles right away and starts turning gold. Carefully slide in one cheburek and cook until golden brown, about 3 minutes on the first side and 1-2 minutes on the second. That second side always cooks faster, so keep an eye on it. Put them on paper towels to soak up extra oil. Keep your oil temp steady between batches, turning the heat up or down as needed.
 Pin it
The dill isn't just thrown in for looks but really makes the authentic flavor pop. My Russian grandma always said you could tell good food was coming when the kitchen smelled like dill. Every time I cook these chebureki, that smell takes me straight back to her tiny kitchen where she'd make these for family get-togethers.
Watch Your Heat
Getting non-greasy chebureki means keeping your oil at just the right heat the whole time you're cooking. Too hot and they'll burn outside while staying raw inside, too cool and they'll soak up oil and turn heavy and soggy. A kitchen thermometer works great if you've got one, aim for 350°F/175°C. Without a thermometer, just watch for quick bubbling around a test piece of dough without any smoke. If your oil starts smoking, it's gotten too hot, so pull it off the heat for a bit.
 Pin it
Plan Ahead Tricks
What's great about chebureki is how they fit into busy lives. You can make the dough up to 24 hours early and keep it wrapped in plastic in the fridge. Just let it warm up for about 30 minutes before you roll it out. Shaped but uncooked chebureki can go in the freezer on a baking sheet, then into freezer bags for up to 3 months. You can fry them straight from frozen, just add an extra minute of cooking time. Or you can mix up the meat a day ahead and keep it in the fridge, which actually lets the flavors get even better overnight.
Ways To Serve
In Crimea, folks often enjoy chebureki with a simple tomato sauce on the side, kinda like a runny salsa. A tangy vinegar slaw cuts through the richness perfectly. For a full meal, add a simple Russian cucumber and tomato salad with sunflower oil and fresh herbs. Though they're typically grab-and-go street food, putting them on a nice platter with some dill sprigs and lemon slices makes them fancy enough for dinner guests. Round it all off with ice-cold vodka shots or kvas, a fizzy fermented bread drink.
Frequently Asked Questions
- → What exactly is chebureki?
They’re a deep-fried hand pie filled with ground meat and spices, a staple in Crimean Tatar cooking.
- → How can I get soft dough?
Knead it thoroughly until smooth, then rest it for at least an hour so it’s easy to work with and stretchy.
- → What meat works best for filling?
Rich ground beef with some fat content makes the filling moist, juicy, and flavorful.
- → What spices make the filling pop?
Mix in onions, garlic, cumin, dill, and salt to enhance the taste of the beef filling.
- → What’s the best frying oil?
Neutral vegetable oil works great, as it handles high heat without adding an overpowering flavor.