
 Pin it
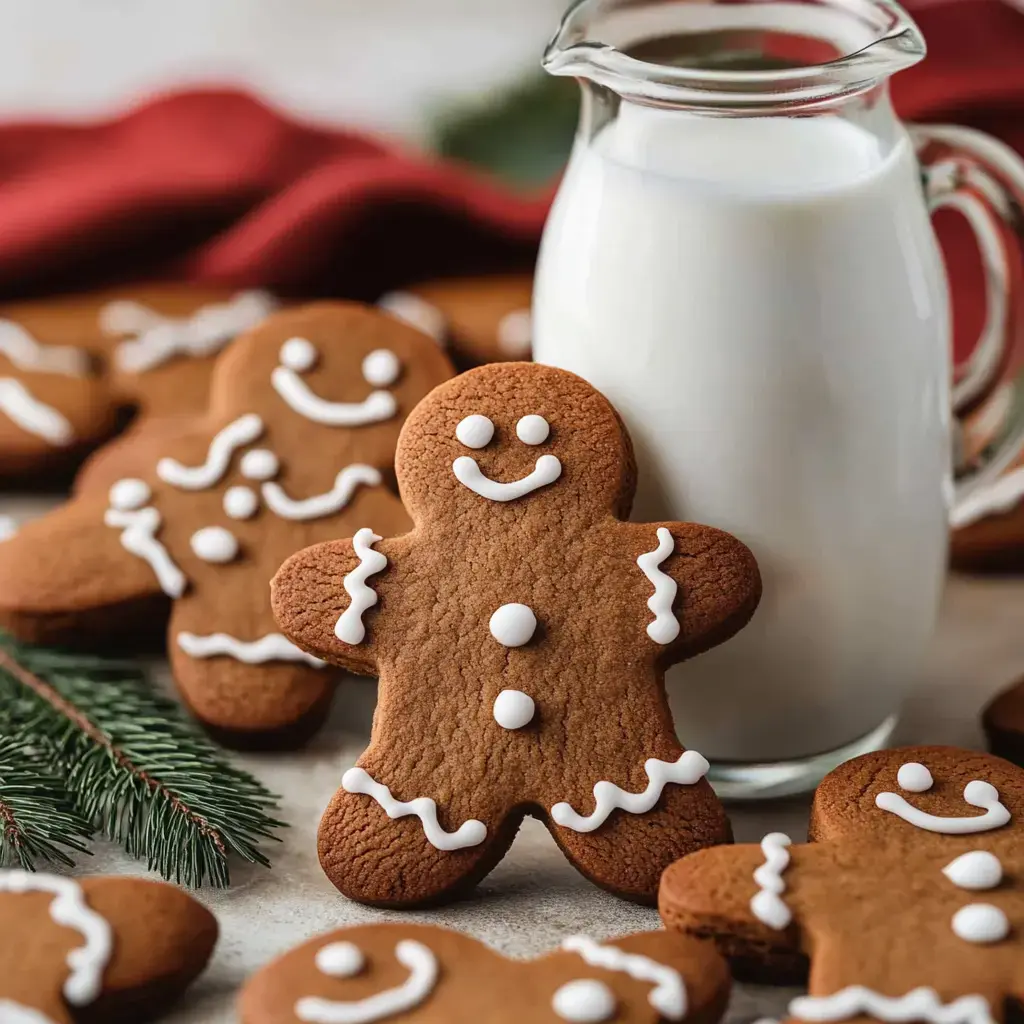
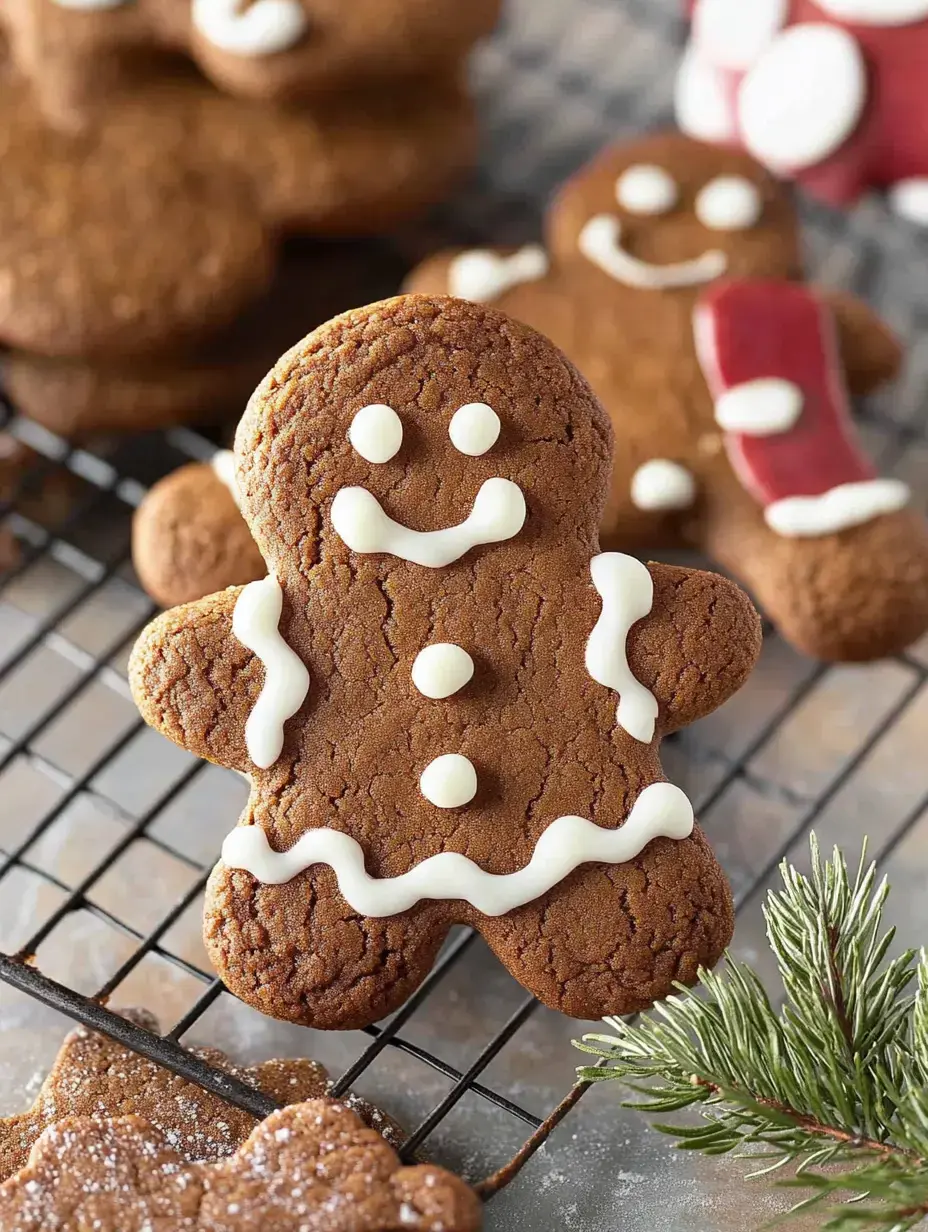
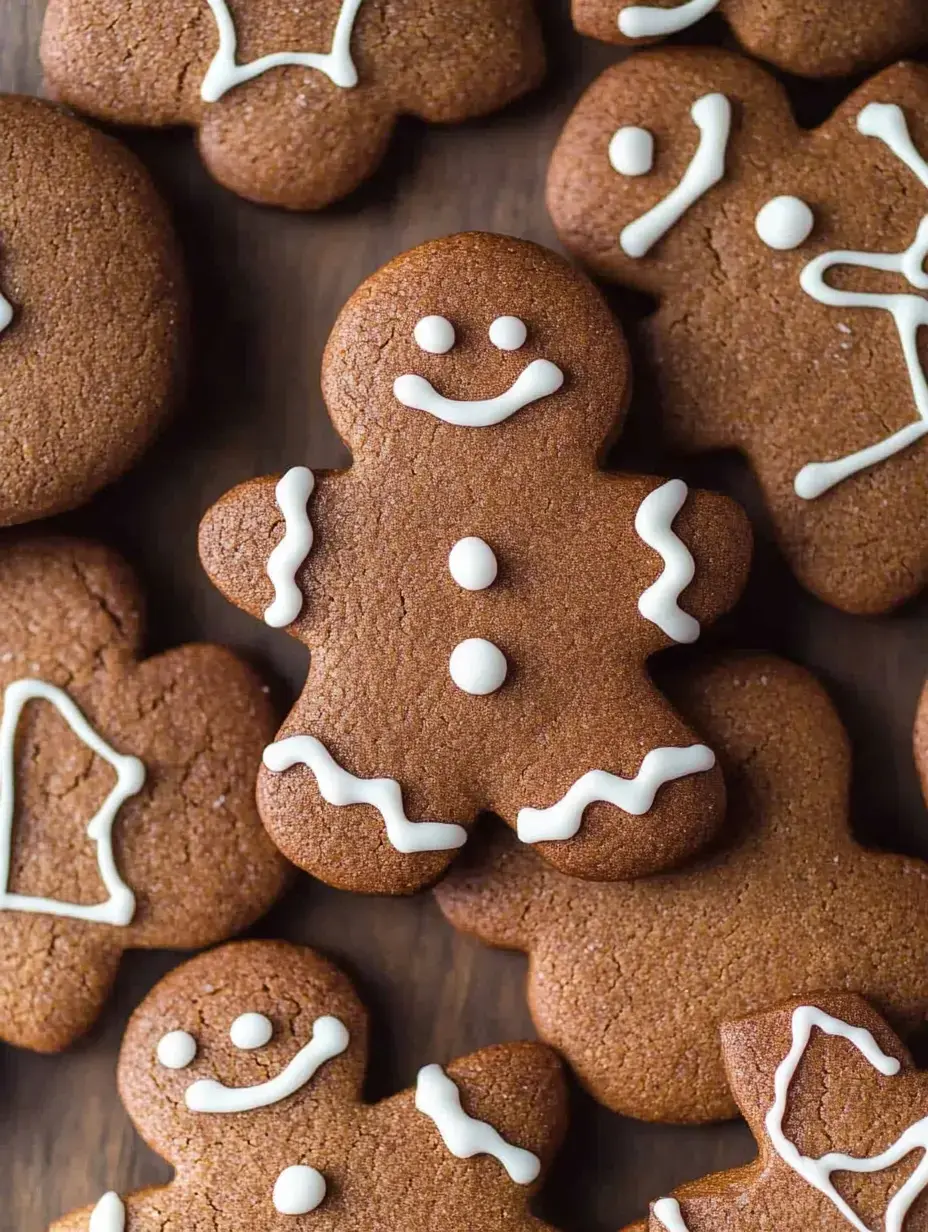
Come December, my kitchen gets filled with the most inviting, cozy smell of these amazing gingerbread cookies. I've tweaked this recipe through many holiday seasons, testing different amounts of molasses, brown sugar and warming spices. What's the outcome? The fluffiest, most tempting cookies with wonderfully chewy edges that everyone in my family can't get enough of. Believe me, after trying these, you'll forget all about those tough, hard gingerbread men!
An Improved Method for Gingerbread Baking
I want to share when I finally nailed the formula for ideal gingerbread. Following years of making treats that turned out too firm or overly spiced, I eventually hit the jackpot. These gems remain delightfully fluffy for several days, with just enough spice. My mother-in-law even asked how I made them last Christmas, and trust me, that's quite the achievement!
Kitchen Items You'll Want Ready
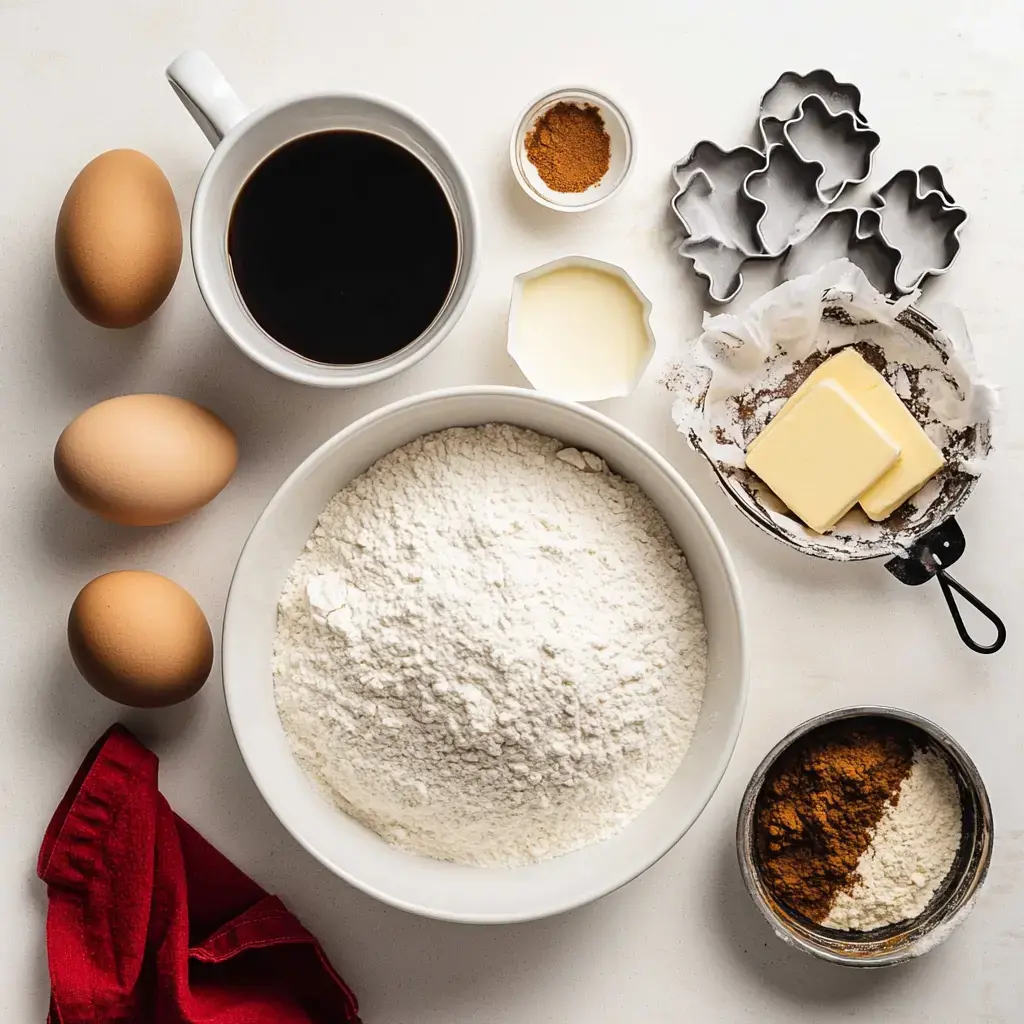
- All-purpose Flour: You need 4 cups, and here's my best advice - use a spoon to fill your measuring cup! This trick came from my grandma who always reminded me that scooping makes cookies too heavy.
- Baking Powder & Baking Soda: These two work together as my hidden advantage for getting that soft, fluffy texture.
- My Winning Spice Mix: After loads of experiments, I found the ideal combo - cinnamon, ginger, cloves, with just a tiny bit of nutmeg.
- Butter: One cup, and make sure it's at room temp! I usually set mine out when I start my morning brew.
- Brown Sugar: Both light and dark work great - I tend to pick dark for more depth.
- Molasses: Just grab the standard unsulphered kind. Don't go for blackstrap as it's far too strong!
- Egg & Egg Yolk: This pairing is my little secret for making super soft cookies.
- Vanilla Extract: Two whole teaspoons because I always go all in with vanilla.
 Pin it
Starting the Mixing Process
- Combine Your Dry Stuff
- To begin, I grab my largest bowl and swirl together my flour blend. I figured out years back that mixing spices with flour helps spread them evenly - no clumps of spice in our treats!
- Now for the Wet Components
- This is where things get good. Whip your butter until really smooth - I usually run my mixer about 2 minutes. Toss in that lovely brown sugar, then add your eggs, vanilla and molasses. Your kitchen will start to smell wonderful right now.
- Putting Everything Together
- Here's a neat trick - put in the dry stuff in two parts. This stops that annoying flour dust cloud and gives you just the right dough texture.
 Pin it
Cooling the Dough Matters Most
Let me tell you something I didn't learn for ages: putting dough between parchment sheets before cooling makes everything easier! Stick it in your fridge for at least 2 hours - I actually prefer making dough the evening before. The wait pays off, I swear - your cookies will keep their shape nicely and stay delightfully soft.
Now for the Cookie Creation
- Cutting Out Your Designs
- Here comes the enjoyable part! I enjoy using all kinds of cookie cutters - my kids absolutely love the gingerbread people. Keep those leftover bits too - we'll roll them again for extra cookies!
- Baking Time Begins
- Heat your oven to 350°F and watch them transform. About 8-12 minutes works well depending on size. My tip? Take them out when they just set on top - they'll finish cooking on the tray.
- Last Steps
- Let them rest 5 minutes on the hot sheet - this really matters! Then move to your cooling rack. This is usually when I have to stop eager fingers from grabbing a warm cookie!
How to Store Your Goodies
I keep these treats in my favorite tight-sealing cookie container - they stay soft up to a week! Well, that's the theory - they never hang around that long at my place. If you're planning ahead, toss them in the freezer. They freeze perfectly for three months, and you can even freeze raw dough for fresh-baked goodies anytime.
 Pin it
Stop Those Cookies From Losing Shape!
Let me pass on my best tips for keeping cookie shapes looking right! After plenty of flops (my poor stars used to look like blobs), I've worked it out. Make sure your butter stays properly cold - I actually put my cut cookies back in the fridge for 20 minutes if they feel warm. And don't even think about skipping that first cooling time. I found that out during one very annoying Christmas Eve baking session!
Answers to Your Common Questions
- What Type of Molasses Works Best? Avoid blackstrap - I tried it once and wow, way too harsh! Regular unsulphured molasses is what you want.
- Can I Swap Out Brown Sugar? In a hurry, sure! Here's my quick fix - mix white sugar with a bit of molasses.
- Why Are These So Wonderfully Soft? That extra egg yolk works wonders, plus the molasses and proper cooling time. It's like baking turned into a fun science project!
Making Festive Traditions
These cookies have grown into our family's holiday custom. The kids know Christmas season has officially started when gingerbread smells fill our home. Last year, my youngest wanted to bake tiny cookies for all her teachers - their happy faces were so rewarding!
Put Your Personal Touch on These Treats
I love watching how everyone changes these cookies to suit themselves! My sister adds orange zest (so clever!), and my friend sprinkles them with chunky sugar before baking for extra sparkle. Last Christmas, my daughter went crazy with purple frosting and honestly, those were the most unique gingerbread folks I've ever laid eyes on!
 Pin it
Simple Decorating Approaches
I want to share my go-to decorating methods! After tons of cookie parties, I know what really works. I use those throwaway piping bags with tiny tips for detailed work - worth spending a few extra bucks for those sharp edges! A tip I wish I'd known earlier: let cookies cool all the way before adding icing. Trust me, I've had many melted snowflakes teach me this lesson! My kids love to help with this part, though their designs usually involve lots of sprinkles and sometimes weird color mixes!
Tasty Companion Options
There's nothing better than dipping these cookies in cold milk - that's how my kids love them most. When friends drop by for holiday coffee, I serve them with warm spicy cider. Last Christmas, my neighbor brought hot cocoa to go with them and now we do it every year! These cookies are just perfect for those snug winter days when you're craving something sweet and comforting.
Cookies Make Wonderful Gifts
These make such lovely presents! I enjoy packing them in cute boxes lined with parchment. Last year, I found some darling old-fashioned tins at the craft shop - perfect for giving! My trick for successful gifting: include a handwritten note with storage tips. Your friends will thank you when their cookies stay fresh and soft for days!
Clever Ways to Store Extras
Let me tell you about my freezer backup plan! I always prepare extra dough to freeze - it's such a time-saver during the busy holidays. Just wrap it really well in plastic, then foil - I learned this double-wrap method from my mom. When you want to bake, thaw overnight in your fridge. The coolest part? Nobody can tell they weren't made from fresh dough! And if you're freezing baked cookies, put parchment between layers in an airtight box - they'll taste freshly baked when you thaw them.
 Pin it
Making Cookie Moments Last
Our family's cookie-making tradition began five years back when my daughter wanted to make gingerbread for Santa. Now it's our favorite holiday activity - watching my kids and their cousins decorate cookies together fills my heart with joy. We lay newspaper across the kitchen table, set out different colored icing bowls, and let them go wild. Some of our most cherished holiday photos show little faces focusing hard on finishing their cookie masterpieces!
Homemade Beats Store-Bought Always
After sampling every store version of gingerbread out there, nothing comes close to making your own. I love knowing exactly what's in these cookies - no strange ingredients you can't say! Plus, you can tweak the spices to match your taste. My husband prefers extra ginger, so I toss in a bit more when I'm making a batch just for him. It's these small personal touches that make home baking so worthwhile.
Why Cold Dough Makes Better Cookies
Let me explain why that cooling step can't be skipped in my kitchen! Without it, your pretty cookie shapes will flatten into sad puddles (I found this out at my first holiday baking event). The cooling time lets all those spices blend together for deeper flavor, and makes the dough so much easier to handle. I actually enjoy this step because it gives me time to tidy up and set up my decorating area!
Frequently Asked Questions
- → How long will these cookies last?
- Store in an airtight container at room temperature, and they'll stay fresh for about a week. You can freeze them baked for a couple of months too.
- → Can I prep the dough before baking?
- Absolutely! Freeze it for up to 3 months by wrapping tightly in plastic. Thaw in the fridge overnight when ready to bake.
- → What’s the best thickness for rolling?
- Keep the dough about ¼-inch thick. Roll between parchment sheets and use extra flour if the dough feels sticky.
- → How do you make super soft cookies?
- Stick to a short bake time, around 9 minutes. Take them out when the tops look just set, even if they seem slightly undercooked.
- → Why is chilling the dough important?
- It helps the dough stay firm, making cutting shapes a breeze, and keeps the cookies from spreading too much during baking.