
 Pin it
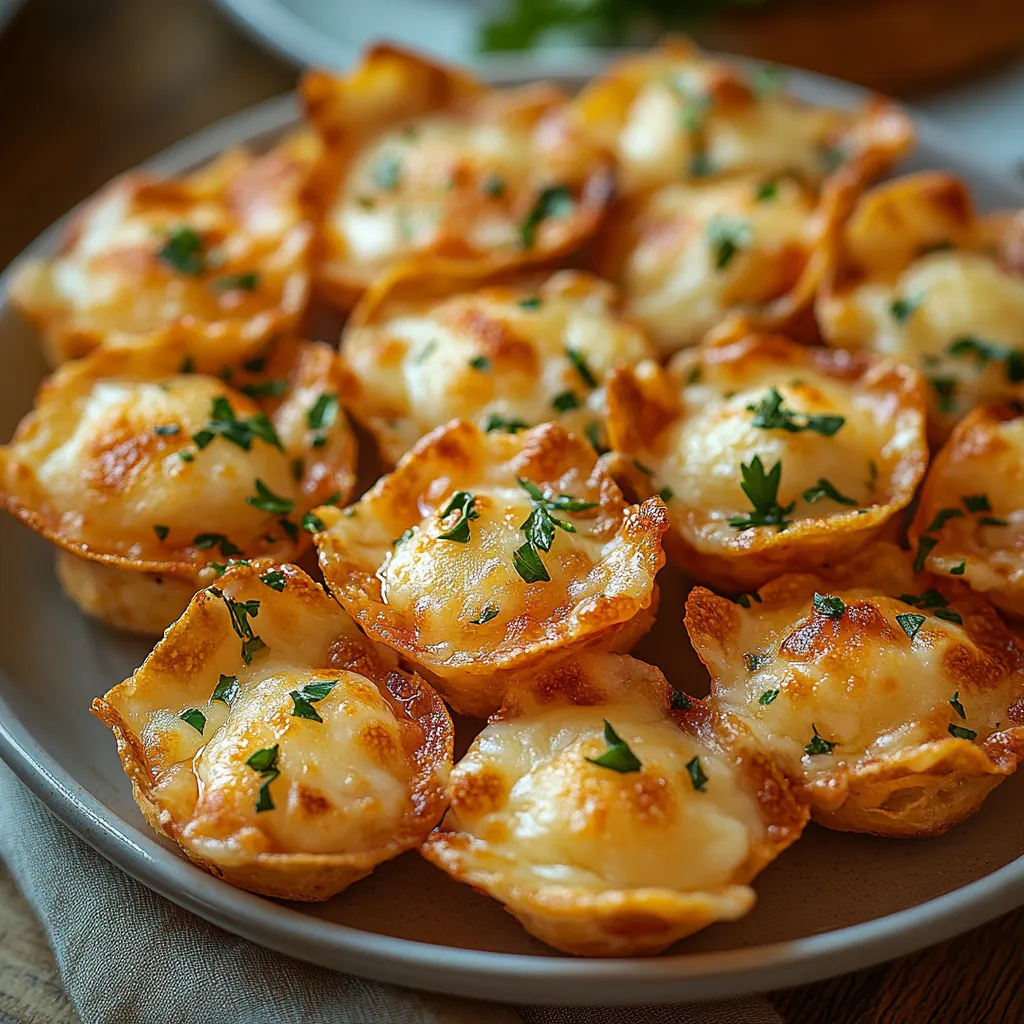
Midwest munchies capture the soul of heartland welcome in these tiny tasty treats. These yummy starters mix creamy cheese goodness tucked into crunchy tortilla cups, cooked till they're golden and sizzling. They're the type of snack that vanishes just moments after serving at any event from laid-back cookouts to fancy family get-togethers.
I first tried these amazing bites at my buddy's backyard party in Cedar Rapids. The plate hadn't even settled on the table when everyone was grabbing for more. There's something special about how the crunchy outside meets the smooth, cheesy inside that makes them impossible to resist. They've now become what I'm known for bringing to neighborhood gatherings and family parties.
Key Ingredients
- Scoop-shaped tortilla chips: Make the ideal container for holding all the tasty filling
- Cream cheese: Gives that thick, smooth texture that makes up the filling base
- Mozzarella cheese: Gets all stretchy and gooey with each delicious bite
- Sweet corn: Brings a touch of sweetness and crunch that's totally Midwest
- Green chiles: Add mild kick and deeper taste without too much spiciness
- Egg: Works to hold everything together so it sets up nicely while cooking
- Parmesan cheese: Makes a lovely browned top when sprinkled before baking
How To Make Them
- Get Ready:
- Warm your oven to 425°F and get your baking sheets ready with a little grease or some parchment paper. Put the tortilla scoops in one layer, making sure they're standing up to hold the filling. Keep them close but don't let them touch each other.
- Mix It Up:
- In a big bowl, stir together soft cream cheese, shredded mozzarella, one beaten egg, drained corn kernels, chopped green chiles, garlic powder, salt, and pepper. Stir it all up until everything's mixed well. It should be smooth but thick enough to stay put when it cooks.
- Load 'Em Up:
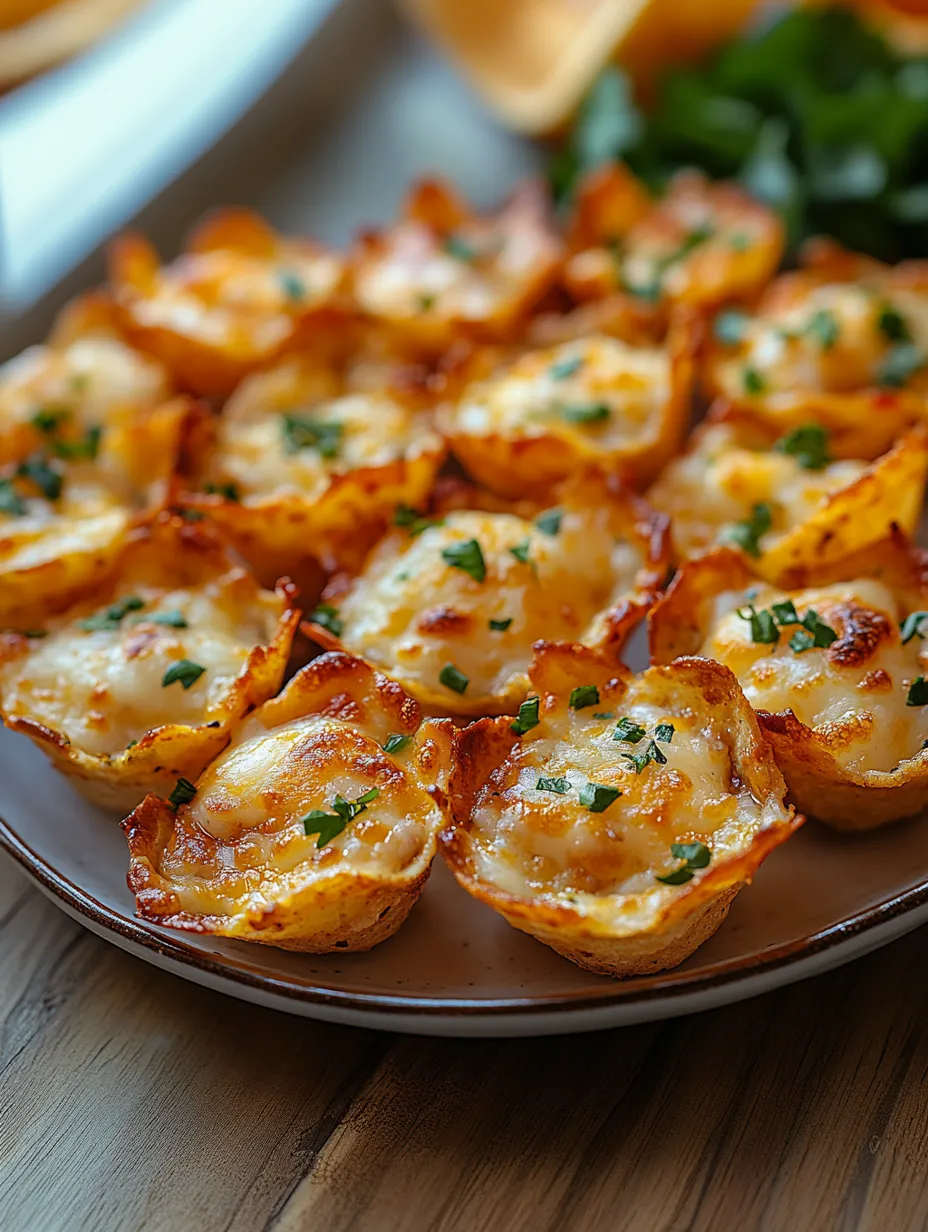
- With a teaspoon or small scoop, put about a tablespoon of the cheesy mix into each tortilla chip. Don't be shy – fill them up good since the mixture will firm up during cooking and won't spill over. Once they're filled, add a little sprinkle of grated parmesan on each one to help them brown nicely.
- Cook Until Done:
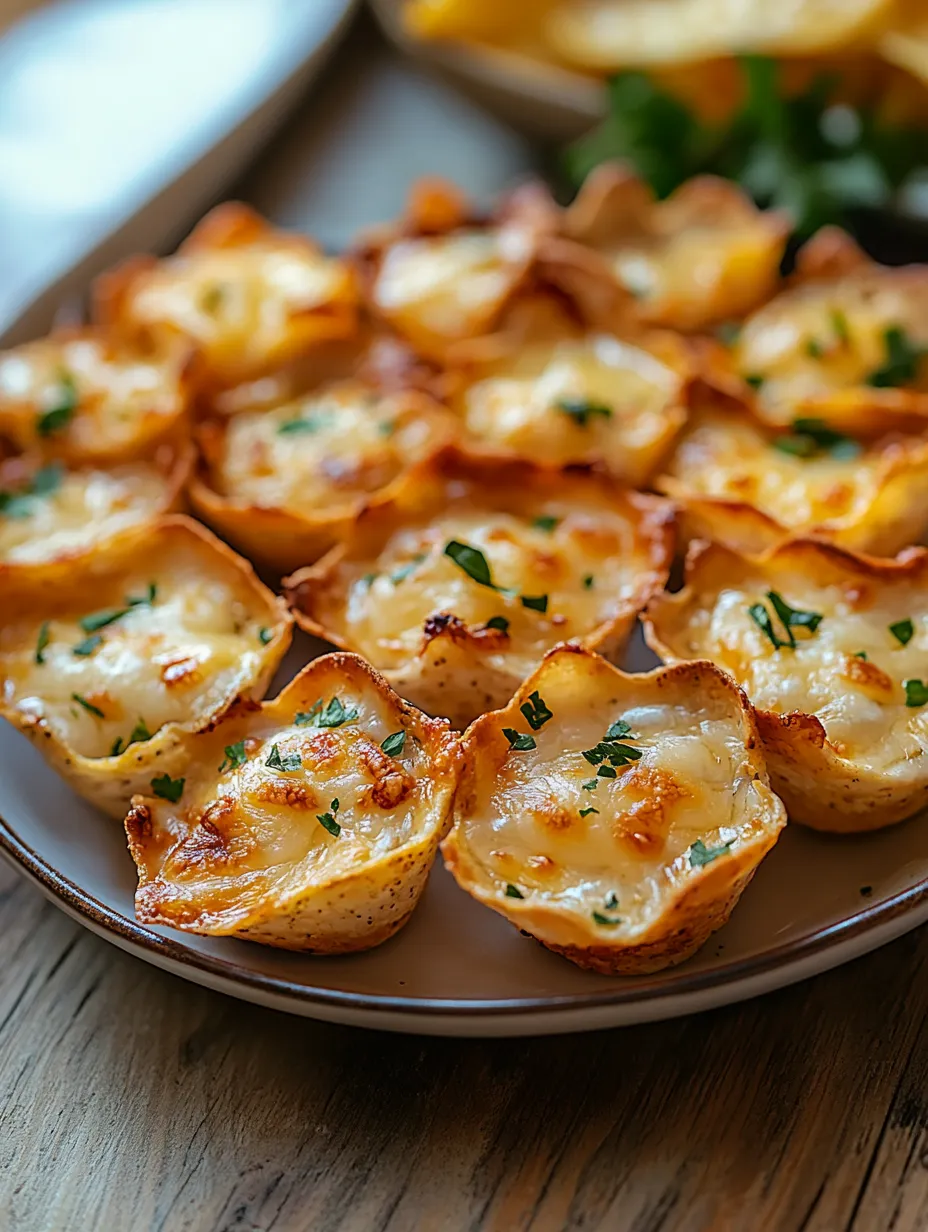
- Stick the filled chips in your hot oven and let them cook for 13-15 minutes. You want the tops to turn golden and see a bit of bubbling around the edges. A perfect bite should have a crispy tortilla bottom that stays crunchy while holding that melty, creamy filling.
My aunt Jenny always told me the trick to amazing party bites is loading up on filling but not rushing the cooking time. When I got impatient and took them out too soon, they weren't nearly as tasty as when I let them get that beautiful golden color on top. Those extra couple minutes in the oven turns them from just okay to absolutely memorable.
Ways To Serve
- Set them out on a big plate with some fresh cilantro or parsley scattered on top to make them look fancy.
- Put out small dishes of salsa, sour cream, or guacamole for people who want to add extra flavors.
- To make a complete snack spread, serve alongside fresh cut veggies and light ranch dip to balance out the richness.
 Pin it
Keeping Them Fresh
- Put any extras in a sealed container in the fridge for up to three days. The chips might get a bit soft but they'll still taste great.
- Warm them back up in a 350°F oven for 5-7 minutes to bring some crunch back to the bottoms.
- These snacks freeze really well too - lay them out on a baking sheet until they're frozen solid, then pop them in a freezer bag for up to a month.
Fun Twists To Try
- If you love meat, throw in some cooked, crumbled bacon or tiny diced ham to the mix for extra flavor.
- Heat fans can add chopped jalapeños or a splash of hot sauce to kick things up.
- For a tex-mex feel, mix in some black beans and a dash of taco seasoning before filling your chips.
 Pin it
I've made these Iowa Party Bites for everything from casual sports watching to fancy holiday parties, and they always get compliments. They're so easy yet impressive, making them perfect when you want to share some Midwest friendliness. That mix of creamy, cheesy goodness with satisfying crunch creates the ultimate party snack that folks can't stop eating.
Frequently Asked Questions
- → Can I prep these cheesy bites earlier?
- It's better to bake them fresh since chips can get soggy when they sit too long. You can make the filling a day in advance, though, store it in the fridge, and use it when you're ready to bake.
- → What can I use if I don’t have green chiles?
- You can swap the green chiles with 2-3 tablespoons of diced jalapeños (remove seeds for milder heat), chopped bell peppers, or drained salsa.
- → Can I mix in meat for a heartier snack?
- For sure! Add 1/2 cup of cooked bacon bits, crumbled ground beef, or small chunks of ham for extra protein and flavor.
- → How do I store leftovers, and can I reheat them?
- Keep extras in an airtight container in the fridge for 2 days at most. Reheat for about 5-7 minutes in a 350°F oven. Just note, the chips will lose their crunch.
- → What dips go well with these bites?
- They’re tasty as-is but go great with salsa, creamy sour cream, guacamole, or spicy ranch for added flavor.