
 Pin it
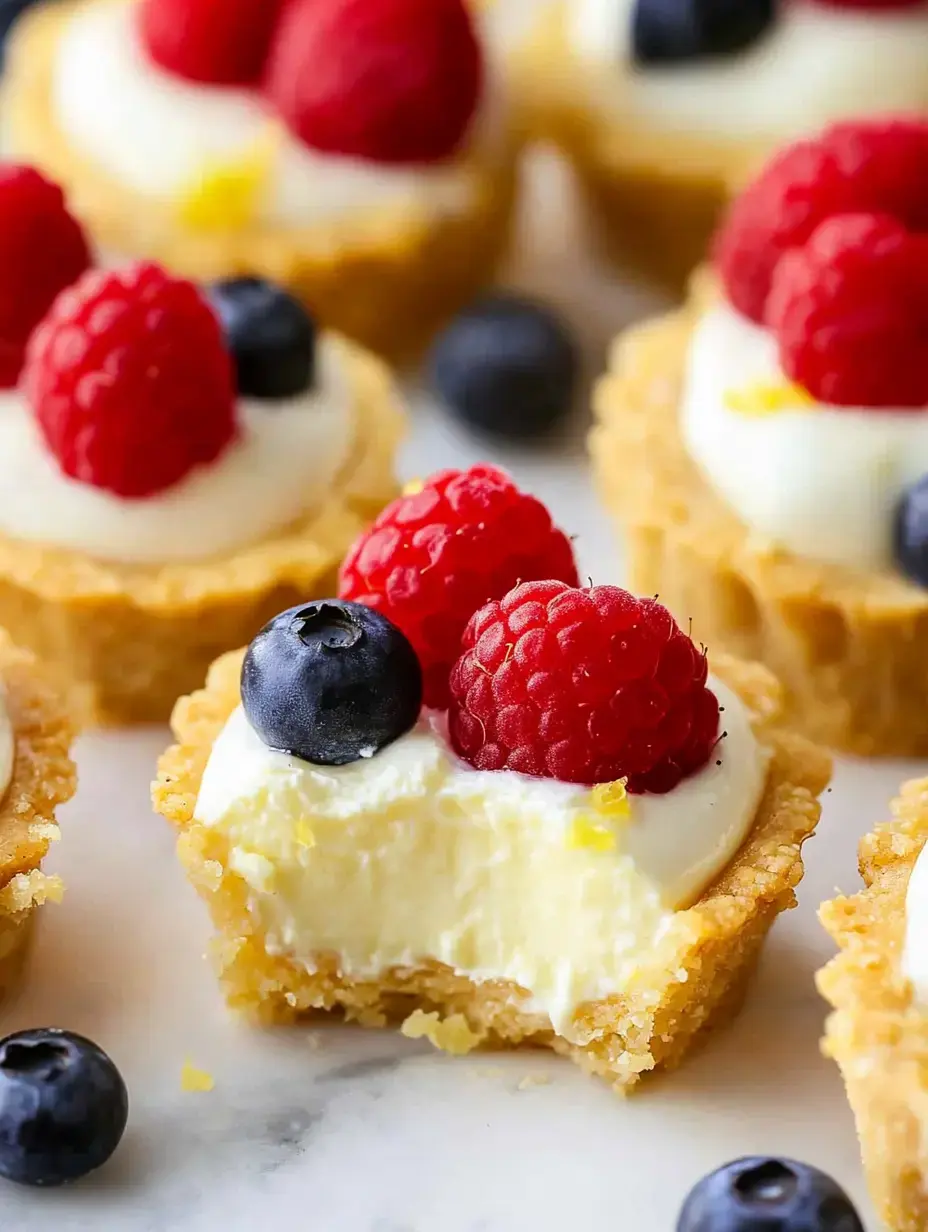
I've completely fallen for these itty-bitty lemon treasures in my kitchen. Through many trials, I've nailed down these small no-bake lemon cream cheese cups that pack sunshine in every mouthful. The rich lemon mixture sitting in a graham cracker base is simply wonderful. You'll soon find these tiny snacks becoming your favorite sweet treat for outdoor events, casual gatherings, or simply when you want to spoil yourself.
Sunshine in Every Bite
When summer hits, we all crave something zesty, easy, and totally yummy. These tiny lemon cups check every box you could want. Mixing velvety cream cheese with tangy citrus makes each nibble taste like heaven. And the coolest part? You won't heat up your home since there's zero baking time. Just add your preferred garnishes and watch everyone grab them at your next get-together.
 Pin it
Simple Ingredients List
- Graham Crackers: You'll need 1½ cups of crumbs. I prefer smashing my own for that ideal texture, though pre-packaged works fine too. Newly crushed crackers really make the base outstanding.
- Cream Cheese: I always pick Philadelphia brand. Get the regular fat version and let it warm up on the counter. Room temp cream cheese truly matters for getting that perfectly smooth mixture.
- Whipping Cream: One cup of heavy cream whipped into soft peaks. This adds that dreamy, light feel we're after.
- Lemon: Fresh is key - two tablespoons of juice and one tablespoon of zest. Don't even think about using the stuff from a bottle.
- Sugar: Half a cup of granulated sugar hits the sweet spot just right.
Step-by-Step Instructions
- Base Building
- Combine your graham bits with 2 tablespoons sugar and 6 tablespoons melted butter till it resembles damp sand. Cover your mini muffin pan with plastic wrap for quick removal. Push about a teaspoon into each hole, working it along the edges. Stick it in the freezer to harden.
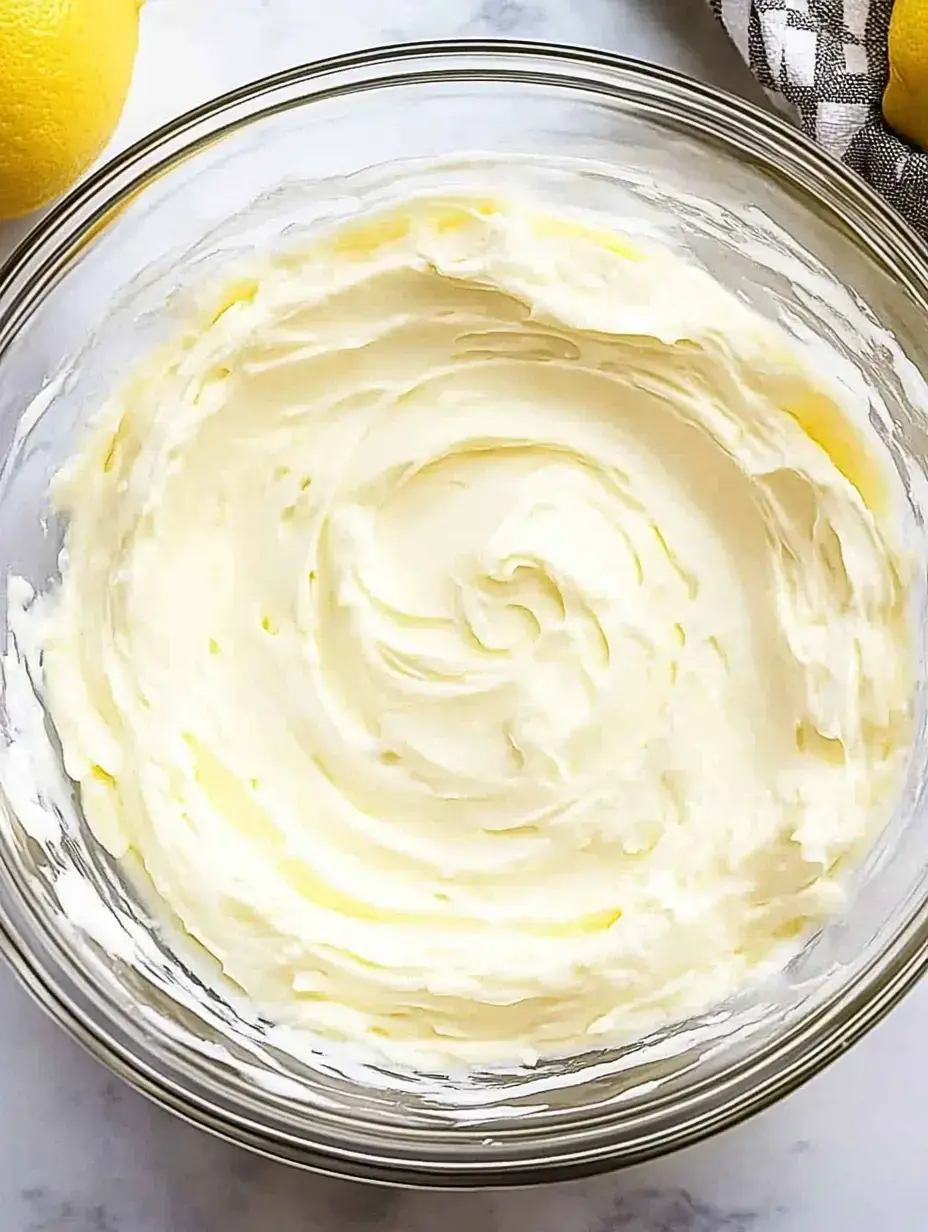
- Mixing Your Filling
- Beat your softened cream cheese with lemon juice, zest and sugar until completely smooth. In a separate bowl, whip your cream with a bit of vanilla until stiff. Carefully combine them, keeping all that fluffiness intact.
- Assembly Time
- Take out those crusts using the plastic wrap edges. Fill each shell with the lemon mixture. I find a small ice cream scoop works great here for clean, even portions.
- Finishing Touches
- Let them sit in the fridge for a couple hours. Top with your favorite garnishes before serving. Always serve them cold for the best taste.
Customization Ideas
If you're into vanilla, just leave out the lemon for a pure flavor. I sometimes top mine with smashed Oreos or bits of caramel. Try adding chunks of cookies or fresh fruit pieces. There are so many ways to change them up, which makes cooking such a blast.
 Pin it
Storage Tips
These tasty bites stay good in your fridge for around 5 days if kept in a sealed container. Need to make them ahead? They'll last in the freezer up to 3 months. I actually enjoy eating them frozen during hot weather, they're like little frozen cheesecake snacks.
Scaling Up
Looking to impress at your next dinner? This same recipe works great as one large tart. Just press that graham mixture into a tart pan, add all the lemon cream filling, and chill. It creates a beautiful dessert centerpiece for any special occasion.
Finding Your Fit
Want something not too big, not too small? Standard muffin pans do the trick. Follow the same steps, just use more filling per cup. These medium treats hit the spot when you need something a bit larger but still easy to grab and go.
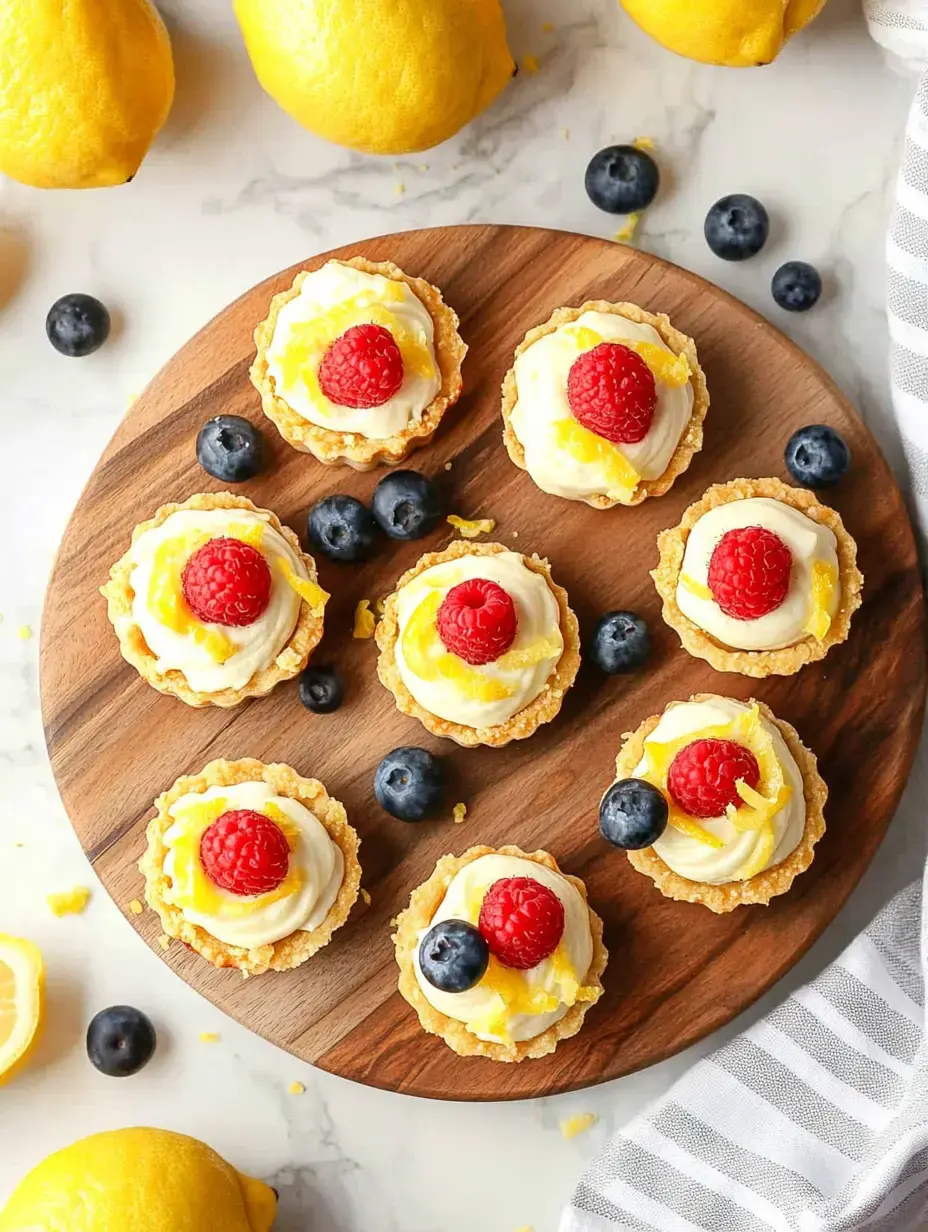
Adding Flair
Decorating these cups is so much fun. Fresh berries make them look super fancy. A touch of honey gives them sparkle. Sometimes I add homemade jam or grate some chocolate on top. The tangy lemon base pairs wonderfully with almost any topping you can think of.
 Pin it
Pro Tips
- Plastic Wrap Trick: Always line your pan with plastic. It's my foolproof method for getting those fragile shells out in one piece.
- Watch Your Warmth: Your cream cheese must be properly softened. Cold cream cheese will give you bumpy filling, and that's not what we want.
- Take Your Time: Don't rush the chilling. They really need that full two hours to set properly.
Cool Kitchen Solution
No-bake treats save me when summer heats up. When it's too warm to even consider using the oven, I turn to these cups. There's something really satisfying about making something so fancy without any baking needed.
Crowd Pleasers
These tiny treats have been my lifesaver at so many gatherings. I can make them a day early and they're always a hit. Their small size means no cutlery needed, and they bring smiles every time. They also look amazing on any dessert display.
Guilt-Free Enjoyment
What I really dig about these cups is how airy they seem. The zesty lemon keeps them from feeling too rich, and their tiny size lets you enjoy a sweet treat without going overboard. They're just right when you want something tasty but not heavy.
 Pin it
Kitchen Fun with Kids
My children totally enjoy helping make these treats. I handle the filling part, but they're experts at adding toppings. Seeing them carefully place fruit or add sprinkles brings me so much happiness. It's become our favorite cooking activity together, and they beam with pride when guests enjoy their work.
Pretty Presentation
How you serve these matters, and luckily they're super adaptable. For fancy dinners, I put them on my family's old silver tray. For casual cookouts? Cute paper cups work great. They catch everyone's eye no matter how you dish them up, and isn't that what makes dessert special?
Every Season Delight
While these cups totally fit summer with their bright lemon kick, they work great any time of year. During autumn I mix in some cinnamon to the filling. At Christmas, I scatter crushed mints on top for holiday flair. They truly fit any time of year you need something sweet.
Frequently Asked Questions
- → How long will these cheesecake bites stay good?
- Keep them in the fridge for about 3-5 days sealed up tight. You can also freeze them for up to 3 months. They taste great straight from the freezer!
- → Do I have to bake these bites?
- Nope, not required! The crust hardens in the freezer, and the filling sets up in the fridge.
- → What toppings work well with these bites?
- Pick your favorite fresh fruits! Berries, peach slices, or even fruit preserves are awesome options.
- → Why are my crusts falling apart?
- The crusts need to stay cold to stay firm. If they get warm, they’ll start to break apart since they aren’t baked.
- → Are these bites good to make ahead?
- Totally! Pop them in the fridge for a few days or freeze them up to 3 months. They’re great for prepping early.