
 Pin it
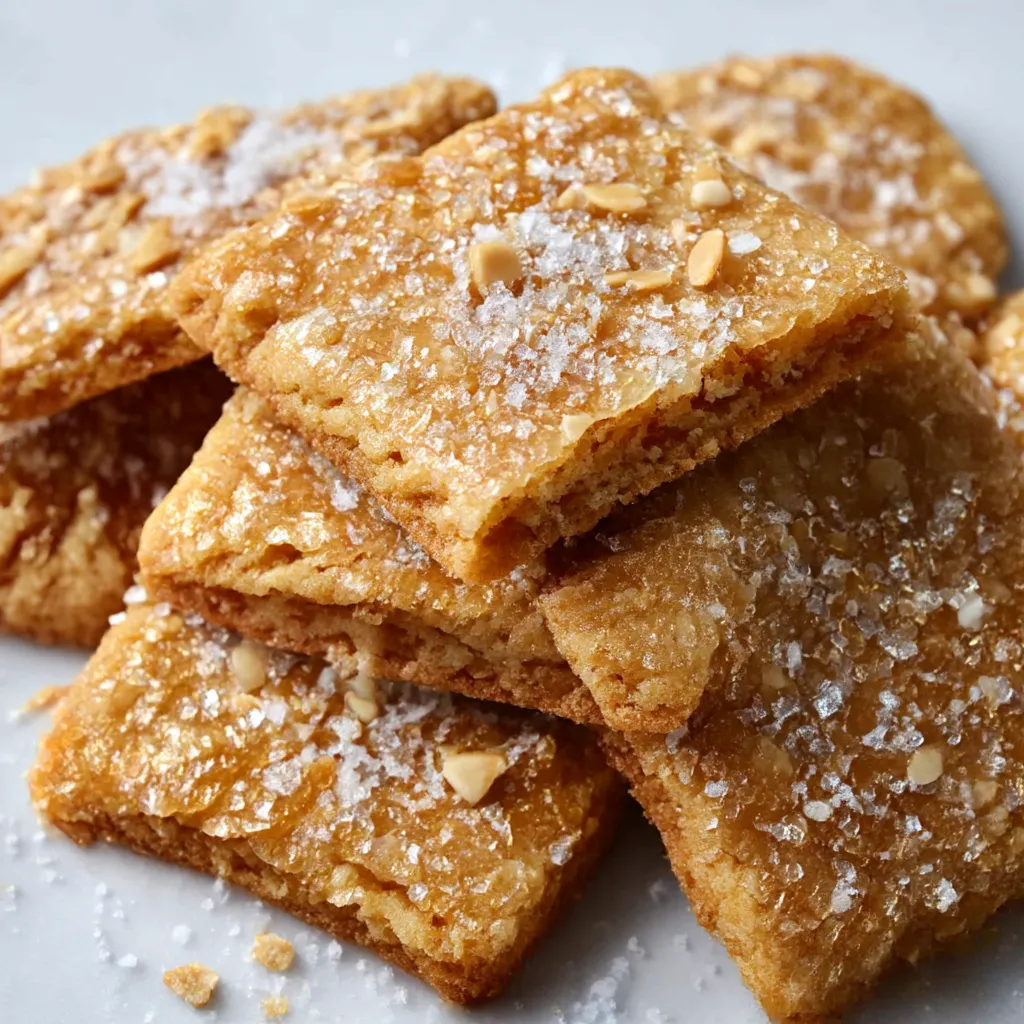
These delicate, lacy maple cookies glisten with crunchy sugar crystals and pack an unforgettable maple punch. The slow baking process turns basic ingredients into something truly special that stays crispy for up to a month.
I whipped these up for a Christmas cookie swap and they vanished immediately. The sugar sparkle makes them look fancy, so everyone thinks they took forever to make—but they couldn't be simpler.
Ingredients
- All purpose flour: Builds the foundation without making them too heavy
- Whole milk: Brings a creamy quality to the batter
- Maple flavoring: Delivers that cozy maple taste without splurging on real syrup
- Instant yeast: Makes the signature light texture and helps them get perfectly crisp
- Salt: Brings out every flavor and cuts through sweetness
- Unsalted butter: Added bit by bit to create flaky layers that break apart when you take a bite
- Coarse white sugar: Gives that eye-catching twinkle and satisfying crunch
Step-by-Step Instructions
- Prepare the Dough:
- Mix flour, milk, maple flavoring, yeast, and salt in your mixer bowl. This forms your dough base. Room temperature ingredients will blend together much better.
- Add Butter Gradually:
- Slice your butter into eight equal chunks. Add one piece at a time, letting each mix for a full minute before adding another. This slow process is key for those flaky layers. You'll watch the dough change from crumbly to wet and finally smooth and elastic.
- Rest and Develop Flavor:
- Wrap your finished dough tightly in plastic and chill overnight. This resting time lets the yeast slowly build flavor without making the dough rise, while also firming up the butter for easier rolling.
- Sugar Coating Process:
- To bake, scatter coarse sugar on parchment paper. Put half your cold dough on the sugar and sprinkle more sugar on top. The sugar doesn't just add sweetness—it creates that signature sparkle and crunch that makes these cookies stand out.
- Rolling Technique:
- Roll dough to about 1/16 inch thick, constantly adding sugar above and below. This complete sugar coating is crucial for both looks and texture. Lift the edges now and then to make sure sugar gets underneath the whole dough sheet.
- Cut and Bake:
- Cut into diamonds or squares with a sharp knife or pizza cutter. Smaller pieces bake more evenly and get crispier throughout. The long, gentle bake at 275°F transforms them from soft dough into beautifully caramelized, crunchy treats.
 Pin it
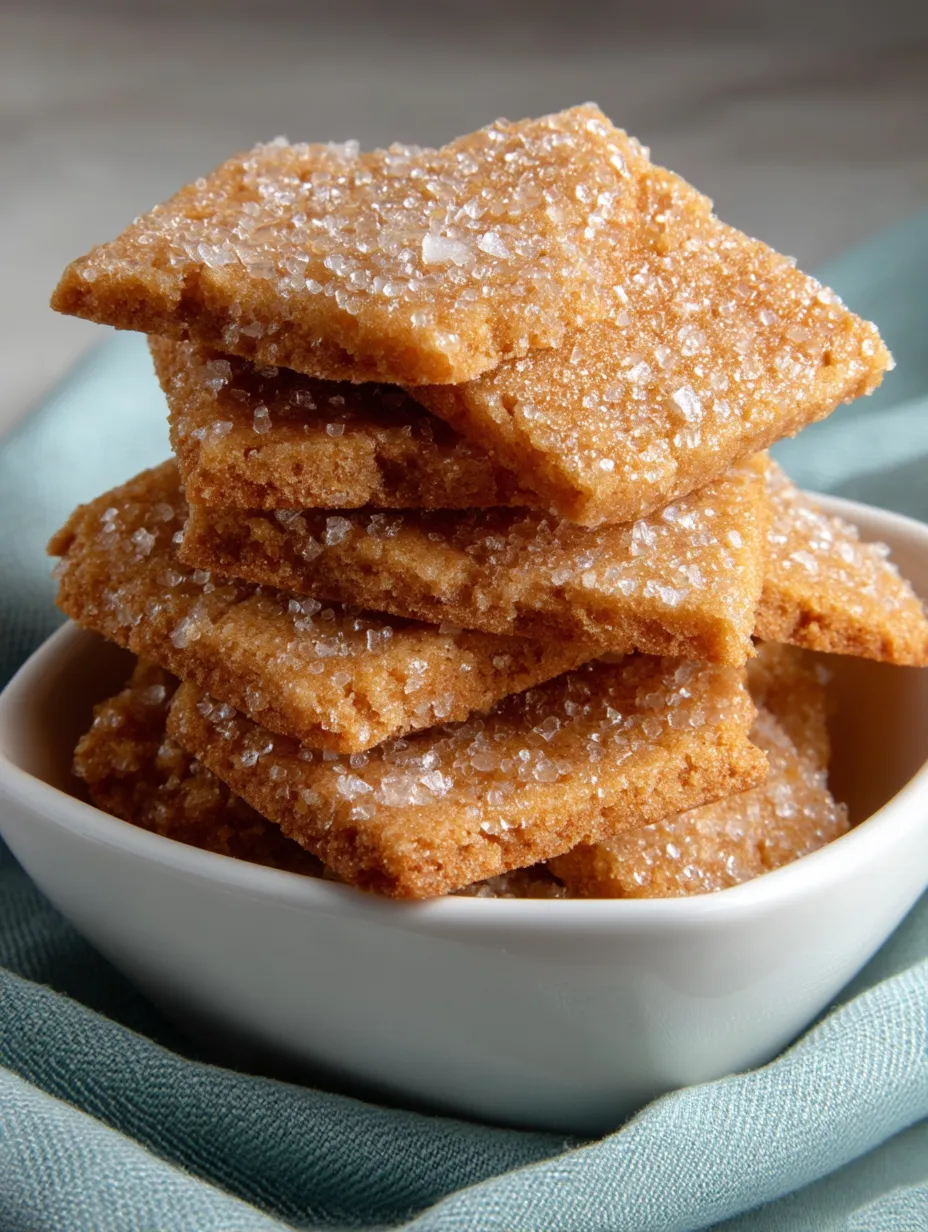
The coarse sugar is truly the star ingredient here. I found it by chance when I mistakenly ordered a huge 5-pound bag instead of regular sugar. Now I always keep some just for these cookies. My grandma always told me that happy baking mistakes often become the best family favorites.
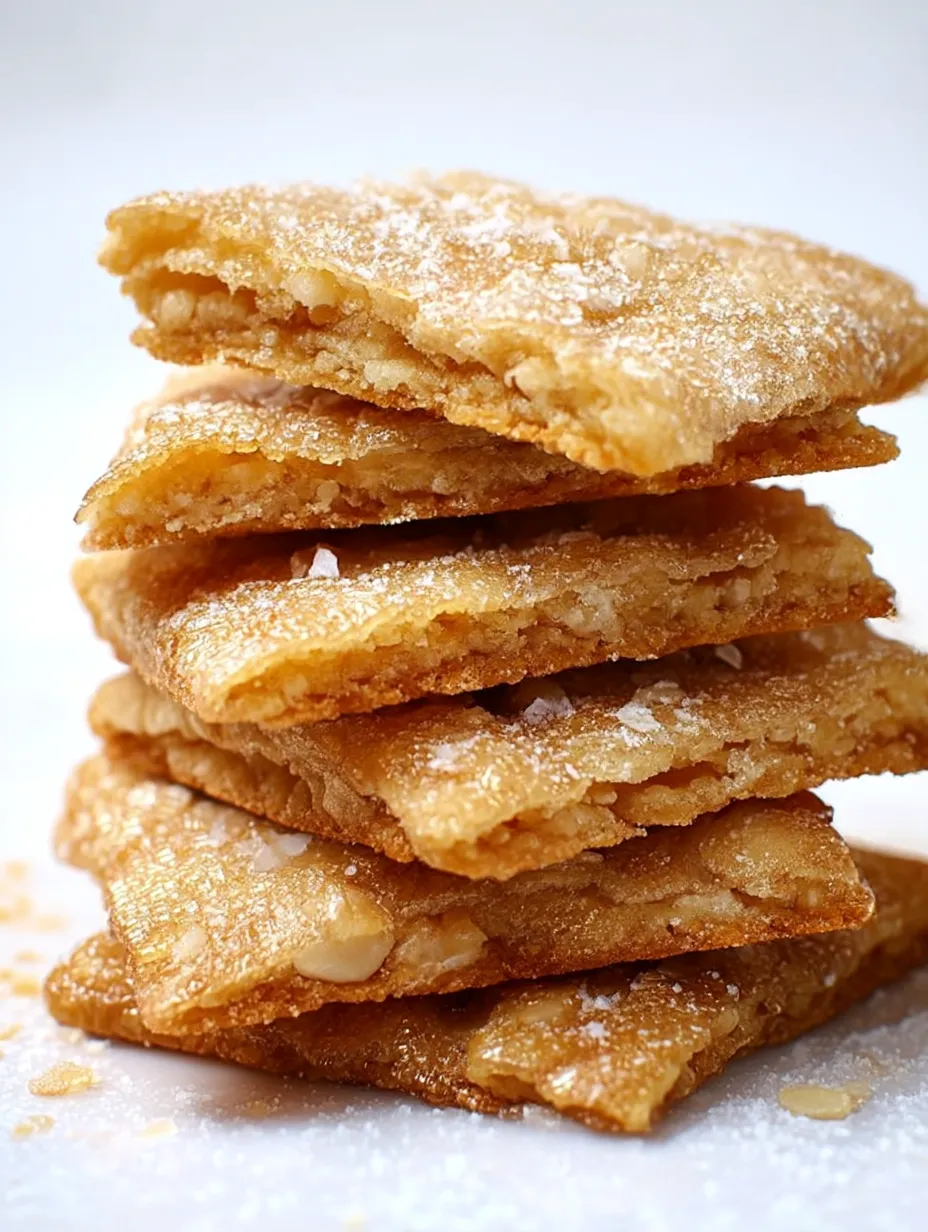
The Science Behind the Crispness
The way we add butter and the slow baking work together to create these cookies' unique texture. Unlike normal cookies where you cream butter and sugar, this method makes thin layers like puff pastry. The yeast adds subtle flavor without making the dough rise much. The extended baking time gets rid of all moisture, giving you that satisfying snap when you bite in.
 Pin it
Storage Secrets
Keep these cookies in an airtight container with parchment paper between layers. Moisture is the biggest threat to crispness, so think about adding a food-safe desiccant packet if you live somewhere humid. If they do get soft, just pop them in a 250°F oven for 5 minutes to bring back the crunch without browning them more.
Perfect Pairings
These cookies go great with hot drinks. Try them with a maple latte for double maple goodness, or balance their sweetness with strong espresso. They also make fancy decorations standing up in ice cream or mousse. Since they're so sturdy, you can shape them into edible dessert cups by molding them over upside-down muffin tins while they're still warm.
Frequently Asked Questions
- → Why are the cookies so light and crisp?
Letting the dough chill overnight and baking at a gentle temperature keeps the cookies crisp and airy.
- → How do I get the caramelized sugar taste?
Cover the dough in coarse sugar before baking until both sides turn a nice golden brown. This caramelizes the sugar perfectly.
- → Can these snacks be prepped in advance?
Sure! Make the dough beforehand and let it chill overnight. Baked cookies can last up to two weeks in an airtight container.
- → What’s the best storage method?
Wrap tightly in plastic wrap and store in an airtight container to keep them fresh and crispy.
- → Can I adjust the cookie sizes?
Absolutely! Slice the dough using a knife or pizza cutter into your chosen sizes. Just remember that smaller cookies bake evenly.