
 Pin it
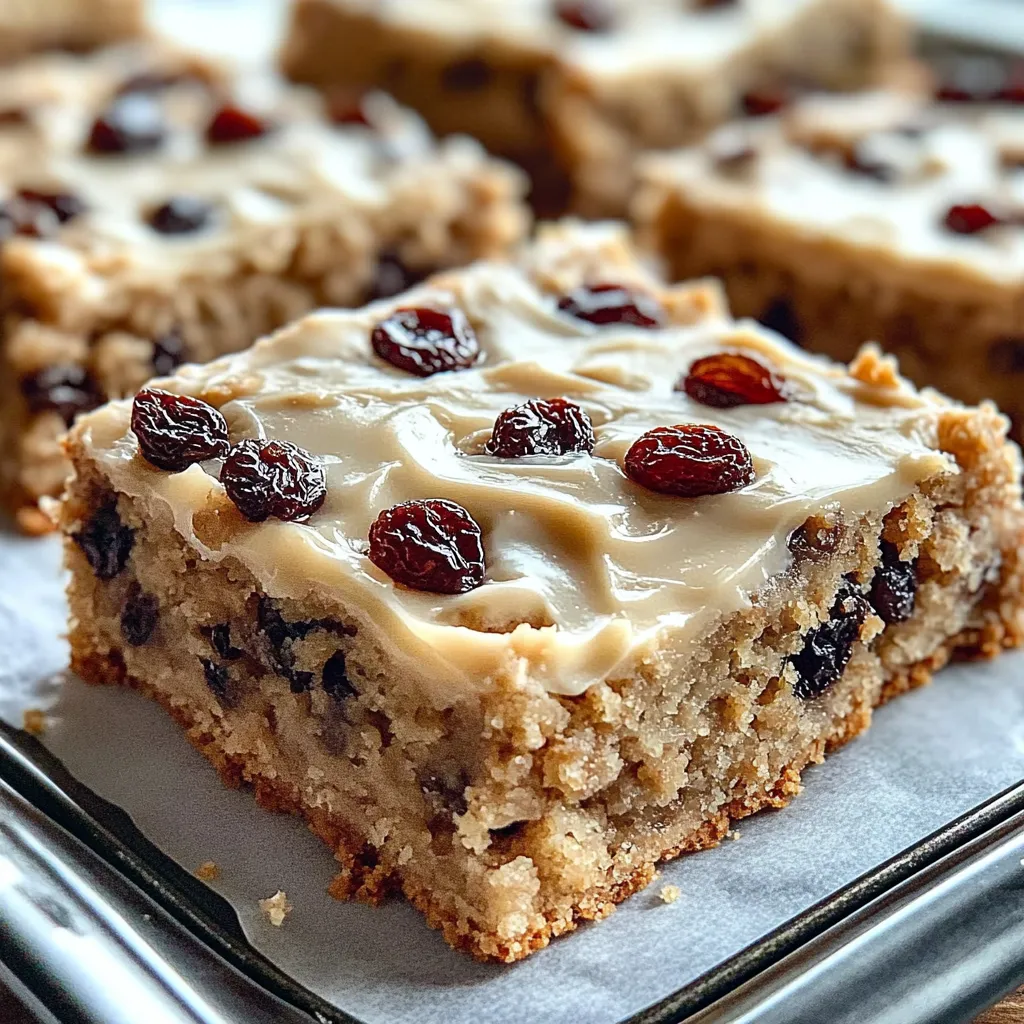
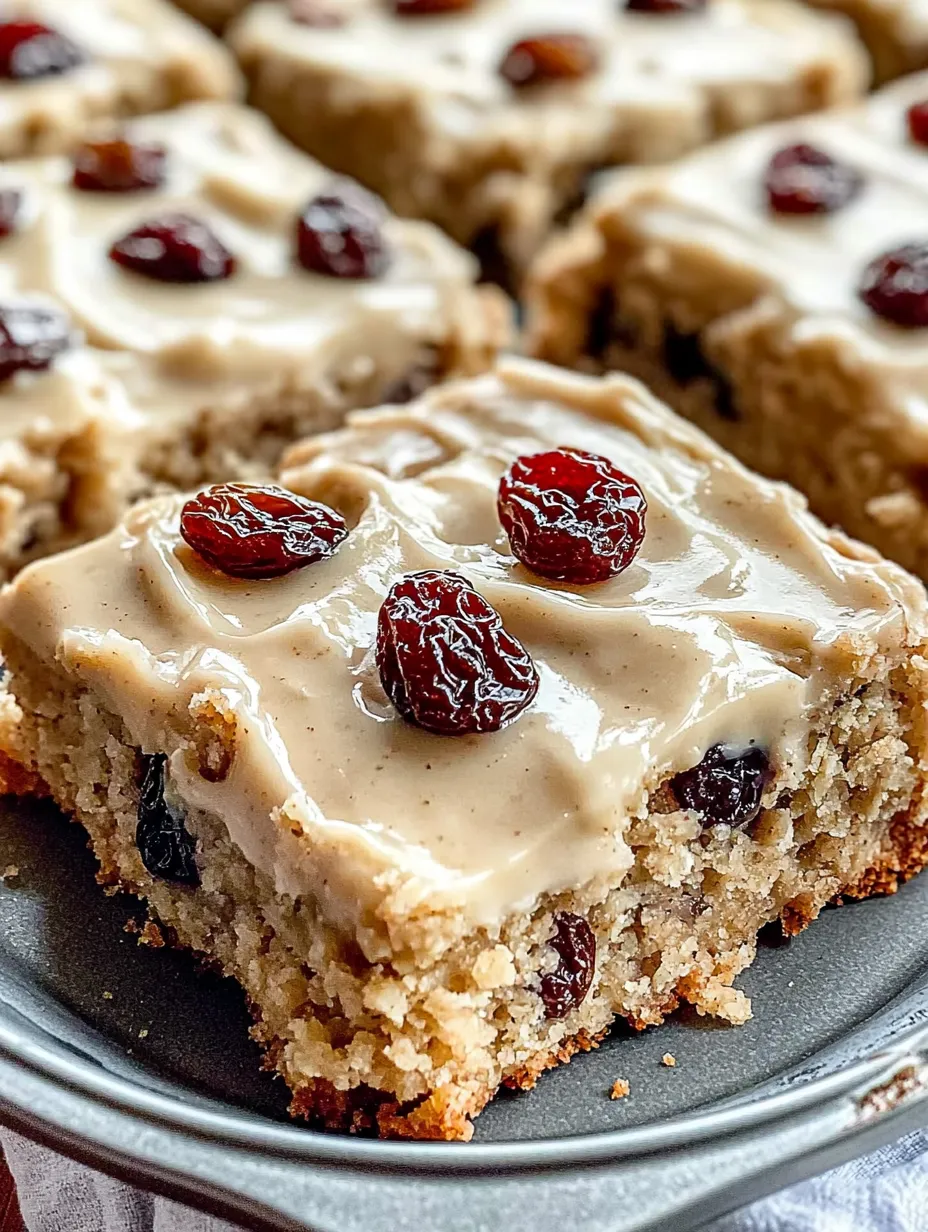
Chewy oatmeal raisin bars take your favorite cookie to the next level with their dense, moist texture and creamy maple-cinnamon topping. These homey treats blend the cozy feeling of traditional oatmeal raisin cookies with a handy bar shape that makes them super shareable. Every mouthful gives you that wonderful mix of hearty oats, juicy raisins, and warm spices, all topped with a smooth frosting that turns this simple dessert into something you won't forget.
I brought these to our family dinner once, and my grandma (who brags she makes the top oatmeal cookies in the whole area) wanted my method before she'd even finished eating. That told me I'd hit on something really good with this twist. They vanished in just minutes, with folks saying how the topping completely changed an old favorite into something they couldn't stop eating.
Simple Needed Ingredients
- Quick-cooking oats: They make everything perfectly chewy and moist; regular oats work too but will give you a chunkier feel
- Juicy raisins: They add natural sweetness and chewy bits throughout; grab the softest ones you can find
- Brown sugar: Gives a rich taste that works so well with the oats and spices
- Cinnamon: Adds that cozy feel to both bars and frosting; grinding your own makes a big difference
- Unsalted butter: Makes everything taste rich in both parts; don't skimp on cheap butter
- Maple syrup: Brings sweet, woodsy flavor to the topping; always go for real maple syrup, not the fake stuff
My hidden trick is adding the tiniest bit of nutmeg to the dry stuff—you can't quite place it, but it adds warmth that leaves people wondering what tastes so good. I also think it's worth spending a bit more on Ceylon cinnamon if you can get it, since its lighter taste works amazingly with the maple topping.
Baking Wonderful Bar Cookies
Put parchment in your pan with extra hanging off the sides so you can lift everything out easily. This quick step makes serving and cleaning up so much easier.
Blend Things Right
Beat the butter and sugar really well until it's fluffy and light—this puts air in there that helps your bars get the right texture. When you add dry stuff, just mix until it's combined or your bars might turn out tough.
Get The Bottom Layer Right
Push the mixture flat in your lined pan, using slightly wet fingers so it doesn't stick to you. Make sure it's the same thickness everywhere for even baking.
 Pin it
Keep An Eye While Baking
Look for edges turning gold but a middle that's still a bit soft—they'll finish cooking after you take them out and firm up as they cool down. Baking too long ruins that chewy goodness.
Let Them Cool Off
Don't rush—let the bars cool completely before you put frosting on top. This stops it from melting and helps the frosting set up right so you can cut clean squares.
Whip Up Silky Frosting
Whip the butter until it's super light before adding anything else. The maple and cinnamon together make it taste amazing, while heavy cream makes it so smooth you won't believe it.
My kid loves to help make these bars, especially pushing the dough into the pan and spreading the frosting on top. She really enjoys watching them change in the oven—how the sides get a bit higher than the middle, making a nice spot for all that creamy topping. We now make these together every fall when it starts getting cold.
Ways To Enjoy Them
Eat these bars a bit cold for the neatest slices, or at room temp if you want them extra chewy. They go great with tea or coffee, so they're perfect for book groups or casual get-togethers. For a fancy dessert, warm a bar slightly and add a small scoop of vanilla ice cream on top, letting it melt into the frosting for amazing texture differences. These pack well in lunch boxes or picnic baskets too, bringing that homemade goodness anywhere you go.
Fun Recipe Switches
Change up these bars for different times and tastes. Try dried cranberries and white chocolate pieces for a holiday version that's great for cookie swaps. For a fall twist, throw in small bits of apple and more cinnamon. Make a beach-inspired version by swapping some oats for coconut and adding dried pineapple and macadamia nuts. For an extra fancy version, drizzle caramel over the frosted bars before serving.
 Pin it
Keeping Them Fresh
These bars stay nice and soft when stored right. Keep them in a sealed container at room temp for up to three days, with parchment between layers so the frosting doesn't get messed up. To keep them longer, put them in the fridge for up to a week—just let them warm up before eating for the best texture. You can even freeze these for up to three months; thaw them in the fridge overnight and then let them come to room temp before eating.
I've noticed these bars really bring people together—something about that cozy smell of cinnamon and oats makes folks stop, smile, and start sharing stories. My favorite baking memory happened when my grandpa, who hardly ever talked about when he was young, took one bite and began telling us how his mom made similar treats during hard times. These simple ingredients turned into something that brought joy back then, just like they do now. That's the real wonder of these oatmeal raisin bars—they're not just tasty, they help connect different generations.
Frequently Asked Questions
- → Can I swap rolled oats for quick oats?
- Go for it! Rolled oats will give a chunkier texture, while quick oats keep things softer. Use what suits your style.
- → How do I know when they're done baking?
- Look for golden edges and check with a toothpick—moist crumbs mean they're ready. Let 'em cool to set properly!
- → Can I bake these bars a day or two ahead?
- For sure! They get tastier as flavors blend. Just frost them right before serving.
- → Can I freeze the bars for later?
- Yep! Just skip the frosting before freezing. Stack with parchment in an airtight container, thaw when needed, and frost fresh.
- → What can I use instead of raisins?
- Try dried cranberries, cherries, or even chocolate chips. A mix of nuts and dried fruit works too!