
 Pin it
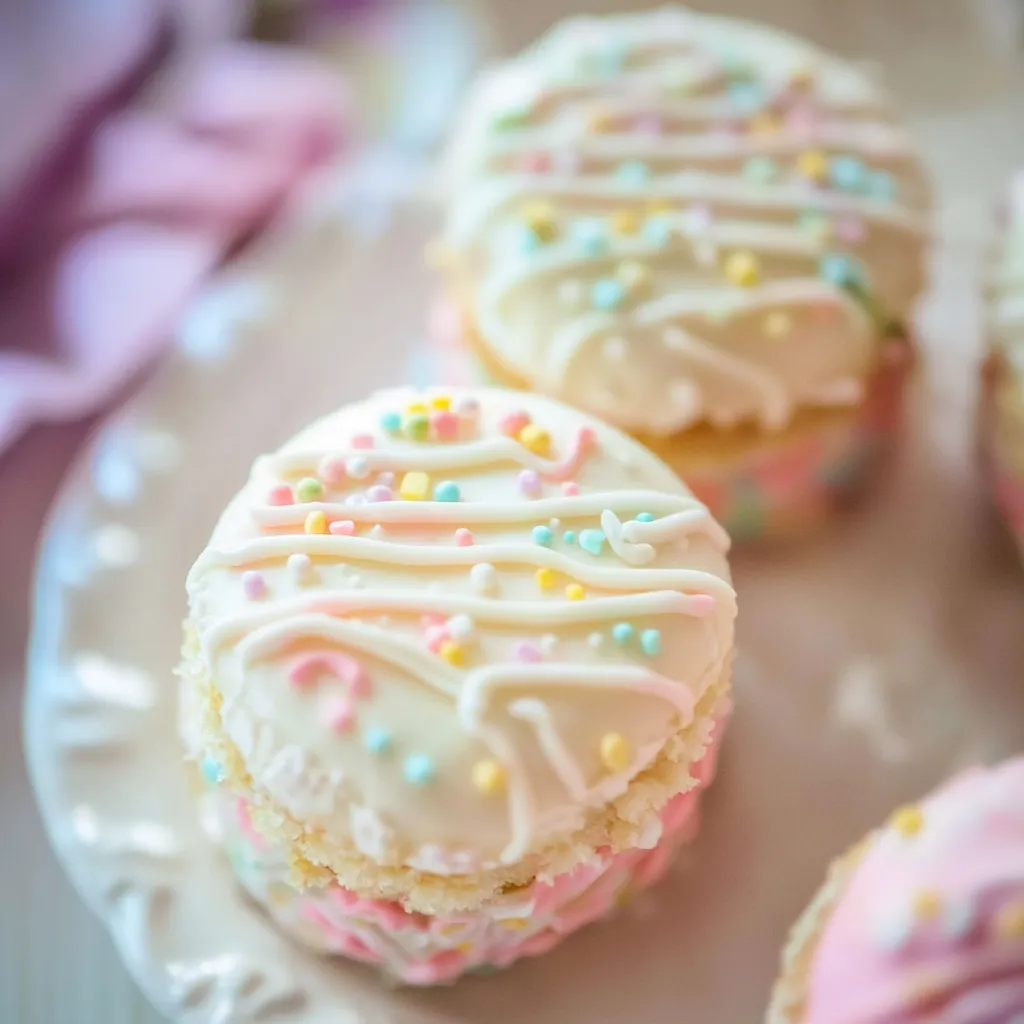
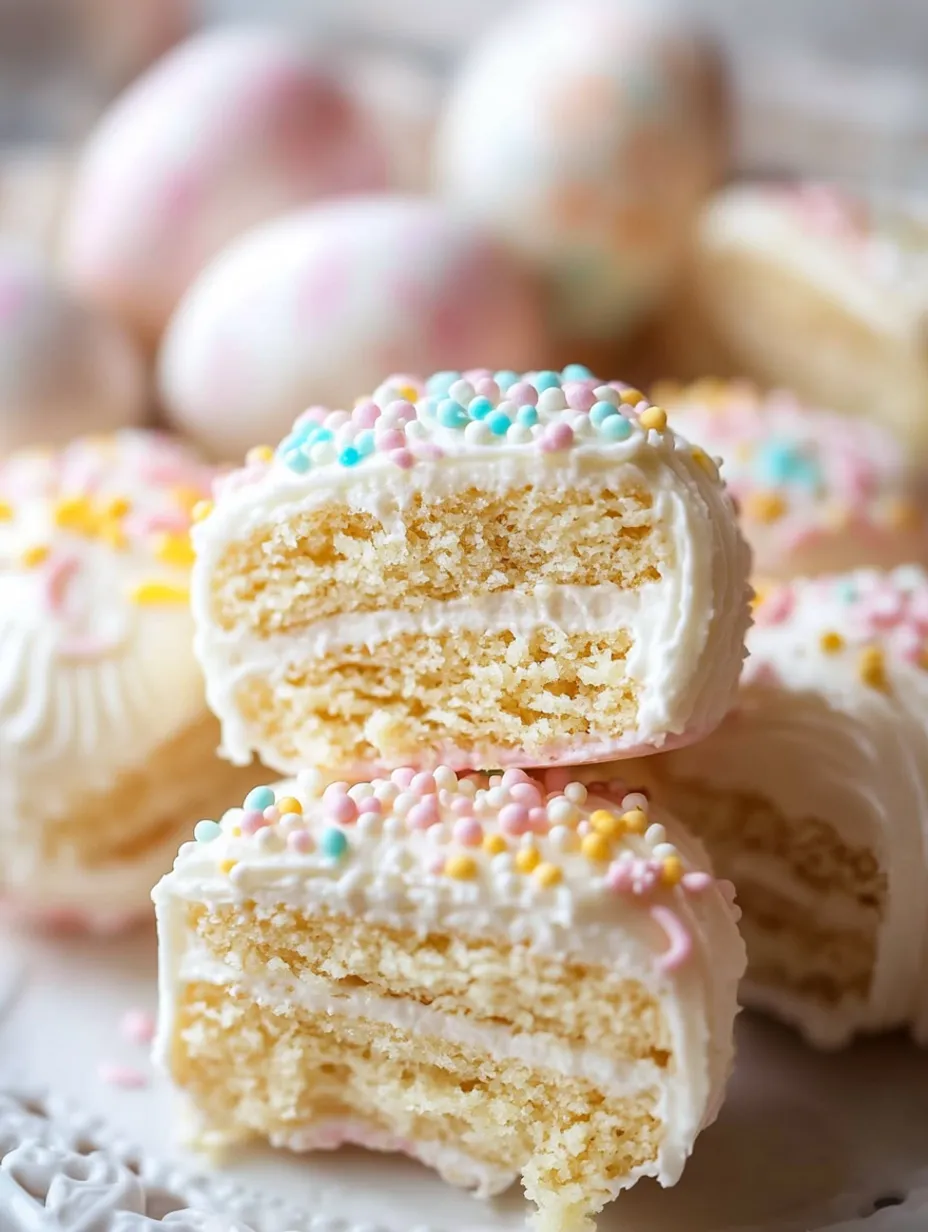
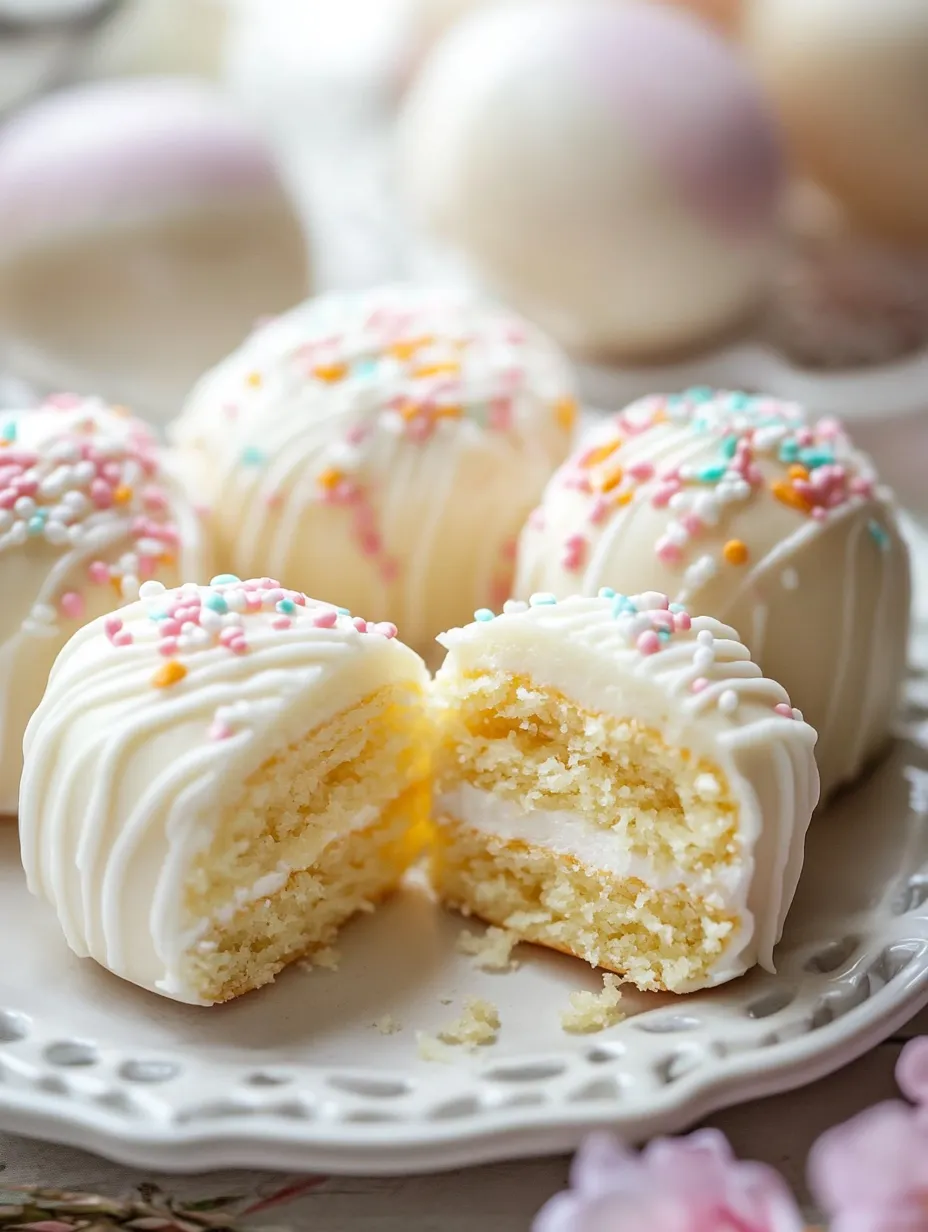
These adorable Easter egg mini cakes turn basic ingredients into festive little treats that'll remind you of those yummy snack cakes from your childhood. They've got soft vanilla cake with a fluffy marshmallow buttercream inside, all wrapped up in bright, colorful almond bark. They're just perfect for Easter parties, spring get-togethers, or as cute little surprises in Easter baskets – way better than those store-bought Little Debbies!
The first time I whipped these up for an Easter gathering, they instantly became the talk of the dessert table. Everyone loved their bright colors and handy size - both kids and grown-ups couldn't resist them. What's really cool is how they turn a regular box of cake mix into something that seems totally made from scratch, with that special soft bite and sweet filling that takes you right back to being a kid.
Key Ingredients Breakdown
For the Cake
- Vanilla cake mix: This gives you that wonderfully fluffy foundation
- Canola oil: Makes everything nice and moist throughout
- Milk: Adds a creaminess that box mixes usually lack
- Eggs: Bring everything together with richness and structure
- Sour cream: This is what tricks people into thinking it's homemade
- Vanilla extract: Adds that cozy, sweet background flavor
- Almond extract: The hidden touch that makes these taste like bakery treats
For the Marshmallow Buttercream
- Marshmallow fluff: Gives you that classic snack cake center feeling
- Unsalted butter: Makes the filling rich and stable
- Powdered sugar: Brings sweetness while keeping things smooth
- Heavy cream: Turns your frosting light as air
- Extracts: The vanilla and almond combo makes everything taste amazing
For the Coating and Decoration
- Vanilla almond bark: Creates that perfect shiny shell that hardens nicely
- Coconut oil: Makes your coating runny enough for easy dipping
- Food coloring: Turns plain coating into spring-worthy shades
- Sprinkles: The fun finishing touch that adds pop and crunch
Making Your Mini Cakes
- Bake Your Cake:
- Get your oven hot at 350°F (175°C) and put parchment in an 18×13 inch pan or grease it really well. Grab a big bowl and mix a box of vanilla cake mix with 1/2 cup canola oil, 1 cup milk, 3 eggs, 1/2 cup sour cream, 1 teaspoon vanilla extract, and 1/2 teaspoon almond extract. Use your mixer for about 2 minutes until everything's smooth. Pour all that batter into your pan, making sure it reaches all the corners. Bake around 15 minutes - you'll know it's done when it's light golden and a toothpick comes out clean. Let it cool completely right in the pan.
- Whip Up Your Filling:
- In a big bowl, beat 1/2 cup soft butter with 1 cup marshmallow fluff for about 3 minutes until it's all fluffy. Add 2 tablespoons heavy cream, 1/2 teaspoon vanilla extract, and 1/4 teaspoon almond extract, mixing everything together. Slowly add 2 cups powdered sugar and a tiny bit of salt, beating until your frosting looks smooth and creamy. It should be light but still firm enough to stay in place when you pipe it.
- Shape and Fill:
- After your cake is totally cool, grab an egg-shaped cookie cutter and press hard to cut out shapes with clean edges. You should get about 16 pieces (making 8 finished cakes). Put half of these cutouts on a baking sheet lined with parchment. Use a piping bag with a round tip (or just spread with a knife) to add buttercream on each piece, but leave a little space around the edges. Put the other cake pieces on top and press gently to make sandwiches. Stick them in the fridge or freezer for 30-60 minutes so they firm up before you coat them.
- Coat and Add Flair:
- Take a bowl that's safe for the microwave and mix 16 ounces of vanilla almond bark with 1 tablespoon coconut oil. Heat it in 30-second bursts, stirring each time, until it's all melted and smooth. Save about 2/3 cup for decorating later. Take your chilled cakes one at a time and use two forks to dunk them in the almond bark, making sure they're completely covered. Lift each one out, let extra coating drip off, then put it back on your parchment paper. Keep going until all cakes are coated.
- Once your cakes are all covered, split that leftover almond bark into three small bowls and add different gel food colors (pink, blue, and green work great for Easter). Put each colored coating in a small plastic bag and snip off a tiny corner. Make fun drizzle patterns over your white cakes. While that's still wet, toss on some Easter sprinkles if you want. Wait for everything to harden completely before serving.
 Pin it
My first try with these little cakes taught me you can't rush the chilling part. I was so excited to get to the fun dipping step that I cut the cooling time short, and several of my cakes broke apart in the warm coating. When I tried again and really let them chill properly, they dipped like a dream and turned out just perfect.
Ways To Serve
Stack them on a tiered cake stand to create a stunning Easter brunch display. Fill a pretty basket with these treats for a special holiday present. Pair them with fresh berries and a dollop of whipped cream for a fancier dessert option. Add them to a spring dessert board alongside macarons and chocolate eggs for variety. Wrap each one in clear cellophane with pastel ribbons to give as party favors.
Keeping Them Fresh
Keep them in an airtight container at room temp for up to 3 days. If you need them to last longer, stick them in the fridge for up to a week - just let them warm up before eating for the best taste. You can make these 1-2 days before your party with no problem. The coating actually helps lock in moisture and keeps everything fresh. I wouldn't try freezing them after they're all put together and decorated though.
Fun Twists To Try
- Zesty Lemon: Toss some lemon zest into both the cake and filling for a fresh spring taste.
- Coconut Crunch: Add shredded coconut to your cake mix and sprinkle toasted coconut on the wet coating.
- Chocoholic's Dream: Switch to chocolate cake mix and mix cocoa into your marshmallow filling.
- Party Inside: Fold colorful sprinkles into your cake batter for a fun surprise when you bite in.
 Pin it
Every time I've made these Easter egg mini cakes for spring parties, they've brought smiles all around. What makes them really special is how they mix that nostalgic snack cake vibe with fun Easter colors and shapes. The combo of the soft cake, sweet filling, and smooth coating hits all the right notes for both kids and adults, making them a hit at any spring gathering you can think of.
Frequently Asked Questions
- → Can I prepare these cakes in advance?
- Definitely! You can make them a day or two early and keep them fresh in a sealed container in the fridge. The candy coating helps lock in the moisture. To enjoy them at their best, let them warm up slightly at room temperature for about 15-20 minutes before serving.
- → What if I don't own an egg-shaped cutter?
- No problem! Use a piece of cardboard or parchment to trace an egg shape, then carefully cut the cakes with a knife. You can also opt for round cutters or keep it simple with squares—whatever works for you!
- → Can I switch up the cake flavor?
- Of course! While white cake mix is suggested for easier decorating, feel free to try others like chocolate, lemon, or strawberry. Just remember, brightly colored cakes might peek through if the coating is thin.
- → What works instead of almond bark?
- If almond bark isn't an option, white chocolate chips or candy melts will work just fine. Add a bit of shortening to the melted chocolate to keep it smooth and easy to coat with.
- → How can I avoid bubbles when coating the cakes?
- Keep the cakes cold before dipping to prevent bubbles. Dip them in one swift motion and tap the fork gently to release air. If bubbles appear, pop them gently with a toothpick while the coating’s still wet.