
 Pin it
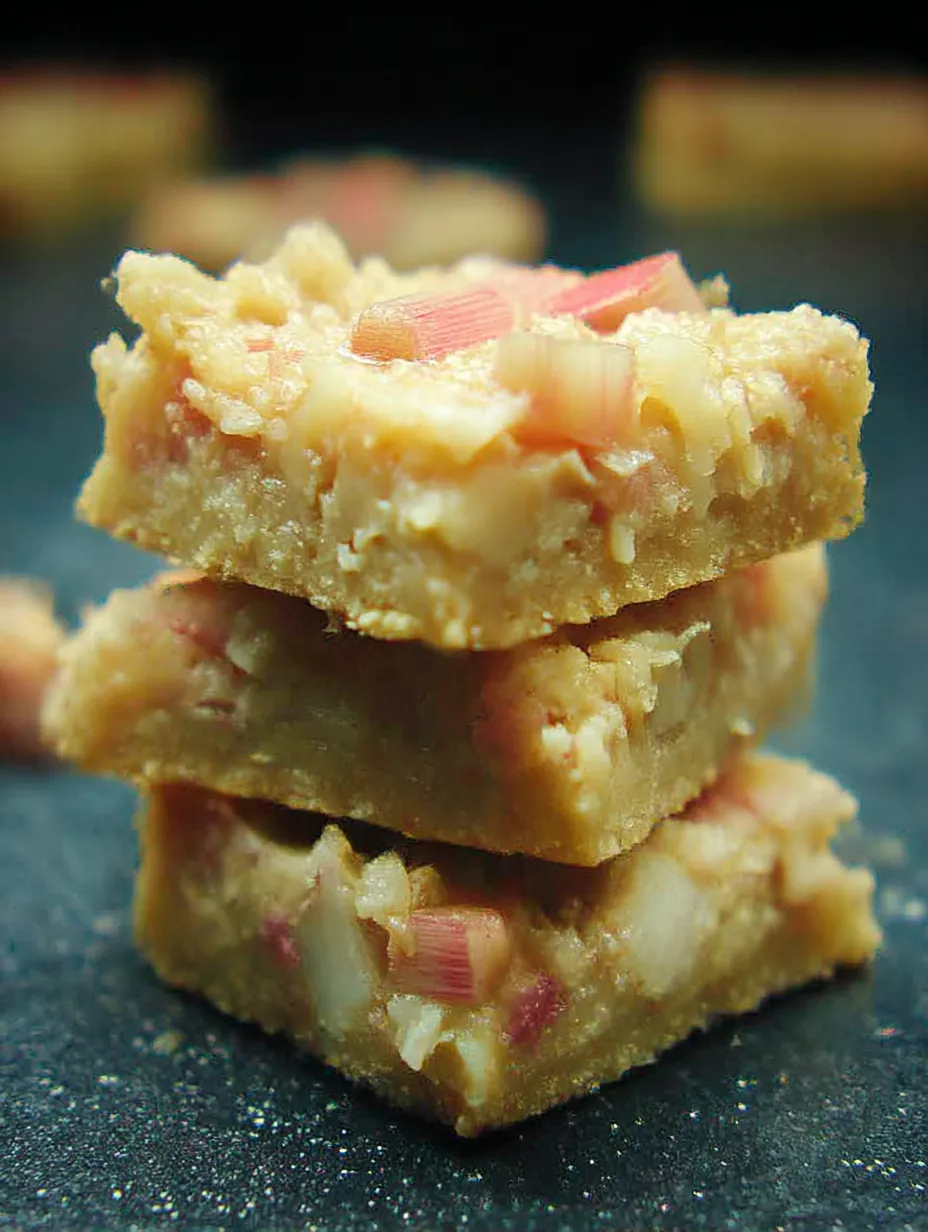
I whip up these lemon rhubarb bars whenever we need something zippy at home. The punch from lemons with that special rhubarb tang makes them disappear from the table fast. People always grab seconds. The filling is creamy, lifts up the rhubarb’s sharp edge, and the crust just melts in as soon as you bite down.
The first time I baked these, it was for brunch with family. They were gone before I could even sit down. Even now, buddies still ask me for the how-to whenever I bring them along.
Lively Ingredients
- Lemon zest: you get amazing citrus smell and taste do this before you squeeze the juice so none of those lovely oils go to waste
- Eggs: grab big eggs and let them sit out to warm up before using it keeps the filling super smooth
- Rhubarb: pick stalks that are bright and crisp—fresh or frozen both work, just drain thawed first if using frozen
- Lemon juice: gives it that zing squeeze right from your lemon so it’s extra tangy
- Salt: just a crack of kosher salt to bring out all the other flavors
- Sugar: go for fine granulated so it dissolves well and rounds off the tartness both in the bottom and top layers
- Butter: go with unsalted and let it sit out to soften for a buttery melt and sturdy base
- Flour: stick with plain unbleached all-purpose so the texture stays just right in both crust and filling
Step-by-Step How-To
- Chill and Slice:
- Once everything’s out of the oven, wait for it to fully cool on the counter, at least a couple hours. Pop in the fridge until it’s fridge-cold for slices that stay neat and don’t fall apart.
- Bake That Final Layer:
- Pour the rhubarb filling over the baked base, spread to every edge so it’s nice and even. Slide back into the oven for another thirty-five minutes—you’ll see the top set and get a little puff in the corners.
- Stir Filling Together:
- Mix in the rest of the rhubarb, all the lemon zest, your sugar, and the flour. Give it a good stir until you can’t see lumps and everything looks shiny and runny.
- Mix Filling Base:
- In another bowl, throw in the eggs, half your rhubarb, and lemon juice. Hit it with an immersion blender for a few pulses to partly blend in the rhubarb—it cooks up creamier but keeps bits of fruit, which is awesome.
- Bake Off the Crust:
- Push your dough into your pan—get it all the way into the corners, even it out with your hands and then bake at three hundred fifty degrees Fahrenheit for twenty minutes. You’re looking for a light gold on the edges.
- Start Your Crust:
- Put flour, butter that’s soft, sugar, and a tiny pinch of salt in a bowl. Squish and mix them up with your fingers till it’s all worked together—no dry spots left and everything feels soft and doughy.
 Pin it
I always look forward to rhubarb each spring because it brings back memories of my grandma’s backyard. Every time I make a batch with her homegrown stalks, it’s like being a kid again—so many colors, flavors, and good feels in every bar.
Handy Storage Ideas
Keep leftovers in the fridge under some wrap—they’re just as tasty for up to four days chilled. If you freeze the whole batch after baking, the creamy filling sometimes weeps, so don’t do that. Pre-chop your rhubarb and freeze it instead, then bake new bars later.
Easy Swaps
Try subbing in strawberries for half the rhubarb and get loads more berry flavor in each bite. You can use any trusted gluten-free flour blend, just go cup for cup for both crust and filling, and they still turn out great.
 Pin it
Serving Up Fun
I sprinkle powdered sugar on these only once they’re cool to make them look fancy and add a sweet little hit. They’re perfect alongside a mug of hot black tea or coffee—best weekend treat ever.
Backstory and Tradition
Lemon bars always get a crowd at bake sales but adding rhubarb is a nod back to early American gardeners—people grew it before you could always get fresh fruit. This version keeps that cozy vibe but makes it even more fun with the fruit twist.
Frequently Asked Questions
- → Can I swap in frozen rhubarb instead of using fresh?
Sure can—just let it thaw out all the way and squeeze off any extra water so your bars don't get soggy.
- → Why bother chilling them before eating?
Chilling lets everything settle in, makes slicing cleaner, and really brings out that tart taste.
- → How will I know if my bars are done baking?
The edges need a slight golden color and the middle shouldn't wiggle when you pull it from the oven.
- → Is it okay to make these gluten-free?
Absolutely, just trade in a gluten-free flour blend for the regular flour and you'll get a pretty similar bite.
- → What's the best way to keep leftover bars?
Put them in a tight container and pop them in the fridge. They'll taste best for about four days.