
 Pin it
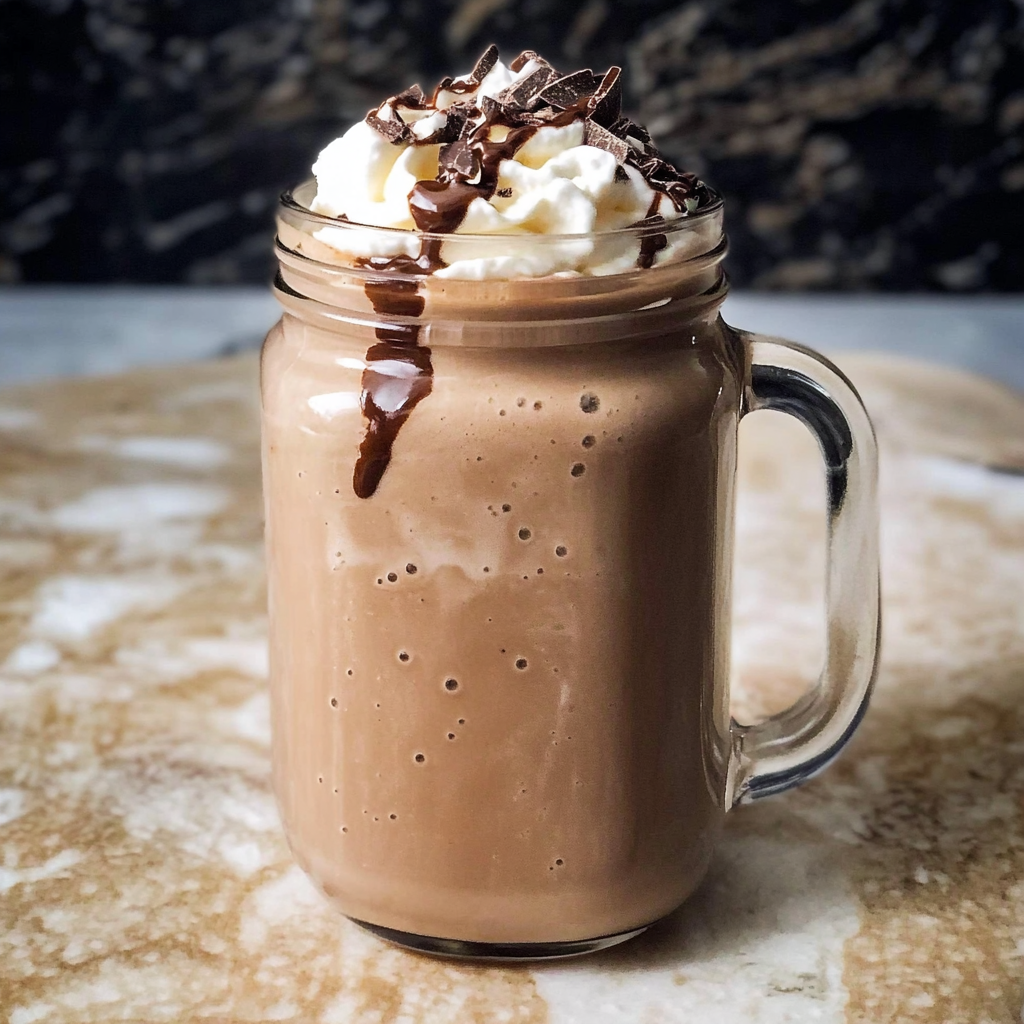
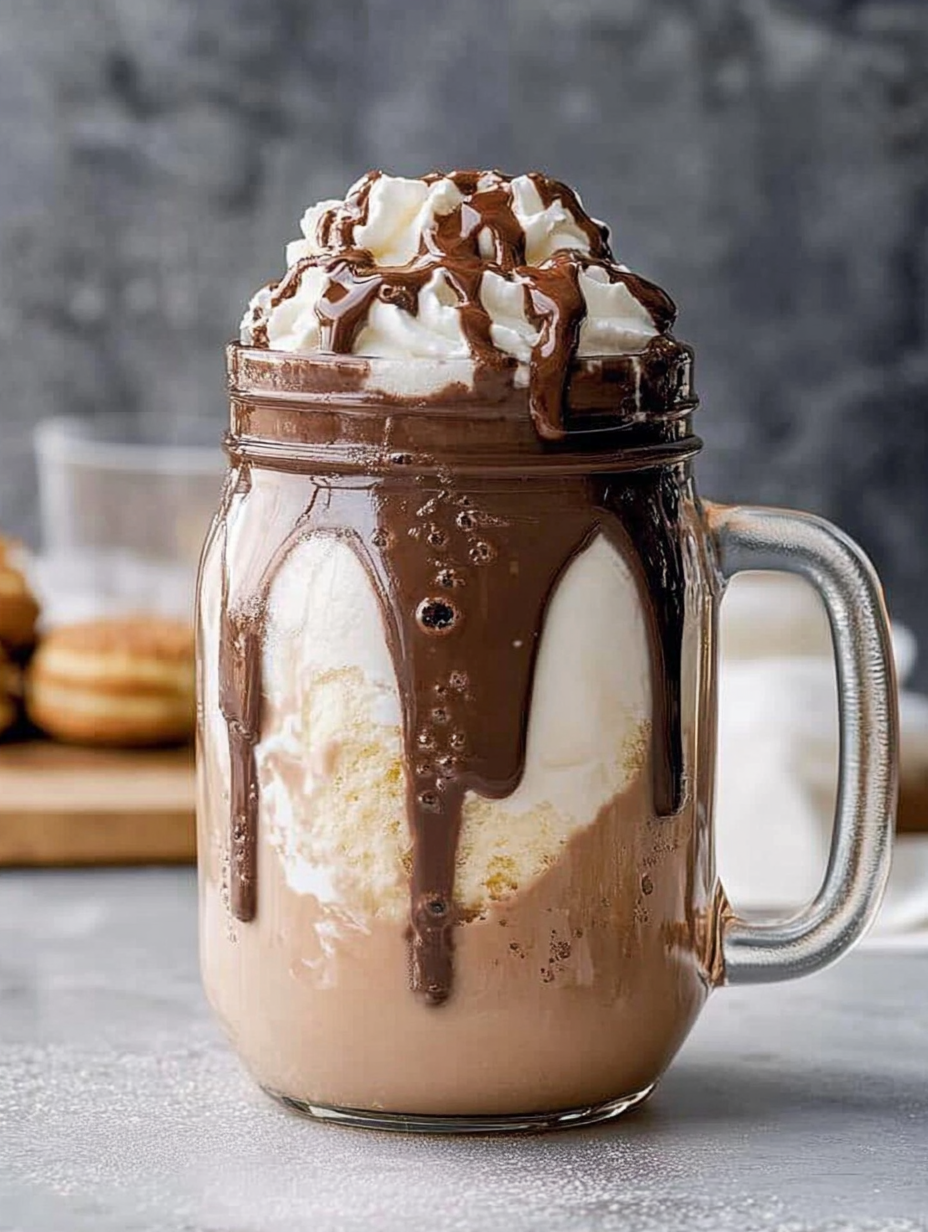
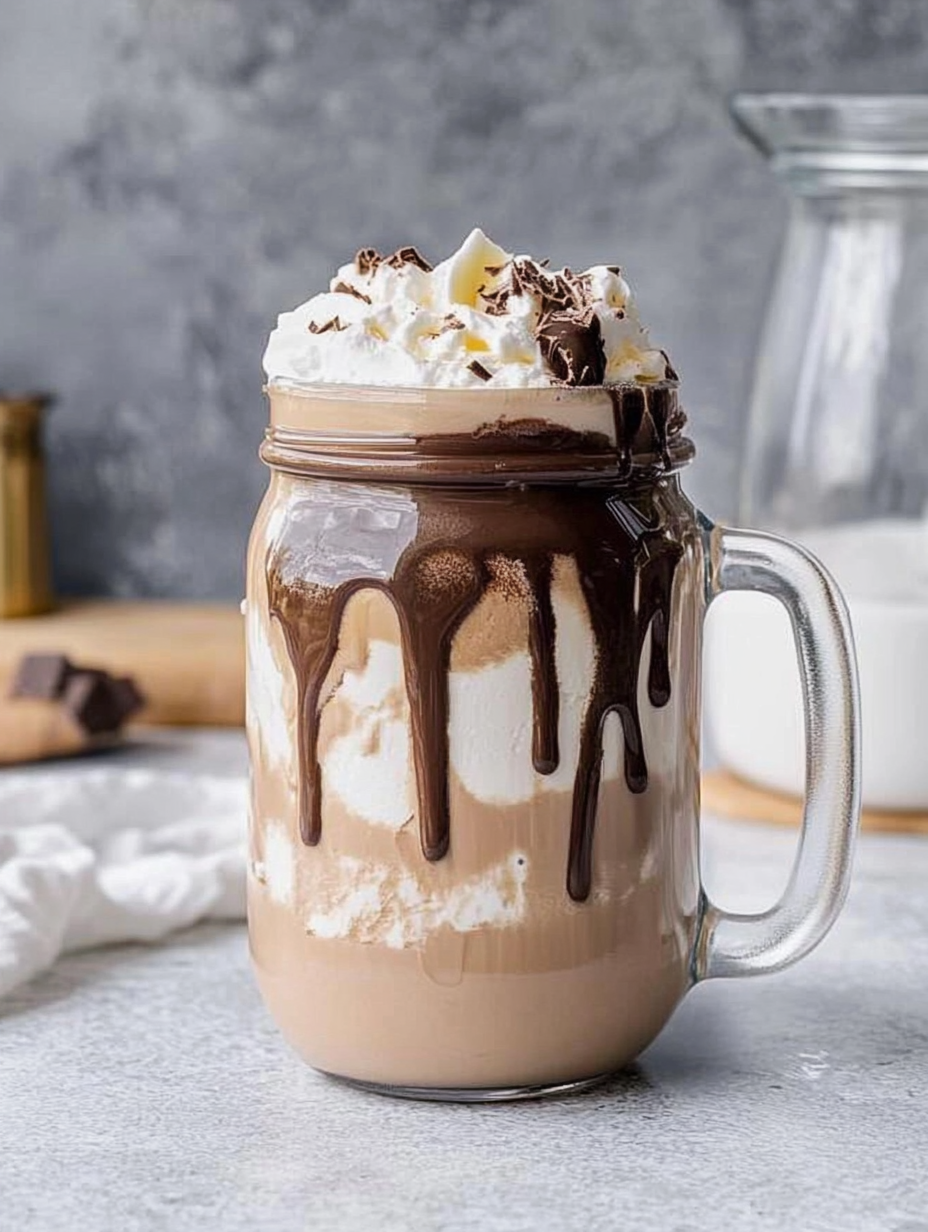
Transform ordinary ingredients into the most indulgent chocolate milkshake you've ever tasted. Each creamy sip delivers the perfect balance of rich chocolate ice cream and smooth milk, enhanced by a secret pinch of salt that makes the chocolate flavors sing. This simple combination creates milkshake magic that rivals any ice cream shop creation.
This recipe emerged from countless weekend experiments to create the perfect family treat. When my children declared it better than their favorite ice cream shop's version, I knew we'd found something special.
Essential Milkshake Elements
- Chocolate ice cream: Premium quality ensures richest flavor
- Whole milk: Creates perfect creamy consistency
- Chocolate syrup: Hershey's classic adds perfect sweetness
- Sea salt: Just a pinch enhances chocolate depth
- Blender: High-powered for smoothest results
- Cold glass: Keeps milkshake perfectly chilled
 Pin it
Creating Milkshake Magic
- Ice Cream Selection
- Choose premium chocolate ice cream for best results.
- Perfect Temperature
- Allow ice cream to soften slightly for ideal blending.
- Syrup Integration
- Add chocolate syrup gradually for perfect sweetness.
- Salt Addition
- Incorporate tiny pinch of salt to enhance flavors.
- Smooth Blending
- Pulse carefully to maintain thick consistency.
- Glass Preparation
- Chill serving glass for optimal temperature.
- Final Garnish
- Top with classic swirl of whipped cream.
Perfect Pairing Ideas
Serve this rich milkshake with fresh-baked cookies for the ultimate dessert experience. Create a milkshake bar by offering different toppings like whipped cream, hot fudge, and crushed cookies. For special occasions, rim the glass with chocolate sauce and colorful sprinkles. In our home, we love serving these alongside warm brownies for the perfect hot-and-cold dessert combination.
Sweet Variations
Transform this milkshake into different chocolate adventures. Add a shot of espresso for a mocha version, or blend in peanut butter for a nutty twist. Create a s'mores experience by adding graham cracker crumbs and marshmallow fluff. My family's favorite variation includes crushed Oreos and a drizzle of salted caramel sauce.
Serving Success
Maintain the perfect milkshake consistency with proper technique. Keep your glasses in the freezer for at least 15 minutes before serving. Pour the milkshake immediately after blending to preserve its thick texture. If making multiple shakes, keep remaining ice cream firmly frozen between batches.
Weekend Treats
Make these milkshakes the highlight of family dessert time. Create a sundae-shake hybrid by layering hot fudge in the glass before adding the milkshake. Set up a DIY topping station where everyone can customize their creation. Turn movie night special with milkshake flights featuring different variations.
 Pin it
Party Perfect Planning
Adapt these milkshakes for celebrations. Create mini versions in shot glasses for parties. Match sprinkle colors to party themes. The versatile base recipe welcomes creative interpretations while maintaining its creamy perfection.
After perfecting this milkshake through countless weekend treats, I've discovered it's more than just a dessert - it's a way to create sweet memories with loved ones. Whether shared during movie night or enjoyed as an after-dinner treat, this chocolate milkshake never fails to bring smiles and satisfaction. The combination of premium ingredients and perfect technique creates something truly special that makes any moment more memorable.
Frequently Asked Questions
- → Can I use vanilla ice cream instead of chocolate?
- Yes, vanilla ice cream works well too - just add a bit more chocolate syrup to taste.
- → Why add salt to a milkshake?
- A pinch of salt enhances the chocolate flavor and balances the sweetness.
- → Can I make this dairy-free?
- You can use dairy-free ice cream and milk alternatives, though the texture may be slightly different.
- → Why pulse blend instead of continuous blending?
- Pulse blending helps maintain the thick, creamy texture without making it too thin.
- → Can I make this ahead of time?
- Milkshakes are best enjoyed immediately after blending for the optimal texture and temperature.