
 Pin it
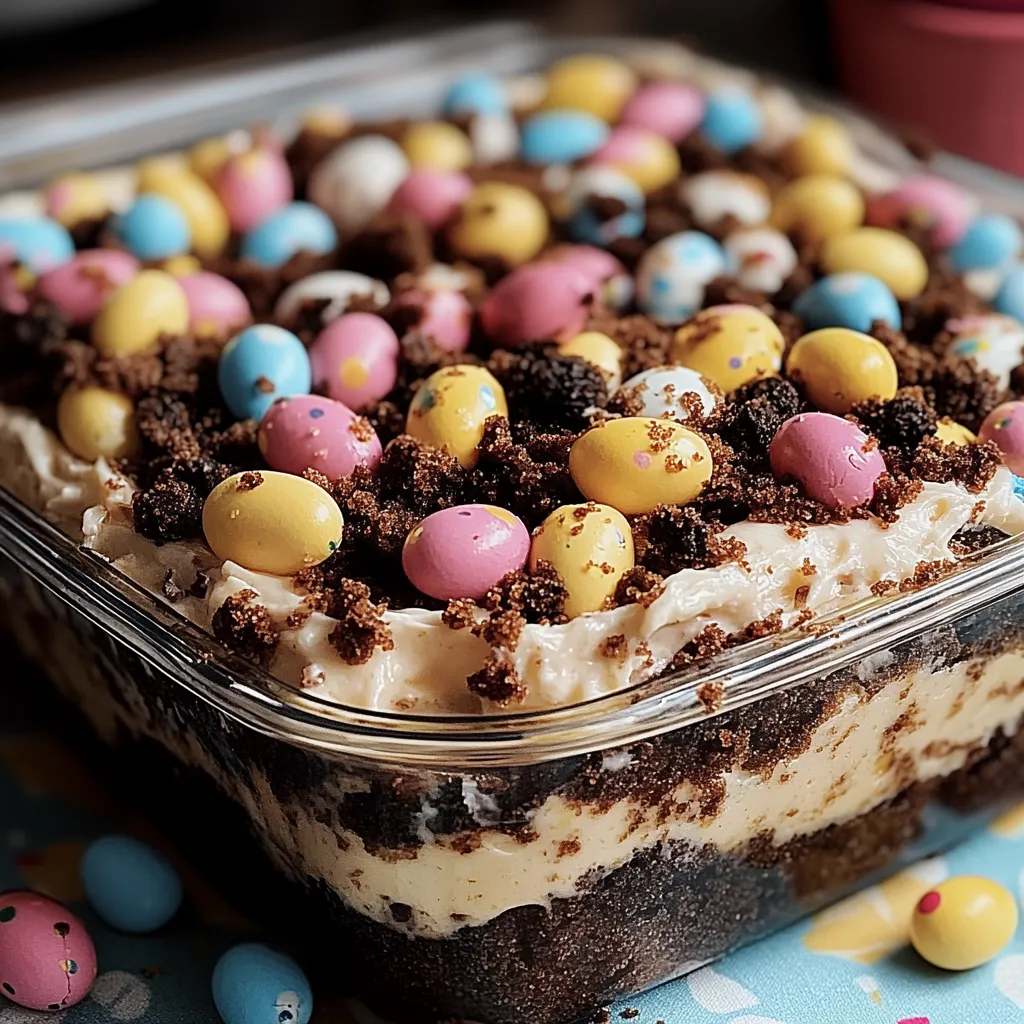
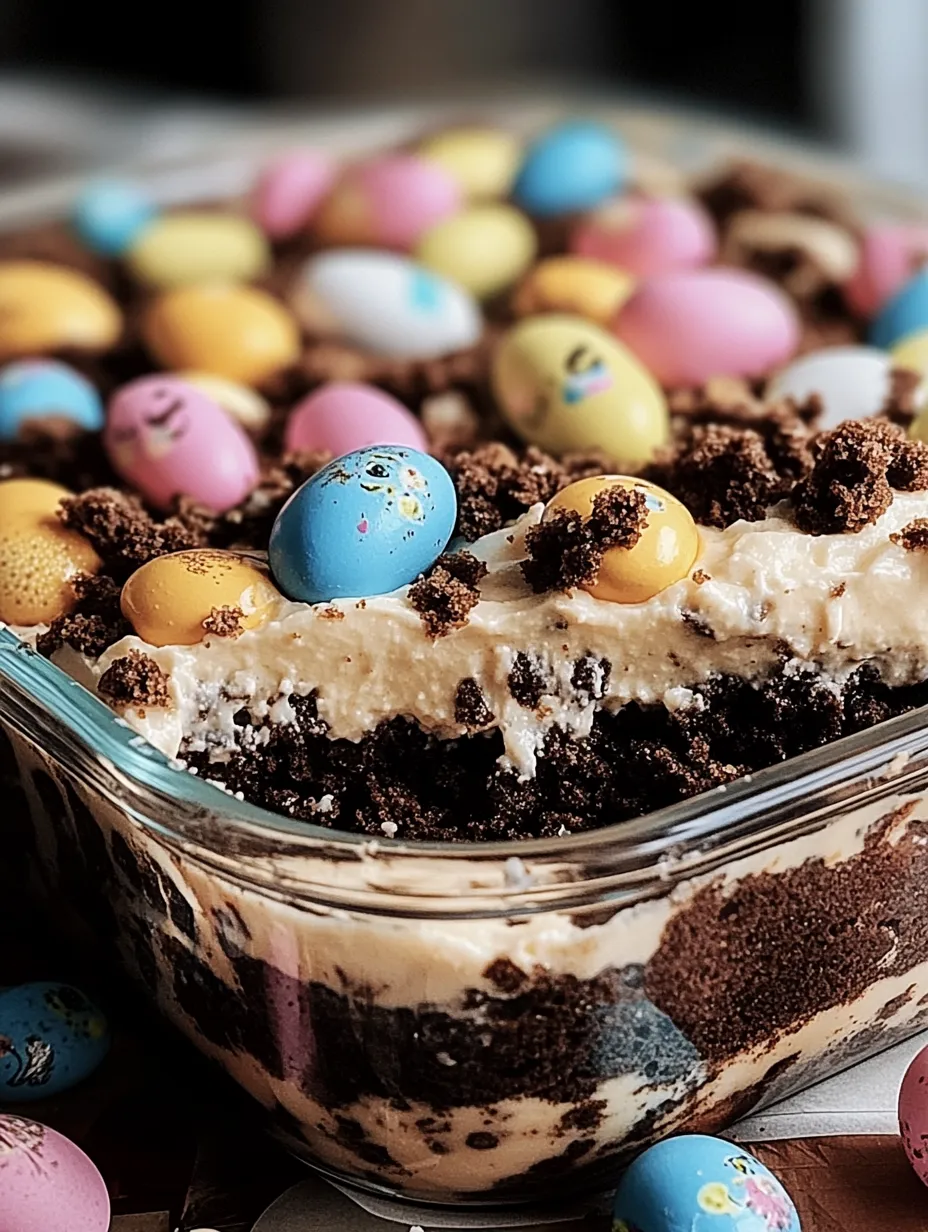
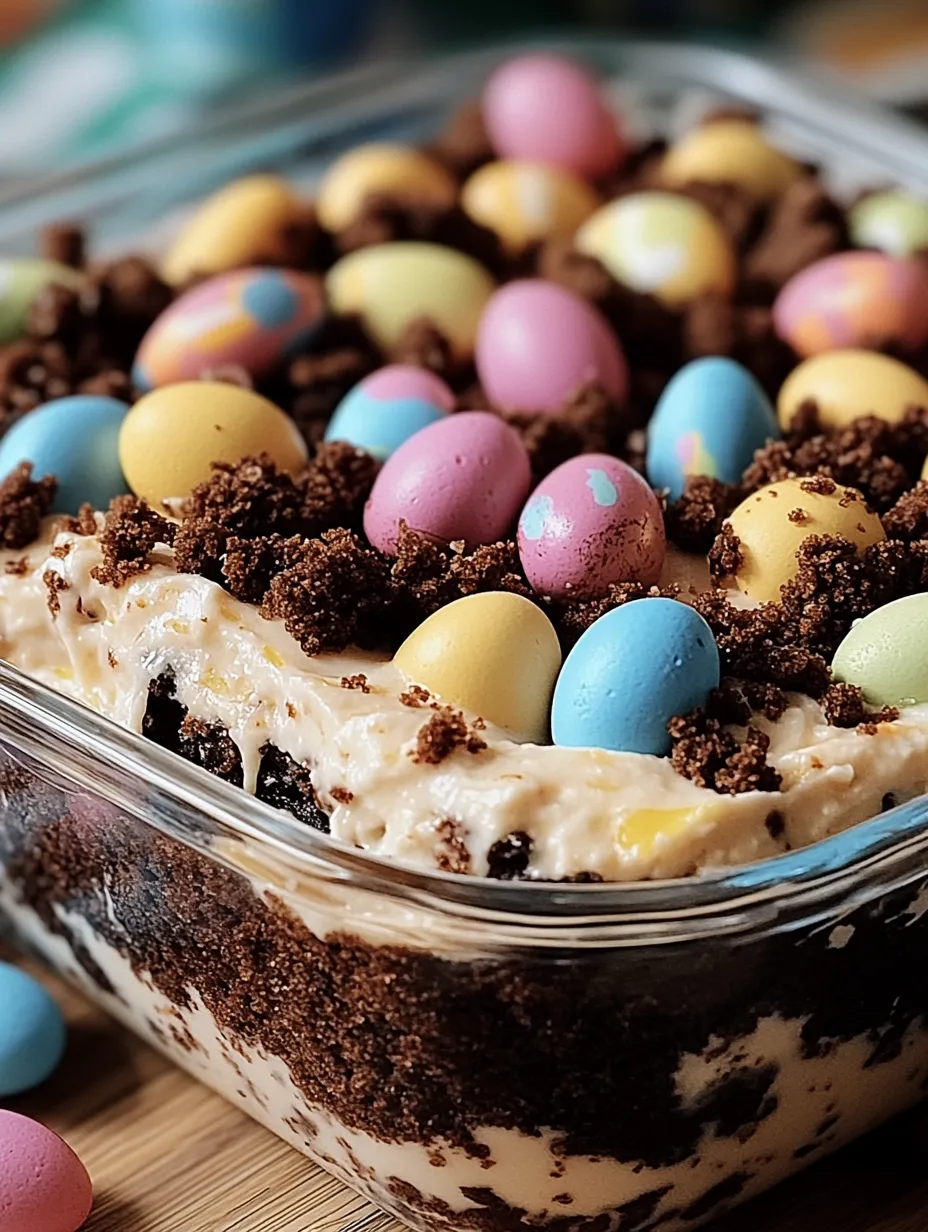
This Easter no-bake dirt casserole turns basic stuff into a fun spring sweet that makes kids and grown-ups smile. Mix creamy pudding with chocolate cookie "soil" and Easter candy to make a cute garden you can eat. It's great for holiday get-togethers, mixing yummy tastes with a playful look that'll make your Easter meal end on a high note.
The first time I whipped this up was for my niece's Easter bash, and I was a bit worried about how folks would take it. As soon as I put it down, everybody—kids and adults—crowded around, loving the cute little "garden" I'd made. The smooth layers and cookie bits had everyone begging to know how I made it. What started as me just trying something new has turned into the treat everyone looks forward to, adding a bit of fun to our Easter every single year.
Key Components
- Chocolate sandwich cookies: Make the realistic "soil" that gives this treat its name
- Cream cheese: Adds a tangy kick that cuts through the sweetness
- Instant vanilla pudding: Creates the smooth foundation with just the right thickness
- Whipped topping: Makes everything airy and soft in the middle
- Easter candies: Turn a simple dessert into a festive spring picture
- Shredded coconut (optional): Becomes lifelike "grass" when colored green
Making Process
- Start With The Cookie Bottom:
- First, turn 24 chocolate sandwich cookies into "dirt" by crushing them in a food processor until they're fine crumbs. No food processor? Just put cookies in a plastic bag and smash them with a rolling pin. Set aside about ½ cup of crumbs for the top, then scatter half of what's left across the bottom of a 9x13-inch dish to start your edible garden.
- Mix Up The Smooth Center:
- In a big bowl, mix 8 ounces of room temperature cream cheese, ½ cup of softened butter, and 1 cup of powdered sugar until it's fluffy—about 3 minutes. In another bowl, stir two 3.4-ounce packs of instant vanilla pudding with 3 cups of cold milk until it starts to thicken, around 2 minutes. Carefully blend the pudding into the cream cheese mix. Then fold in an 8-ounce tub of whipped topping until everything's smooth.
- Build Your Dirt Cake:
- Pour your creamy mixture over the cookie crumbs in the dish, spreading it flat with a spatula. Sprinkle the saved cookie crumbs on top, leaving some spots lighter for adding decorations later. This makes the "dirt" part of your garden scene. For the best look, put more crumbs in the middle, leaving the edges clearer for decorations.
- Decorate For Spring:
- If you want grass, put 1½ cups of shredded coconut in a plastic bag with 5-6 drops of green food coloring. Close it up and shake until all the coconut turns green. Sprinkle this "grass" in spots across your dirt cake. Add Easter candy like chocolate eggs, jelly beans, and marshmallow Peeps to make a spring garden. Get fancy—add candy flowers, chocolate bunnies, or make little paths with different colored candy.
My grandma always said sweets should make you happy just by looking at them, not just by eating them—and this Easter dirt cake really does that. When I rush putting it together, everything kinda mixes up, but if I take my time and let each part set, you get that wow factor when you scoop it out. She always told me to "make a little story on the plate," so I try to arrange the candies in fun little scenes that'll make everyone at the table smile.
 Pin it
Ways To Serve
- Put it in clear glass bowls so everyone can see all the pretty layers.
- Slice with a knife dipped in hot water for clean, neat pieces.
- Add some fresh berries on the side for extra color and a fresh taste.
- For fancy times, drop a scoop of vanilla ice cream next to it for an extra special treat.
Keeping It Fresh
- Wrap it tight with plastic and keep in the fridge up to 3 days.
- The cookie part gets softer as time goes by, making an almost cake-like feel that many people actually prefer.
- If you're making it way ahead, save the candy decorations for just before serving since some might leak color into your "dirt" or "grass."
- Don't try freezing it—the pudding gets weird when it thaws out.
Fun Twists
- For Chocolate Fans: Swap in chocolate pudding instead of vanilla and top with chocolate eggs and bunnies for total chocolate overload.
- Garden Version: Use crushed graham crackers instead of chocolate cookies for a lighter "soil" that works great with flower-shaped candy.
- Single Servings: Layer everything in clear cups or small jars for grab-and-go treats that still show off all the cool layers.
- Sunshine Easter: Try vanilla cookies instead of chocolate ones and butterscotch pudding for a golden-colored version.
 Pin it
I've made this Easter dirt cake casserole for so many spring parties, from family get-togethers to church potlucks, and it always causes a stir when I bring it out. The best part is how it turns everyday ingredients into something that feels kinda magical, especially for the kids. That mix of creamy filling, crumbly chocolate bits, and fun decorations helps everyone tap into that childlike wonder that makes Easter celebrations so special.
Frequently Asked Questions
- → Can I make smaller, single portions of this dessert?
- Of course! Use small clear cups or mason jars to layer the ingredients, crafting mini Easter scenes. These are great for parties or controlling portions.
- → What's a good substitute for coconut 'grass'?
- Skip coconut and try green-dyed frosting piped to mimic grass, crushed green candy melts, or green sugar sprinkles for a similar festive touch.
- → How early can I prepare this dessert before serving?
- Make the dessert up to a day before. Add decorations like candies right before serving to keep them fresh and prevent any color bleeding.
- → Is there a way to skip cream cheese in this dessert?
- Sure! Swap the cream cheese with extra whipped topping or use a cheesecake-flavored instant pudding mix for a creamy alternative.
- → What are some allergy-friendly swaps I can use?
- Choose dairy-free alternatives for butter, cream cheese, whipped topping, and milk. Opt for gluten-free cookies and replace coconut with safe frosting or toppings. Always read candy labels for allergens.