
 Pin it
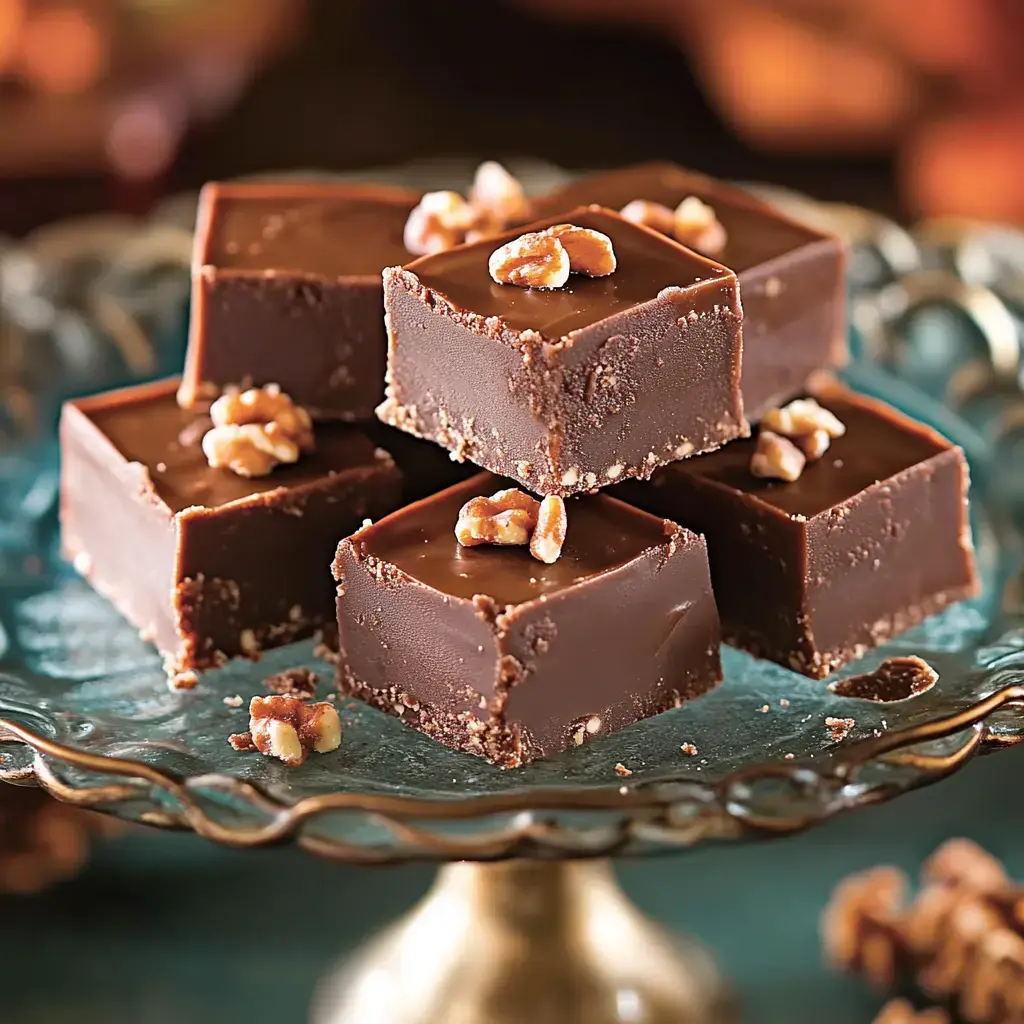
Gotta tell you about my holiday backup plan - this unbelievable 5-Minute Fudge from Paula Deen! It's been my savior when time's tight but I still need something yummy for guests. The real wonder happens as those chocolate chips and marshmallows blend together, making the smoothest, creamiest fudge you'll ever taste. And yes, it seriously takes just 5 minutes of hands-on time!
Why This Treat Stands Out
I've tried so many fudge methods through the years, but this one wins for being totally straightforward and giving amazing results every time. It's my go-to for surprise visitors and last-second party invites. I couldn't believe my eyes the first time I whipped it up - something this tasty shouldn't be this quick! Now everyone bugs me for the recipe whenever we get together for celebrations.
 Pin it
Your Simple Ingredients
- White Sugar: Forms the sweet base and helps get that perfect consistency.
- Evaporated Milk: This gives you that smooth richness. Don't swap it for regular milk - it won't work right!
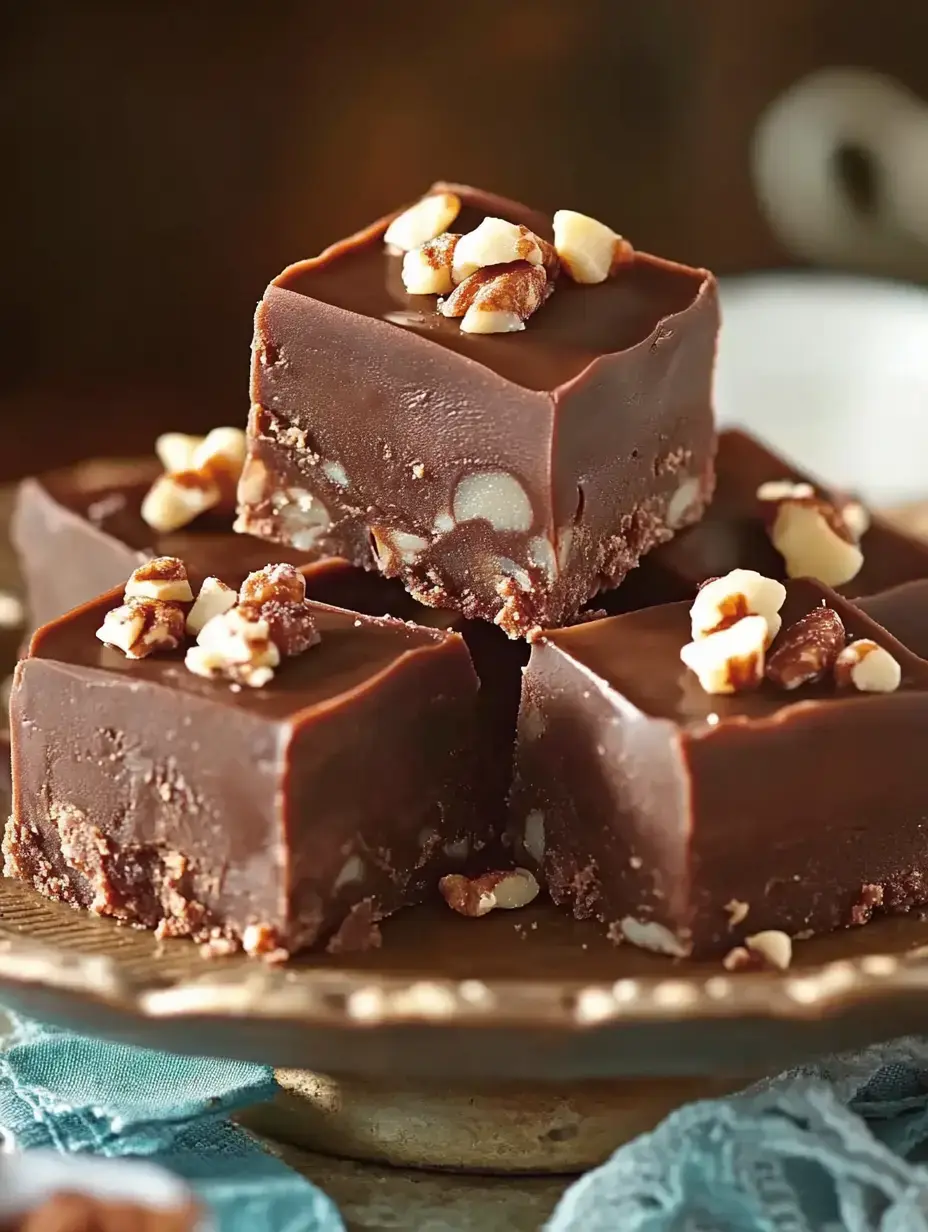
- Milk Chocolate Chips: Spring for the good stuff here - they're what makes this treat amazing.
- Marshmallows: The hidden trick for getting that ideal fudgy feel.
- Vanilla Extract: Just a tiny bit pulls all the flavors perfectly together.
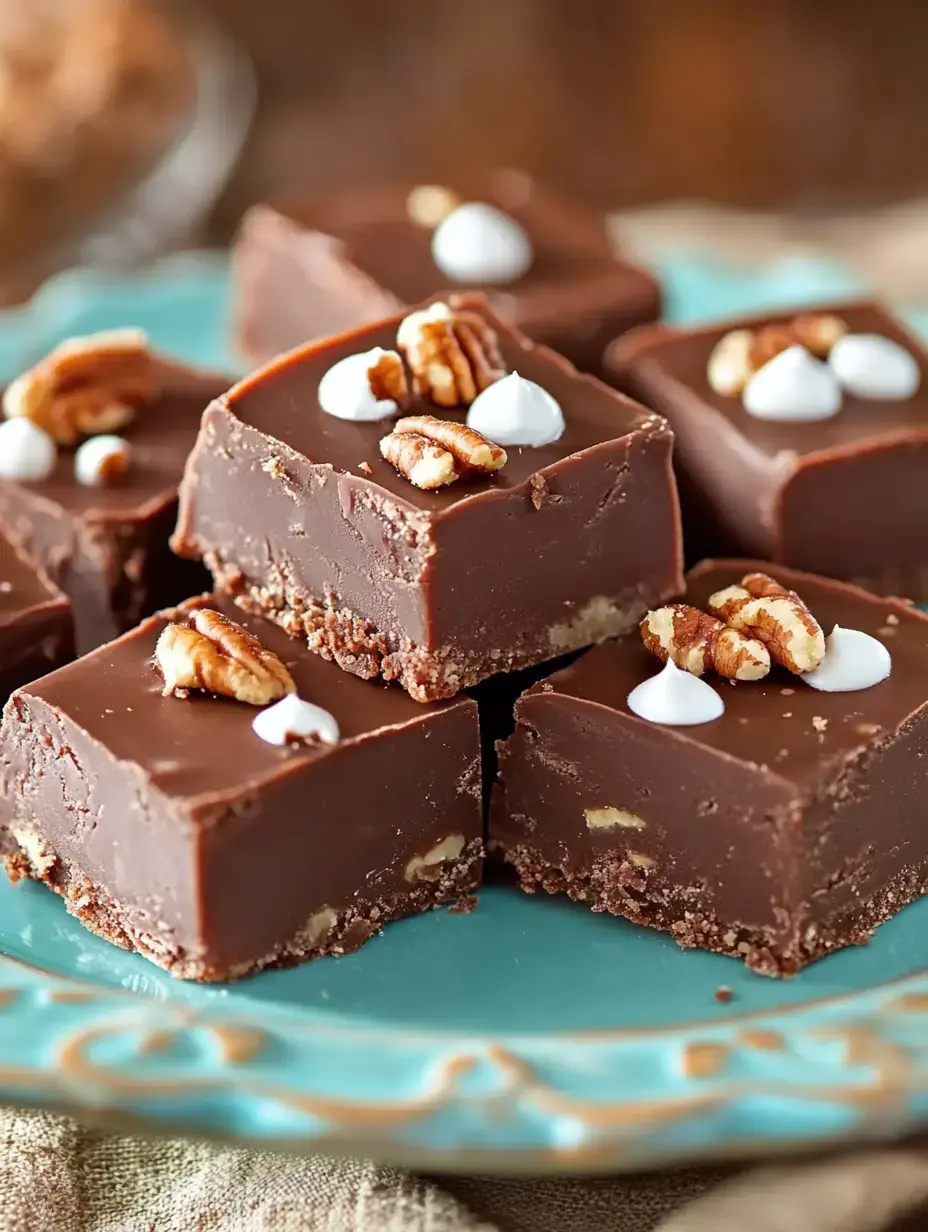
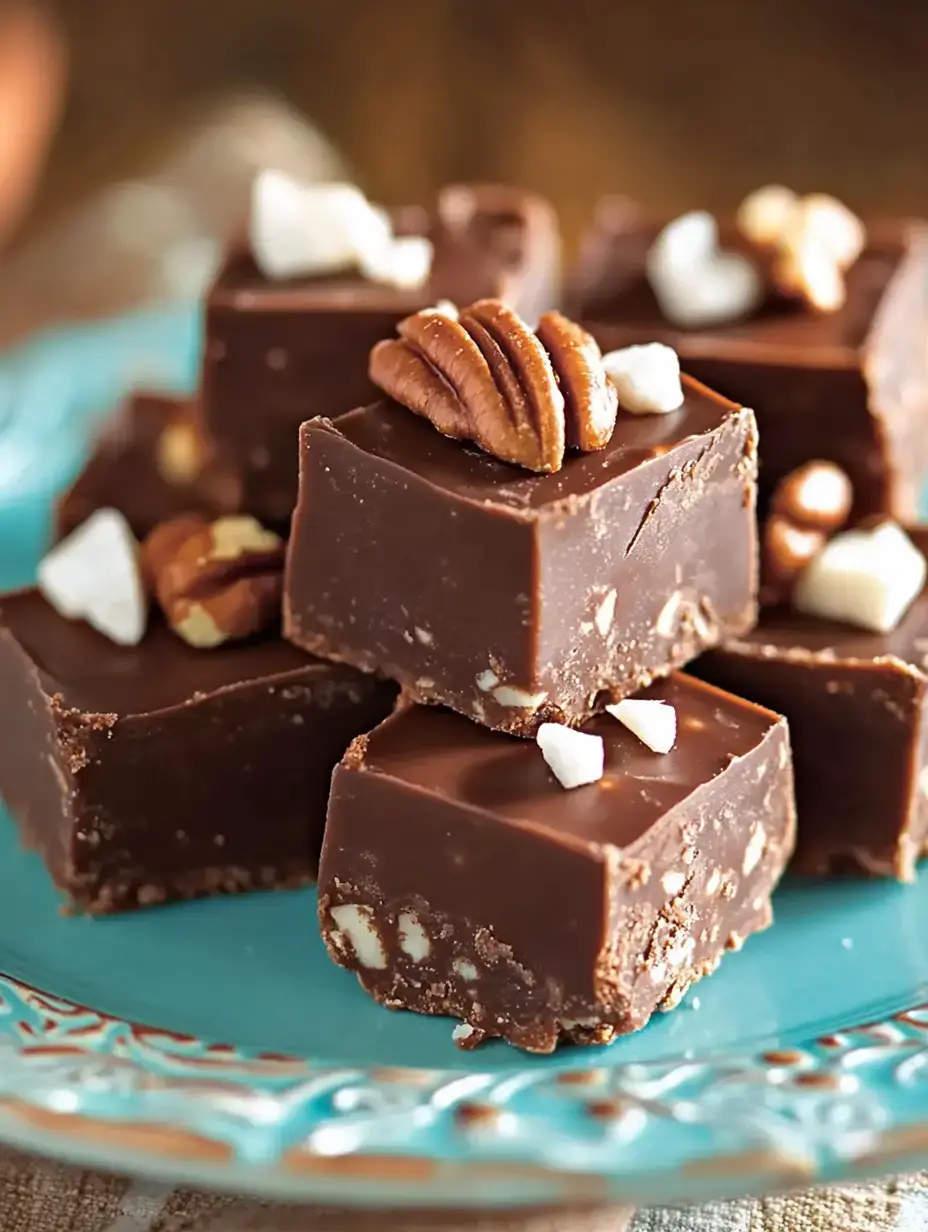
- Nuts: Pecans or walnuts work great, but you can skip them if you want.
Cooking Up Sweet Treats
- Starting Off
- Mix your sugar, milk, butter, and salt in a pot. Keep that spoon moving - it's your chance to relax!
- Melting Moment
- Once you drop in those chocolate chips, they'll turn into something wonderfully glossy.
- Bringing It Together
- Tossing in marshmallows and vanilla is when magic happens. Your whole house will smell amazing!
- Ready for Rest
- Dump everything into your pan - I cover mine with parchment so it comes out clean later.
- Cooling Down
- Waiting for it to firm up is tough, but you'll be so happy you did!
Getting It Right
- Always Stir: Never stop moving that spoon or you'll burn it - I found out the hard way!
- No Lumps: Everything needs to melt fully for that silky-smooth texture.
- Try New Things: Switch up your add-ins each batch. We love throwing in smashed candy canes at Christmas.
- Give It Time: Let it cool all the way before cutting if you want neat squares.
Storage Smarts
Put your fudge in something airtight and it'll stay good for a week out on the counter. I put wax paper between layers so they don't stick together. Want it to last longer? Stick it in the fridge - though at my place, it never sticks around that long!
 Pin it
Tasty for Any Event
This fudge has turned into my personal trademark at every get-together. From holiday parties to work potlucks or just because, it always gets folks talking. I love seeing everyone smile when they bite into it for the first time!
The Secret to Success
What makes this so great is how uncomplicated it is. You don't need fancy gear or tricky methods - just basic stuff coming together to make something awesome. It lets you look like a candy expert without breaking a sweat!
Do-Ahead Dessert
Need to plan your treats? This fudge has got you covered! I often whip it up several days before I need it, and it stays totally fresh. Just keep it stored right, and you'll have tasty treats waiting whenever you want them.
 Pin it
Tasty Twists
The original version rocks, but don't be scared to play around! Try using dark chocolate for deeper flavor, swirl in some peanut butter, or sprinkle crushed candy bars on top. Each new version might become your favorite!
Kitchen Play with Kids
This sweet treat is great for cooking with children! They can help stir (with supervision) and pick their favorite toppings. It's a wonderful way to build family memories together - just keep tiny fingers away from the hot stuff!
Timeless Family Favorite
Homemade fudge has that special something that brings folks together. This easy version captures all that cozy goodness while being super simple to make. It's become a tradition in so many kitchens, and I bet it'll be one in yours too!
Frequently Asked Questions
- → How long does it take to firm up?
- Let the fudge firm up at room temperature until it’s completely set—this usually takes a few hours.
- → Can I swap out the chocolate type?
- This version uses milk chocolate, but you can try dark or semi-sweet chocolate for a twist.
- → Are the nuts necessary?
- Not at all! It’s totally up to you. It’s great with nuts but just as yummy without.
- → Why do I have to stir constantly?
- Stirring keeps the mixture from burning or sticking and helps it stay smooth and creamy.
- → What’s the best way to store it?
- Keep the cut fudge pieces in a container with a tight lid at room temperature. Put wax paper between layers.
Conclusion
Create delicious chocolate bites in minutes! They're great for satisfying a craving or impressing friends with your homemade dessert skills.