
 Pin it
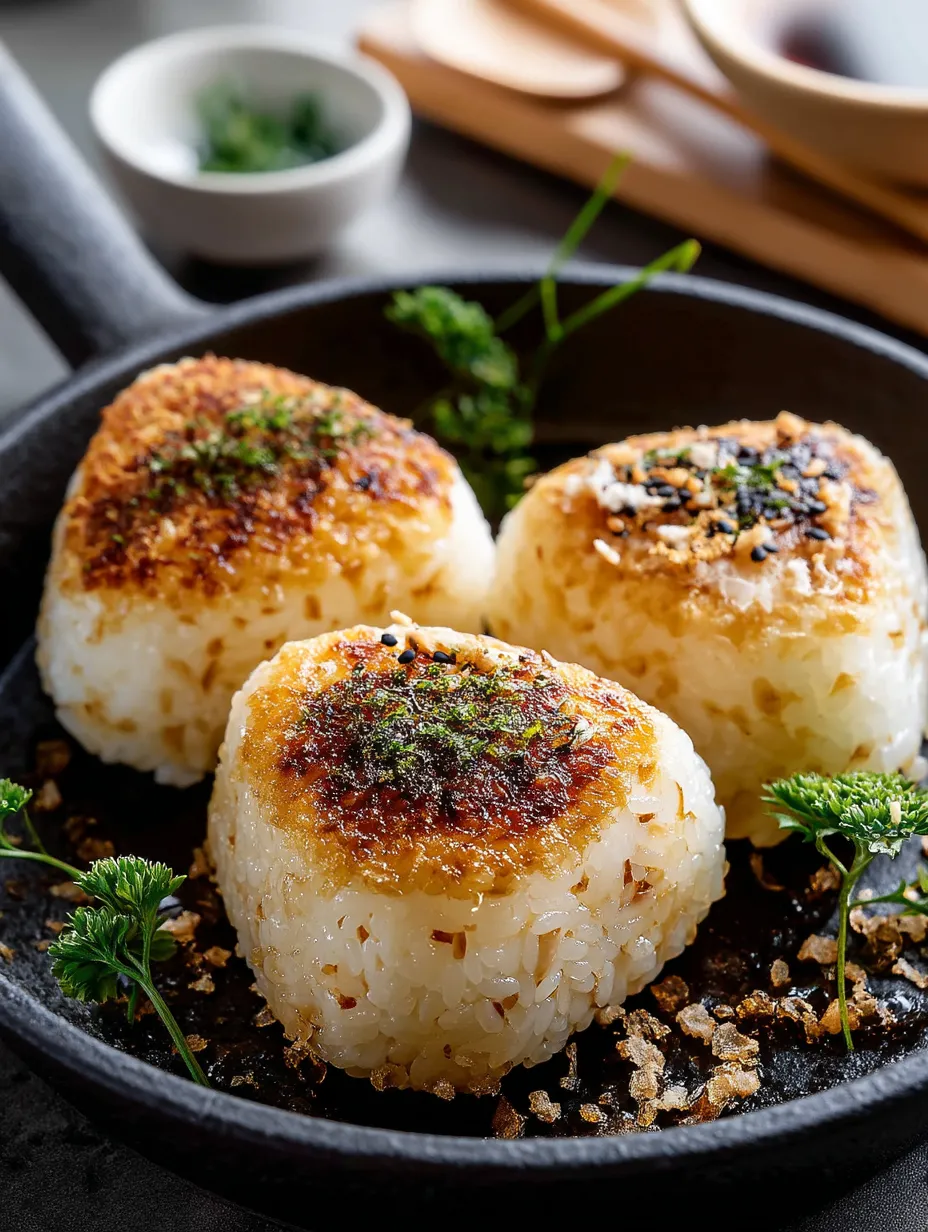
These grilled Japanese rice triangles turn basic items into crunchy, tasty bites that bring fancy restaurant flavors right to your kitchen. I came across yaki onigiri while exploring Japan and have nailed down these butter-miso and soy sauce versions that always wow my dinner company.
I originally whipped up these rice triangles for a Japan-themed get-together and they vanished quicker than everything else. They've now become my trusted go-to when I want to jazz up a regular weeknight dinner without too much work.
Ingredients
- Short grain rice: Crucial for the sticky quality that makes them hold together
- Miso paste: Gives that deep savory punch and rich taste
- Butter: Adds wonderful richness and helps create that crunchy outside
- Soy sauce: Brings that signature Japanese taste that turns golden brown when grilled
- Mirin and sake: These Japanese cooking wines add layers of flavor and balance the sweetness
- Everything bagel seasoning: Gives crunch and flavor but any rice topping works fine
- Chives and sesame seeds: Pretty garnishes that boost both looks and add subtle taste notes
Step-by-Step Instructions
- Get Your Rice Ready:
- Follow your rice cooker's directions for cooking short grain rice. Getting the rice just right matters tons for onigiri so stick to exactly 1:1 water to rice for perfect stickiness. After cooking, let it sit with the lid on for 10 minutes to set up right.
- Create Your Flavor Mixes:
- For the miso option, stir together miso paste, sugar, sake and mirin in a little bowl until you've got a smooth mix. For the soy option, pour some soy sauce in a separate small container ready for brushing while cooking.
- Form Your Rice Triangles:
- With the rice still warm, split it into six equal chunks. Put each chunk on some plastic wrap and squeeze firmly into triangle shapes using wet hands so the rice won't stick. Pressing firmly is super important here since loose rice balls will break apart when grilling. Work fast while the rice is still warm.
- Cook The Miso Version:
- Warm up a cast iron pan over medium heat and drop in butter, letting it melt completely across the surface. Add your rice triangles to the pan, cooking about a minute on each side until a light crust starts forming. Brush them generously with your miso mixture on all sides, flipping often but carefully to avoid burning, especially after adding the sauce.
- Cook The Soy Version:
- For soy-flavored triangles, heat some oil in your cast iron pan over medium heat. Put in your shaped rice triangles, cooking for a minute per side, then brush with soy sauce. Turn them several times, adding sauce each time until you get a nice brown crust everywhere. The whole browning process takes around 3 minutes total.
- Add Toppings and Eat:
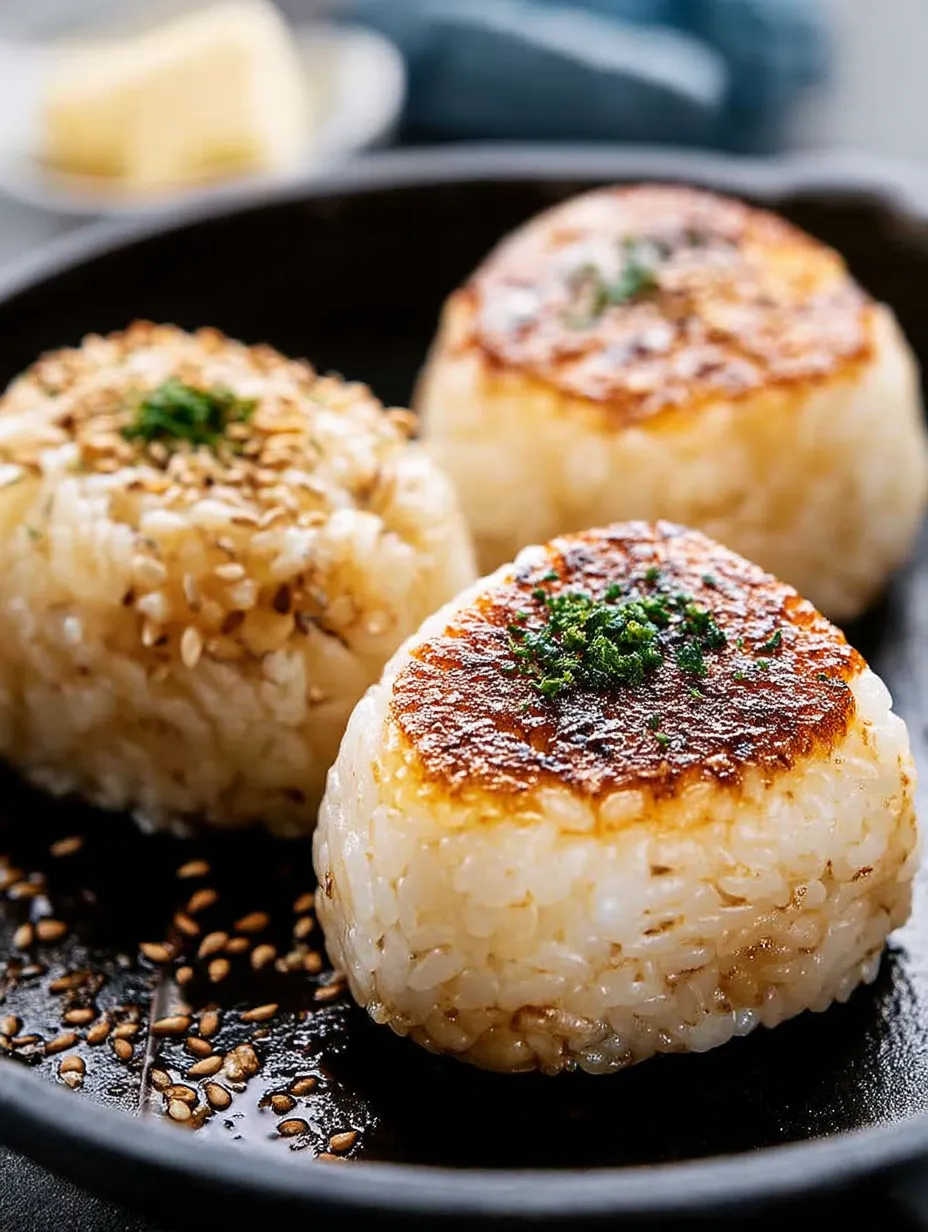
- Put your finished miso triangles on plates and sprinkle with fresh chives and sesame seeds. For the soy version, top each with a small chunk of butter and shake on some everything bagel seasoning. Eat them right away while they're hot and crunchy.
 Pin it
I'm totally partial to the miso butter ones myself - that sweet umami flavor with rich butter brings back memories of street snacks I munched on in Kyoto. My family now asks for these whenever we cook Asian-inspired meals.
Make Ahead Tips
You can shape your rice triangles a day early if needed. Just wrap each one in plastic and keep them in the fridge. Before cooking, let them sit out for 30 minutes to warm up so they'll cook evenly on the grill.
Perfect Rice Technique
Good onigiri starts with properly cooked rice. Wash your short grain rice until the water looks clear, usually 4-5 washings. This gets rid of extra starch that makes rice mushy. After it's done cooking, keep the lid on for another 10 minutes before shaping for the best texture. Don't skip this step if you want authentic results.
Flavor Variations
While we're showing miso and soy flavors here, onigiri can take on loads of different tastes. Try stuffing the middle with pickled plum or flaked salmon before shaping. You can also play with outside seasonings like furikake, togarashi, or crushed seaweed. At my house, we do an onigiri night once a month where everybody makes their own flavor combos.
 Pin it
Cultural Context
Onigiri has fed Japanese folks for hundreds of years, first created as easy-to-carry food for people on the move. The grilled type called yaki onigiri adds extra flavor through browning. In Japan, you'll find these as casual street eats or comforting home cooking. The triangle shape traditionally stands for mountain peaks, which mean a lot in Japanese culture.
Frequently Asked Questions
- → Do I need a rice cooker for this?
Nope! You can cook rice on your stovetop. Just stick to the water-to-rice ratio and follow any simple stovetop cooking method.
- → What can I swap for mirin or sake?
Try swapping them with a mix of rice vinegar and sugar. Add small amounts and adjust the flavor as you go.
- → What keeps the rice balls from breaking apart?
Shape them while the rice is still warm, and press them tightly to help the grains stick together before grilling.
- → How do I stop the glaze from burning?
Grill the balls over medium heat and keep a close eye on them since the sugar in the glaze can burn if you’re not careful.
- → Can I try other flavors?
Absolutely, experiment with seasonings like furikake or garnish with shredded seaweed or bonito flakes for variety.