
 Pin it
Velvety chocolate fudge with deep caramel notes makes an amazing no-bake sweet that goes beyond ordinary candy. This Mackinac Island treat turns basic kitchen staples into something magical – smooth squares of chocolate heaven that slowly dissolve in your mouth. The perfect balance between silky consistency and intense flavor makes this a standout whether you're whipping it up for family snacking or packing as thoughtful gifts.
I came across this gem during a vacation to Michigan ages ago and I've tweaked it over time. When I first tried making it at home, my whole kitchen smelled amazing with hints of caramel and chocolate mixing together. Now my kids beg me to make it every Christmas, saying store-bought stuff just can't compare.
Premium Ingredients
- Butter: forms the luscious base that makes this fudge melt perfectly and helps it set just right
- Granulated sugar: brings the main sweetness while helping create that ideal crystal structure
- Brown sugar: adds richness with its caramel undertones that work wonderfully with chocolate
- Salt: cuts through sweetness and boosts all the other flavors in your batch
- Whole milk: delivers the perfect creamy foundation – don't swap for skim as it'll mess up the texture
- Vanilla extract: adds subtle depth and makes the chocolate taste even better
- Cocoa powder: packs a strong chocolate punch without throwing off the delicate texture balance
- Confectioners' sugar: creates that dreamy smoothness while sweetening without any gritty feeling
Candy Crafting
- Get Everything Ready:
- Measure all items before you start. Cover your baking sheet with a silicone mat or parchment so you can pop the fudge off easily later.
- Mix Your Base:
- Put butter, both types of sugar, salt, and milk into a tall, thick-bottomed pot. Using a deep pot matters since the mix will bubble up a lot while cooking.
- Warm It Up:
- Set your pot on medium heat and slowly bring everything to a gentle boil, stirring now and then.
- Watch It Closely:
- Turn heat to low right after it starts boiling and keep cooking for exactly 6 minutes.
- Let It Rest:
- Take it off the heat and let the mixture cool down for about 2-3 minutes.
- Add Remaining Items:
- Stir in vanilla, cocoa powder, and confectioners' sugar. Mix until everything looks smooth with no dry spots.
- Pour And Cool:
- Spread your fudge mix onto the prepared sheet and wait until it's cool enough to touch but still bendable.
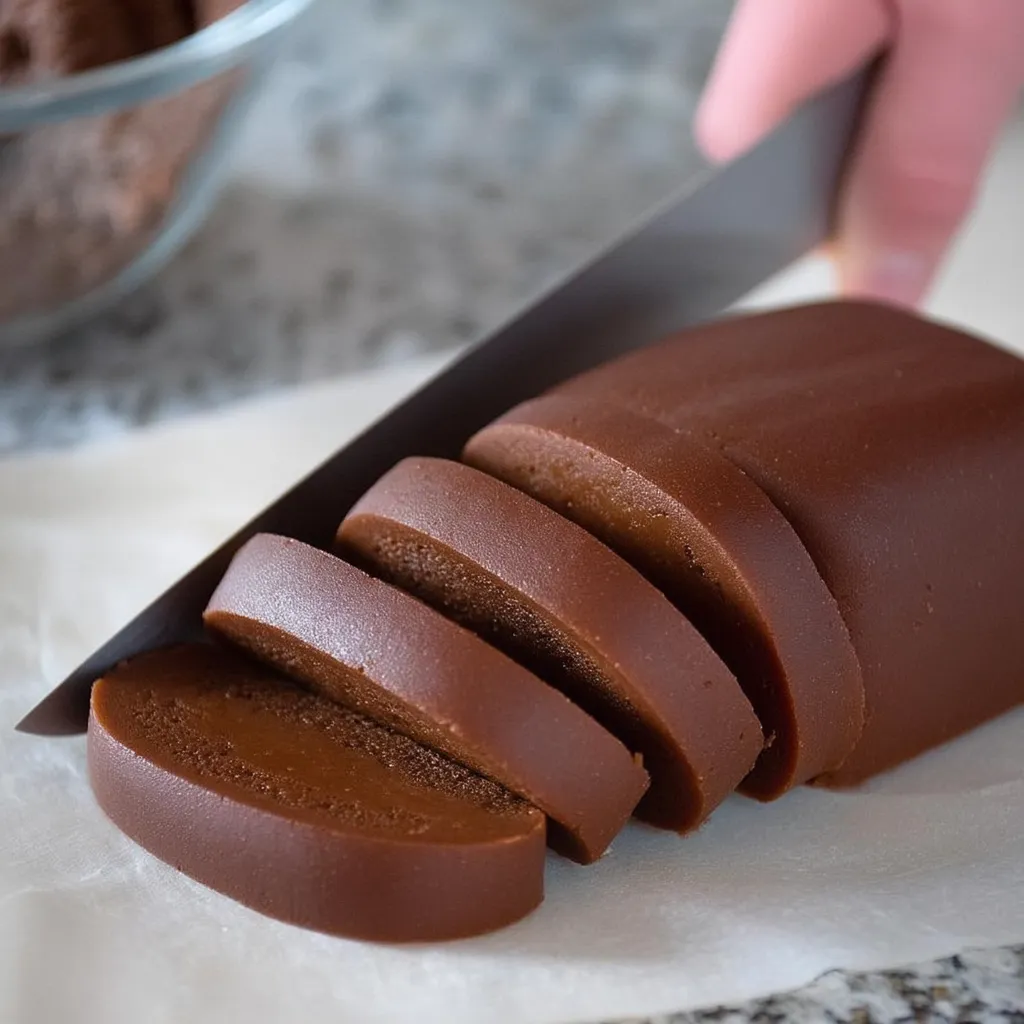
- Make Your Log:
- Move the partially cooled fudge onto plastic wrap and gently shape it into an even log by wrapping and pressing carefully.
- Cool It Down:
- Put your wrapped fudge log in the fridge for at least 30 minutes until it's totally firm.
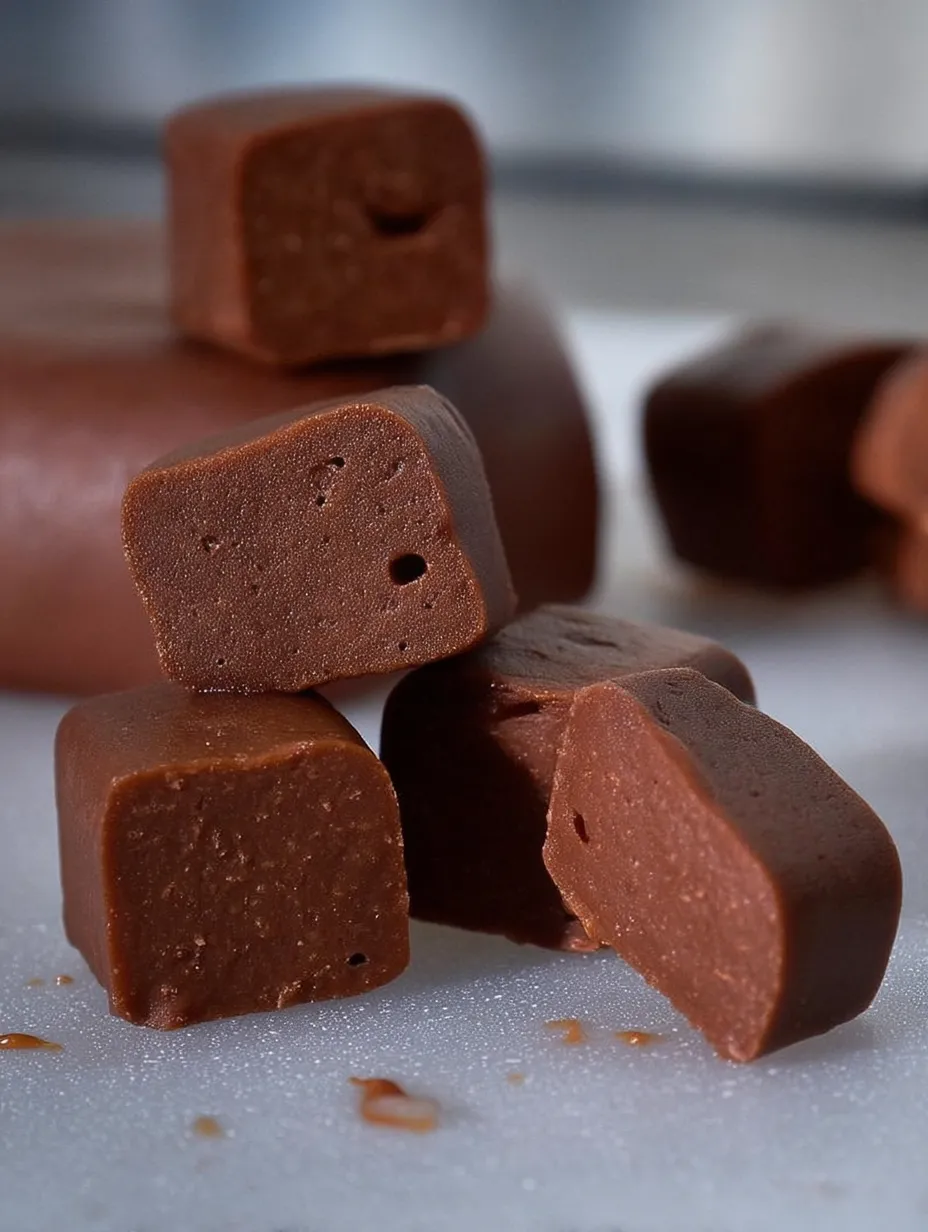
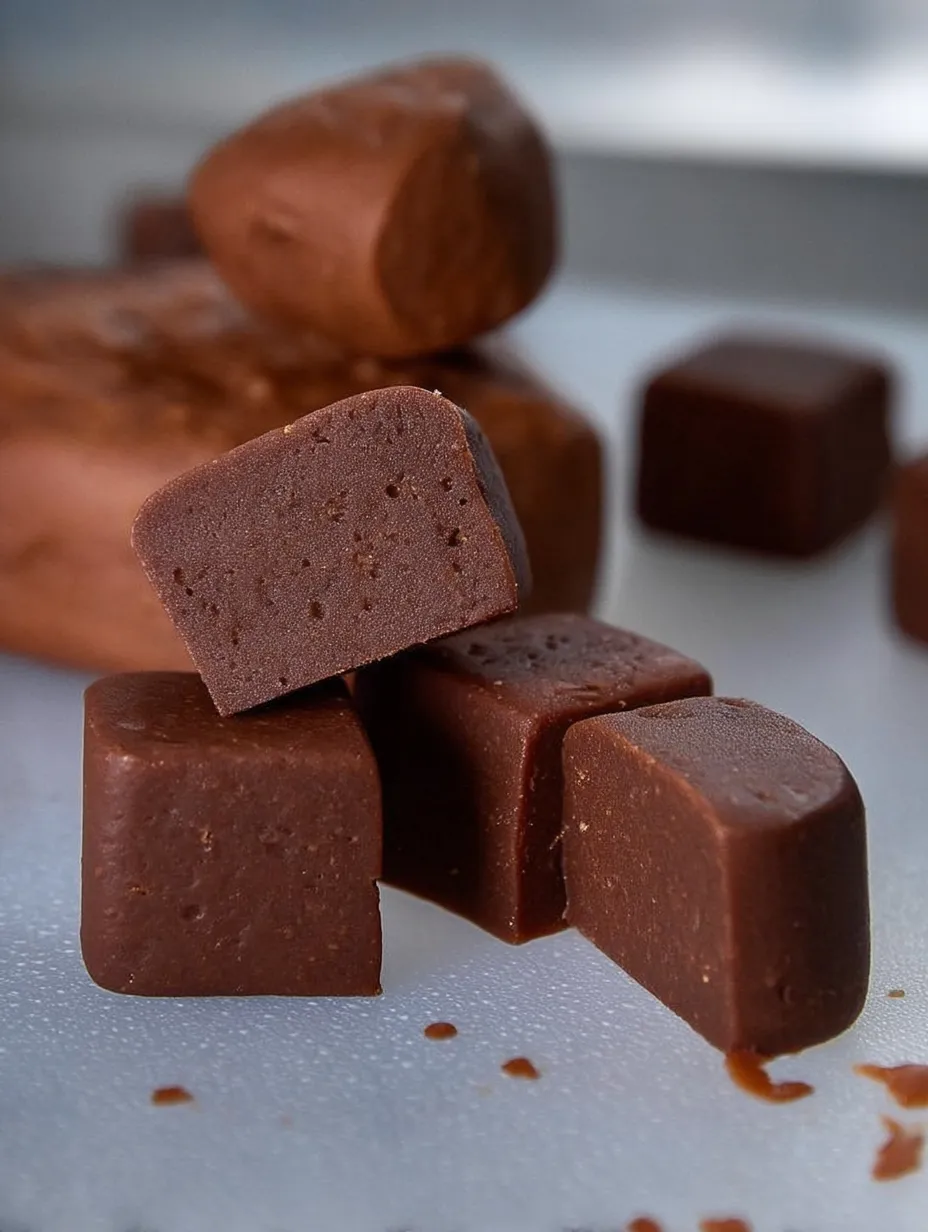
- Cut Into Pieces:
- Once it's fully chilled, unwrap and slice into even pieces with a sharp knife.
I'm really fond of this treat because it brings back vacation memories. My grandma always brought us fudge from Michigan, carefully wrapped in wax paper inside a ribbon-tied box. Waiting to open that package and catch that first whiff of chocolate was almost as good as eating it. These days I make it with my kids, keeping our family sweet tradition going strong.
 Pin it
Delightful Pairings
- With Berries:
- Enjoy chunks of this decadent fudge next to fresh strawberries or raspberries for a wonderful mix of flavors and textures.
- Coffee Pairing:
- Try it with a strong cup of espresso that balances the sweetness while bringing out more chocolate notes.
- Holiday Platters:
- Add this fudge to your dessert boards alongside cookies and fresh fruit when hosting special holiday meals.
Tasty Alternatives
- Nutty Version:
- Spice up the standard recipe by adding chopped walnuts or pecans right before you pour the fudge onto your baking sheet.
- Mint Chocolate:
- If you love mint chocolate, just add ½ teaspoon of peppermint extract along with the vanilla for a cool twist.
- White Chocolate:
- For white chocolate fans, swap out cocoa powder with white chocolate chips, mixing them in after you take the pot off the heat.
Storage Solutions
- Room Temperature Storage:
- Keep your fudge pieces between layers of parchment paper in a sealed container at room temp.
- Refrigeration:
- While it stays good at room temperature when it's cool, putting it in the fridge makes it last much longer.
- Freezing:
- For storing months ahead, wrap single pieces tightly in plastic, then stick them in freezer bags with all the air pushed out.
 Pin it
When I make fudge, I feel linked to candy makers from way back who mastered these methods before we had fancy kitchen gadgets. There's something truly special about watching simple stuff turn into this amazing treat. The steady stirring becomes kind of peaceful, and biting into that first creamy, perfect piece makes all the careful work worth it. I love seeing people's faces light up when they try this fudge for the first time – that moment makes all the effort count.
Frequently Asked Questions
- → How will I know when it's cooked correctly?
- Stir for 6 minutes—it’s crucial! Let it boil fully first, then simmer. The mixture thickens a little and gets glossy. If using a thermometer, aim for 234-236°F, also called soft ball stage.
- → Why is my fudge grainy?
- It happens when sugar crystals form. Fully dissolve the sugar before boiling, stir gently while cooking, and don't scrape the pan’s sides when pouring it out.
- → Can I add extras to this fudge?
- Of course! Mix in anything like cracked walnuts, peppermint bits, or mini marshmallows. Fold them in gently before the fudge goes into the pan to set.
- → How do I store it to keep it fresh?
- Keep it in an airtight container at room temp for up to 2 weeks or chill for 3 weeks. Add wax paper between layers to stop pieces from sticking. Wrapped tightly, it freezes up to 3 months.
- → What’s the trick to neat squares?
- Cool the fudge completely to firm it up. Use a sharp knife, warm it in hot water, and dry it before slicing. A ruler helps if you want even sizes!