
 Pin it
Basics
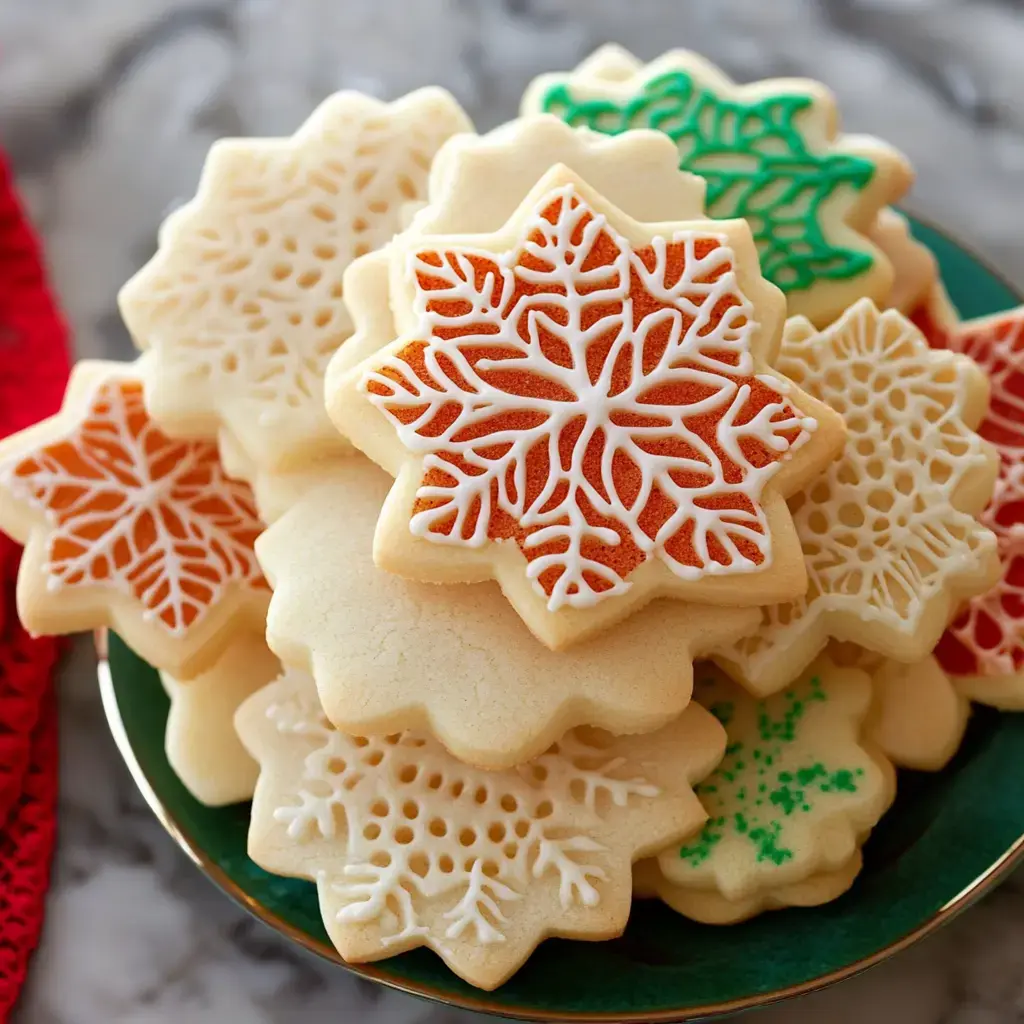
I wanna tell you about my family's favorite sugar cookie formula that's become part of our household traditions! These treats have an incredible consistency - wonderfully chewy in the center with just enough snap at the borders. I've tried countless versions over time, but this one consistently brings joy, whether we're cutting holiday designs or simply need something sugary. What's coolest? They maintain their form during cooking, so your star cutouts actually resemble stars!
What You'll Need
- Sugar: Standard white sugar does the trick - I've sampled fancy varieties but basic works perfectly.
- Actual Butter: Get it soft but not melted - I set mine out during breakfast time.
- Country-Fresh Egg: Let it sit at room temp for best outcome.
- Touch of Milk: Whatever type you have works, including plant-based alternatives!
- Real Vanilla: Don't skimp here - you'll notice the quality difference.
- All-Purpose Flour: Properly measured - this makes or breaks your texture.
- Baking Powder: Verify it's active for proper lift.
Tricks for Great Results
- Get your flour amount right - I found this out after making several batches of too-hard cookies!
- Got sticky dough? No worries - just chill it for 15-20 minutes.
- To keep thickness consistent, I attach rubber bands to my rolling pin as guides.
- My favorite trick? Quickly freezing before baking keeps edges sharp and patterns well-defined.
 Pin it
Baking Steps
- Mix Your Base
- Beat the butter and sugar till it gets airy and pale - usually needs about 3 minutes in my mixer.
- Combine Liquid Elements
- Add egg, milk, and vanilla just until they're combined nicely.
- Flour Mixture
- Fold in your flour mix carefully - too much mixing makes tough cookies!
- Roll It Out
- This part always calms me - spreading dough flat feels so relaxing.
- Into The Oven
- Keep an eye on them - they're done when edges turn slightly golden.
Jazzing Them Up
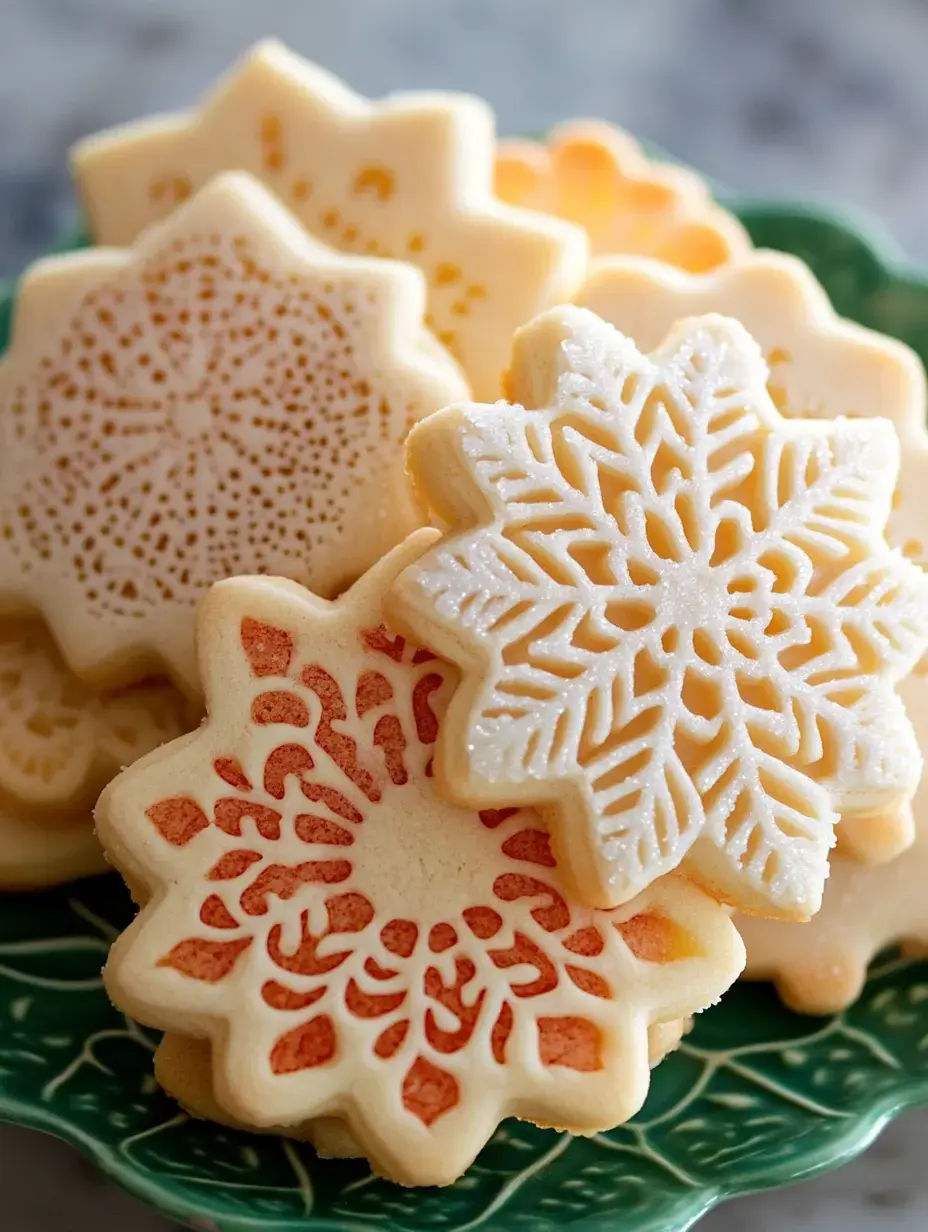
- Basic Bling: Tossing on colored sugar pre-baking gives fast, cute results.
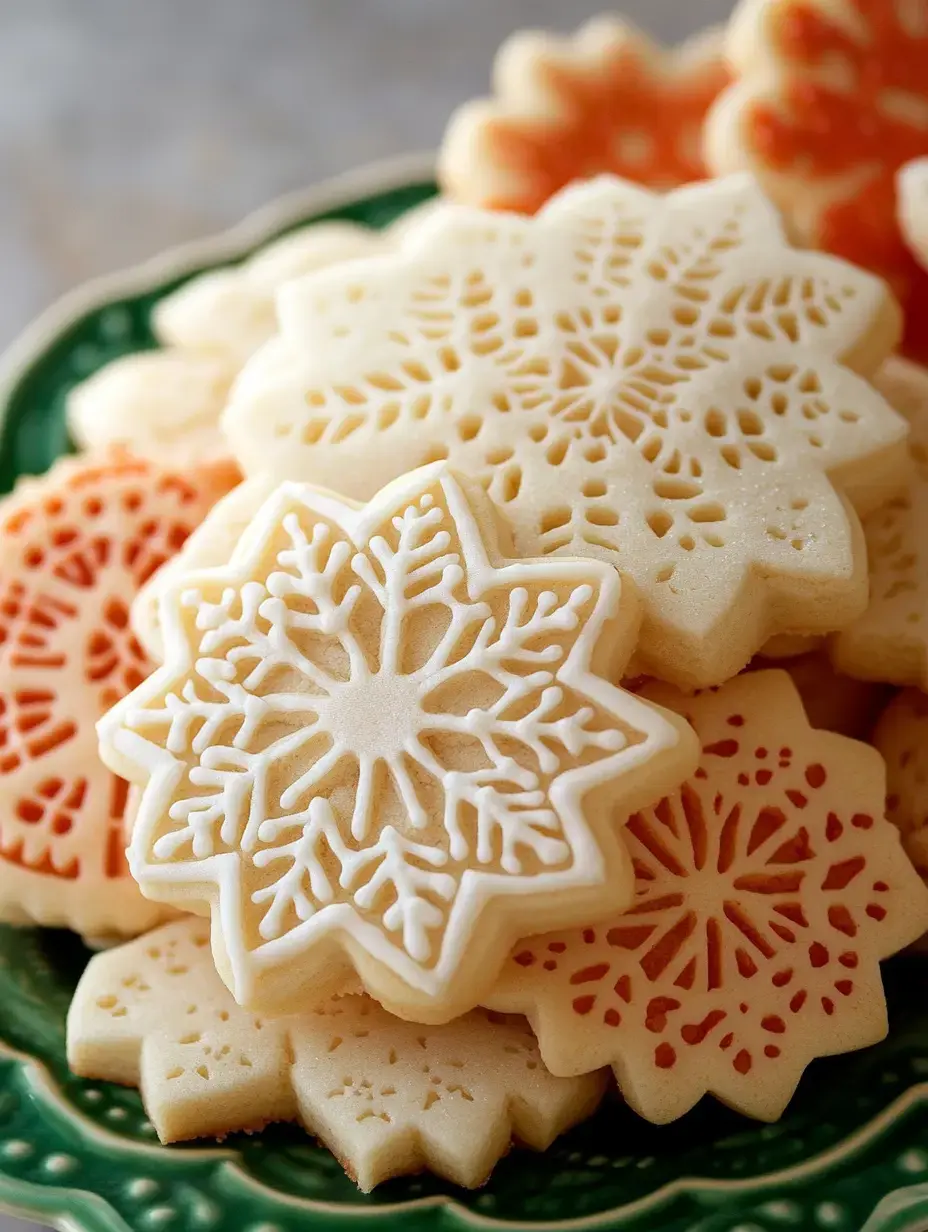
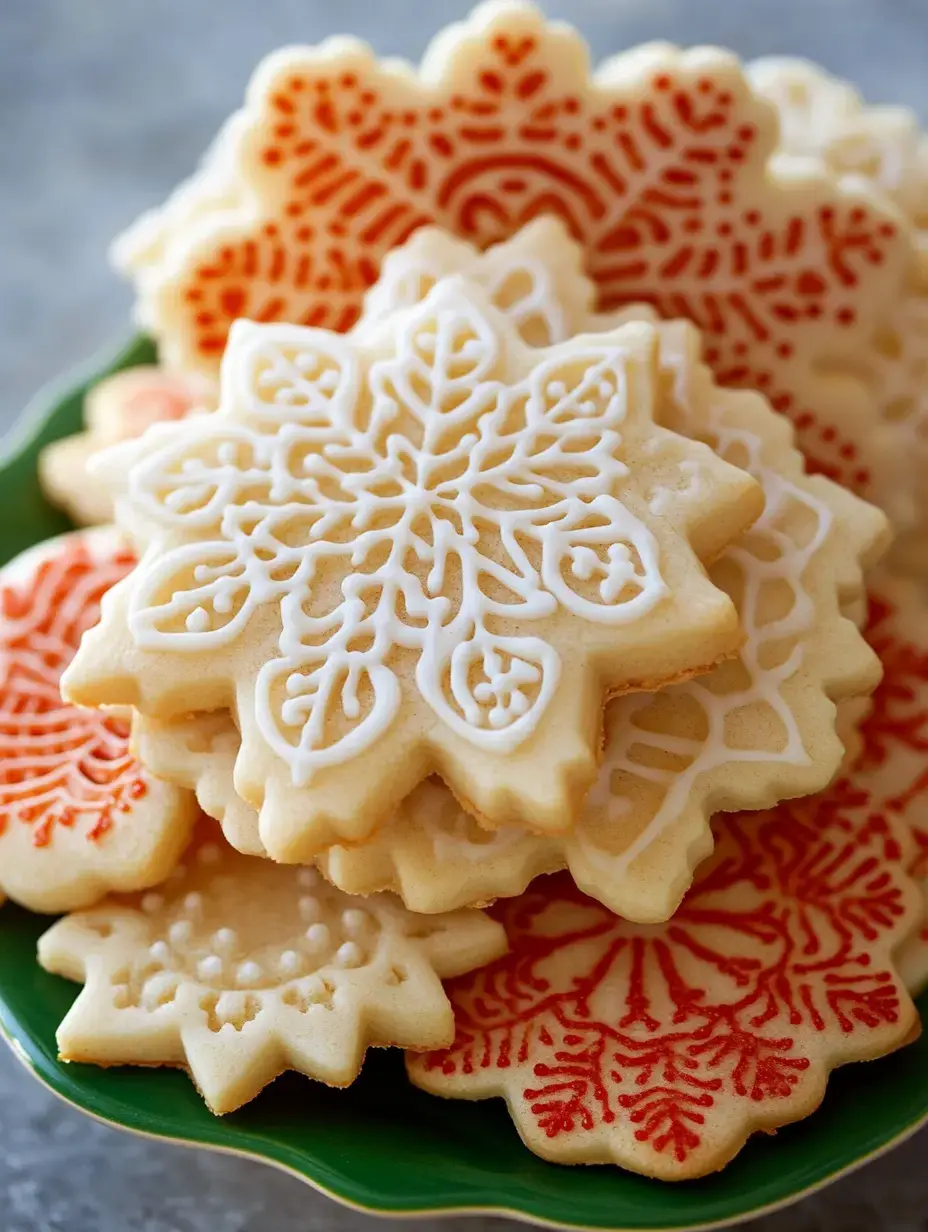
- Fancy Finish: My royal icing works great for intricate patterns.
- Simple Shine: I sometimes mix powdered sugar with milk for a basic topping.
- Color Play: Adding food coloring to dough creates fun, vibrant treats!
Storage Tips
These treats stay surprisingly soft in sealed containers - if they aren't gobbled up first! For storing longer, I put wax paper between layers. They also freeze wonderfully - I often cook twice as many and save half for unexpected cookie cravings!
Dietary Swaps
Want gluten-free? I've gotten good results with measure-for-measure gluten-free flour mixes. For grain alternatives, almond flour works nicely - just cook less time since they darken quicker. Always double-check your toppings for potential allergens too!
 Pin it
Handy Equipment
- Favorite Rolling Pin: The changeable thickness rings are totally worth it.
- Shape Cutter Set: I might have too many holiday patterns!
- Baking Paper: Total lifesaver for cleaning up afterward.
- Good Decorating Bags: For those social media-worthy designs.
Tasty Variations
- Choco Version: Adding cocoa turns these into chocolate cutouts.
- Sweet Spices: I throw in cinnamon sometimes for a snickerdoodle feel.
- Flavor Boost: Almond extract creates a fancier taste profile.
Great for Giving
These treats make wonderful presents! I enjoy wrapping them in cute tins or see-through bags with ribbons. Including a hand-copied instruction card adds a special touch - though my friends always say theirs never taste exactly like when I make them!
Seasonal Fun
- Winter Wonder: Green and red toppings always make people happy.
- February Romance: Pink hearts with glittery sugar look adorable.
- Spring Celebration: Light colors make Easter extra cheerful.
- Halloween Time: Orange and black transform them into spooky snacks!
 Pin it
Common Problems
If cookies flatten too much, cool the dough again. Dough sticking? Sprinkle more flour on your work area. And don't forget - new baking powder really matters!
Display Ideas
Want your cookies to look amazing? I love creating themed groupings - like snowy scenes with stars and snowflakes, or garden arrangements with butterflies and blooms. Using different shapes and colors creates the prettiest cookie platters!
Group Decorating
Cookie decorating get-togethers have become our favorite custom! We set up areas with various icing colors and decorations, letting everyone show their creative side. It's fun seeing how differently each person decorates - even grown-ups get a bit competitive!
 Pin it
Tasty Companions
These cookies taste great with cold milk, but try them with hot cocoa topped with mini marshmallows - so comforting! During festive times, they pair wonderfully with spiced tea or coffee. My little ones enjoy them with strawberry milk for something extra special.
Sweet Moments
There's something special about shaped cookies that pulls folks together. Whether you're making them for celebrations or just because, they'll surely create lasting memories. Get inventive, enjoy yourself, and don't stress if they're not flawless - they'll still taste fantastic!
Frequently Asked Questions
- → How long do they stay tasty?
Store them in an airtight container at room temperature—they’ll stay good for up to 14 days.
- → Why flour the surface and rolling pin?
Flouring stops the dough from sticking, so cutting them and moving them to your pan is much simpler.
- → How do I know if they’re baked perfectly?
Keep an eye on them while baking for around 5 to 8 minutes. Use an extra piece of dough to test for just-right color underneath.
- → Can I roll out leftover scraps again?
Sure can! Just gather them up, form a ball, and roll ’em out again until you’ve used it all.
- → How thick should I roll it?
1/4 to 1/6 of an inch is just right for even and consistent cookies.