
 Pin it
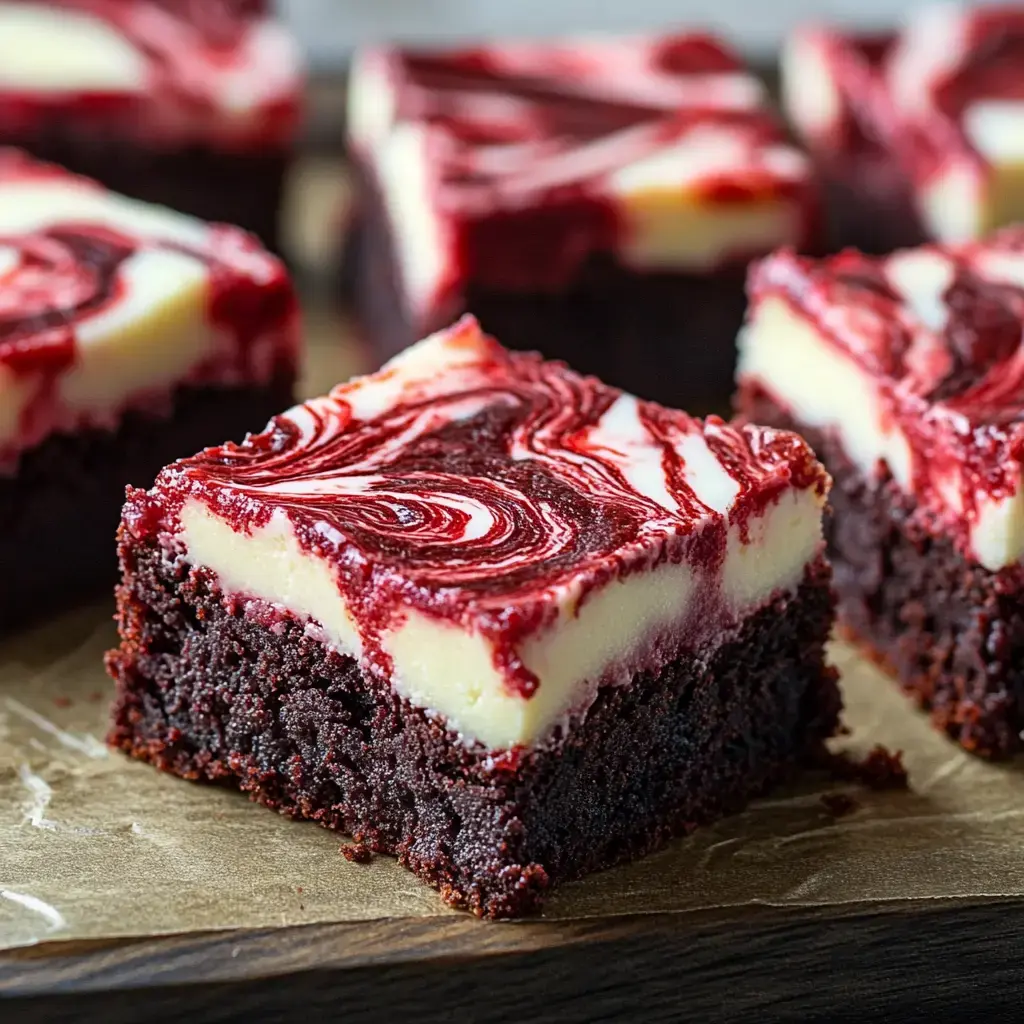
Indulgent Red Velvet Cheesecake Brownies Snapshot
These Red Velvet Cheesecake Brownies blend chocolatey red velvet base with swirls of tangy cheesecake for a mouthwatering treat. They're the ultimate crowd-pleaser for gatherings, celebrations, or when you just want something extra special that looks as good as it tastes.
What Makes This Treat Special
- Two-tone Goodness: Chocolatey red velvet base topped with swirly cheesecake layers.
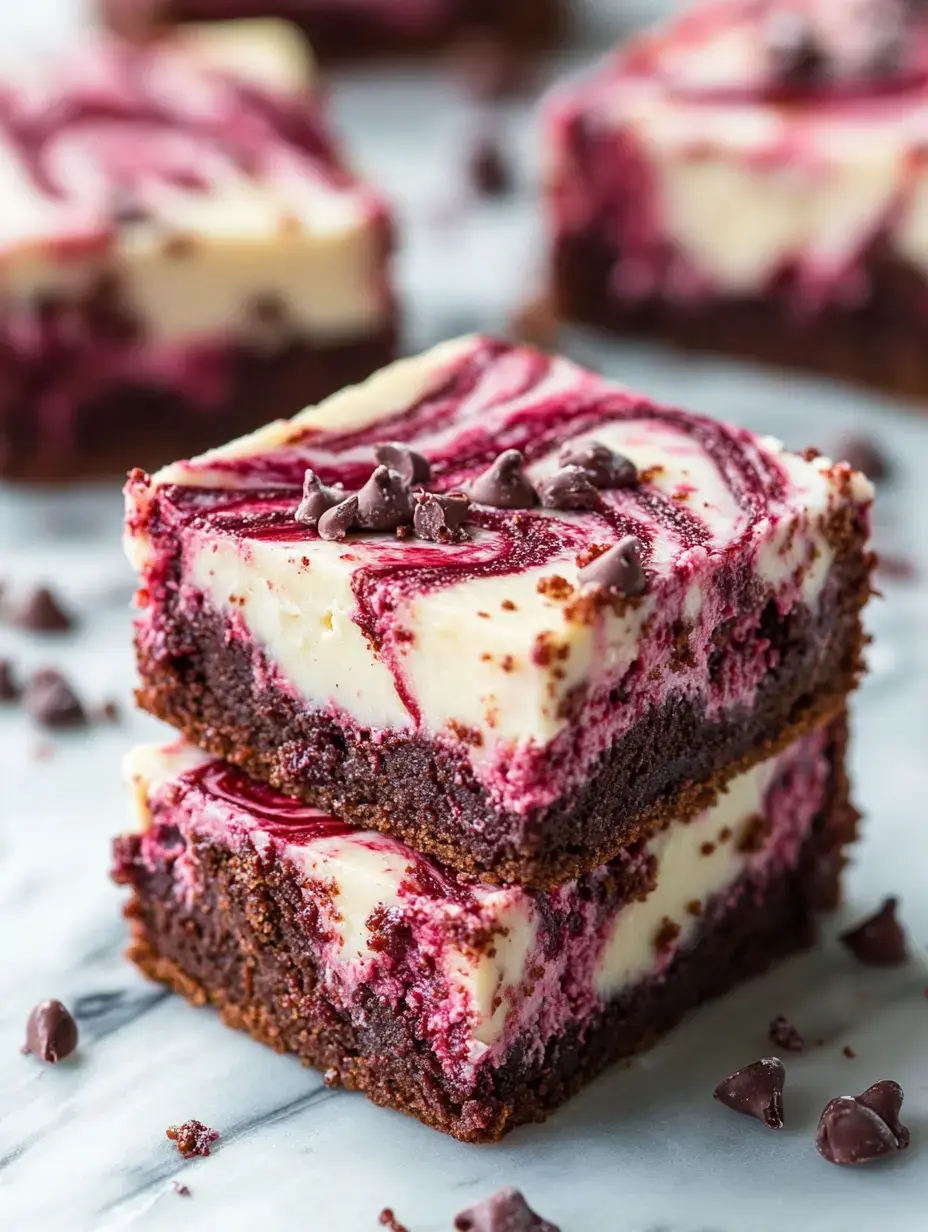
- Eye-catching Design: Gorgeous red and white marble pattern.
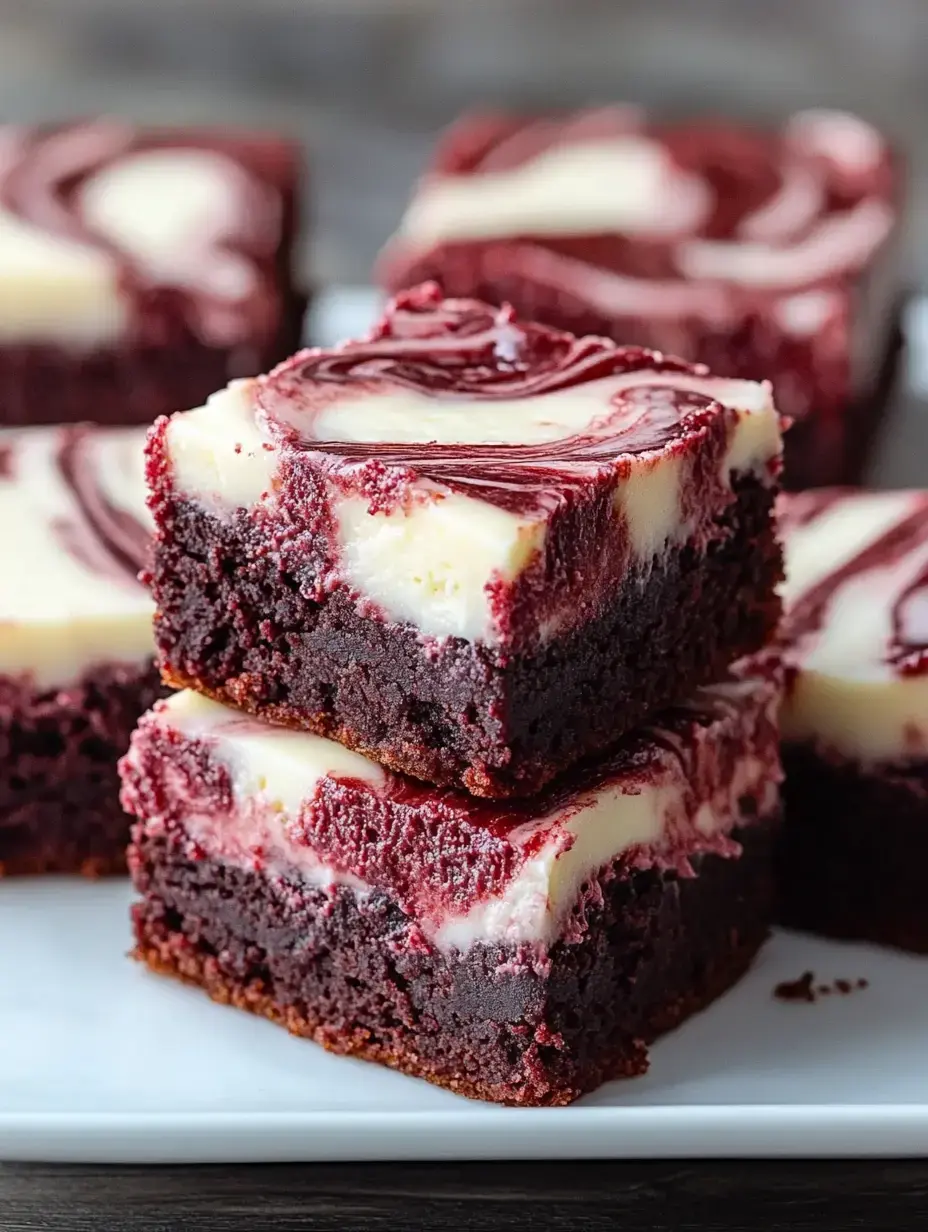
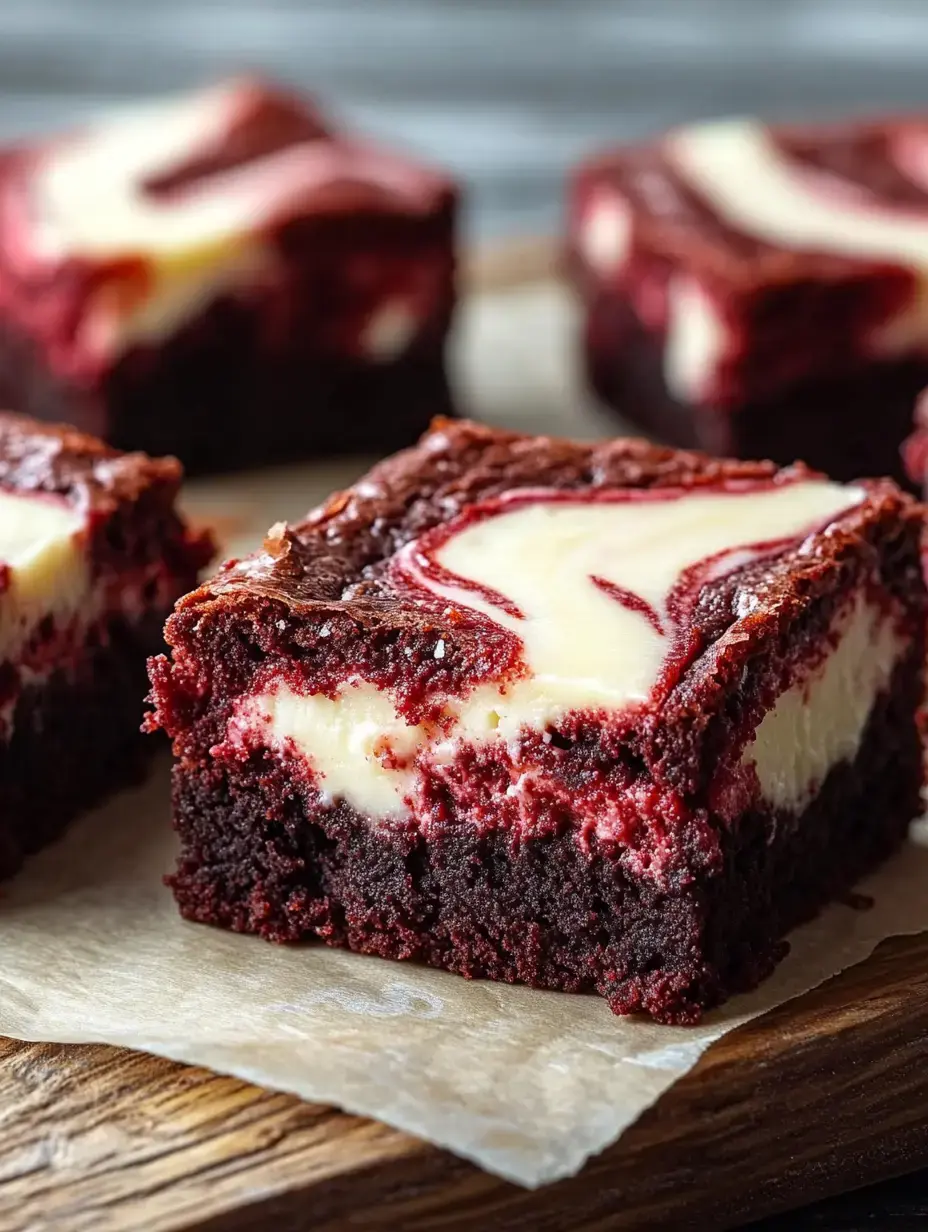
- Incredible Texture: Soft, dense brownie base meets smooth cheesecake topping.
- Adaptable: Easy to tweak with mix-ins like chocolate chunks or berry swirls.
- Fits Every Event: Works for presents, fancy parties, or just because it's Tuesday.
What You'll Need to Make These
- Red Velvet Components:
- ½ cup melted butter
- 1 cup granulated sugar
- 2 tablespoons cocoa powder
- 1-2 tablespoons red food coloring
- 1 teaspoon vanilla extract
- 1 teaspoon white vinegar
- 2 large eggs
- ¾ cup all-purpose flour
- Cheesecake Components:
- 8 oz softened cream cheese
- ¼ cup granulated sugar
- 1 large egg
- ½ teaspoon vanilla extract
Step 1: Get Your Oven Ready
Set your oven to 350°F (175°C). Coat an 8×8-inch baking dish with butter or line it with parchment paper so your brownies won't stick.
Step 2: Mix Your Red Velvet Base
- Stir together the melted butter, sugar, and cocoa powder until they're well combined.
- Stir in the red food coloring, vanilla, and vinegar, adding more color if you want a deeper red.
- Beat in the eggs one after another, then gently fold in the flour until your batter looks smooth.
 Pin it
Step 3: Whip Up the Cheesecake Mixture
- Mix the softened cream cheese with sugar until it's smooth and fluffy.
- Add the egg and vanilla, then keep mixing until everything blends together without any lumps.
Step 4: Create Your Design
- Pour most of your red velvet mix into the pan, saving a bit for later.
- Carefully spoon the cheesecake mix on top of the red layer.
- Drop spoonfuls of your leftover red batter on the cheesecake layer and pull a knife through to make pretty swirls.
Step 5: Cook and Let Rest
Bake for about 25–30 minutes until a toothpick stuck in the middle comes out with a few moist crumbs. Let them sit in the pan for 10–15 minutes before moving to a cooling rack to finish cooling down.
Tricks for Perfect Results
- Warm Ingredients Matter: Make sure your cream cheese isn't cold to avoid lumps in your cheesecake mix.
- Easy Does It: Don't overdo the swirling or you'll lose the pretty pattern.
- Watch That Timer: Pull them out while they're still a bit fudgy inside for the best texture.
 Pin it
Fun Twists to Try
- Add Some Chunks: Throw in dark, milk, or white chocolate pieces for extra sweetness.
- Berry Goodness: Swirl some raspberry jam into the cheesecake part for a fruity kick.
- Crunchy Top: Scatter chopped walnuts or pecans over everything before baking to add some crunch.
How to Keep Them Fresh
- On the Counter: They'll stay good in a sealed container for a couple days.
- In the Fridge: Keep them chilled for up to a week.
- In the Freezer: Wrap each piece separately and freeze for up to 3 months. Let them thaw before eating.
Common Questions
- Can I make these without gluten? Sure thing, just swap in your favorite gluten-free flour mix.
- Will the recipe work if I make more? Definitely. Use a 9×13-inch pan and bake them a bit longer.
- What makes red velvet brownies special? They've got a lighter chocolate taste with a hint of tang, plus that awesome red color.
Ways to Dress Them Up
- Sprinkle some powdered sugar on top for a simple finish.
- Pour some melted chocolate over the top after they've cooled for extra fanciness.
- Add fresh berries or a spoonful of whipped cream when serving.
 Pin it
The Magic Behind This Combo
Red velvet's subtle chocolate flavor and slightly tangy taste matches perfectly with creamy, rich cheesecake. Together they make a dessert that's balanced in flavor and stunning to look at.
Great Ways to Enjoy Them
- Eat them with a scoop of vanilla ice cream for a deluxe dessert.
- Munch on one with your morning coffee or afternoon tea.
- Put them on a fancy plate for holiday parties or birthday celebrations.
Final Thoughts
These Red Velvet Cheesecake Brownies aren't just tasty—they're showstoppers. With their bright colors, rich flavors, and amazing texture, they'll be the talk of any party. They're fancy enough for special occasions but simple enough to make just because you want something sweet.
Frequently Asked Questions
- → How do I store them properly?
- Pop them in the fridge inside an airtight box for up to five days, or freeze for up to three months.
- → Can I leave out the coloring?
- Sure, just skip or use less coloring. They’ll taste amazing either way but won't have that signature red color.
- → Any tips for clean slices?
- Put the brownies in the fridge for at least half an hour. They'll be easier and tidier to slice after chilling.
- → What can I mix in for fun?
- Toss in white chocolate chips or bits of dark chocolate for extra richness and texture before baking.
- → How do I check if they’re done?
- Stick a toothpick in the center. If it comes out mostly clean with a few crumbs, you're all set.